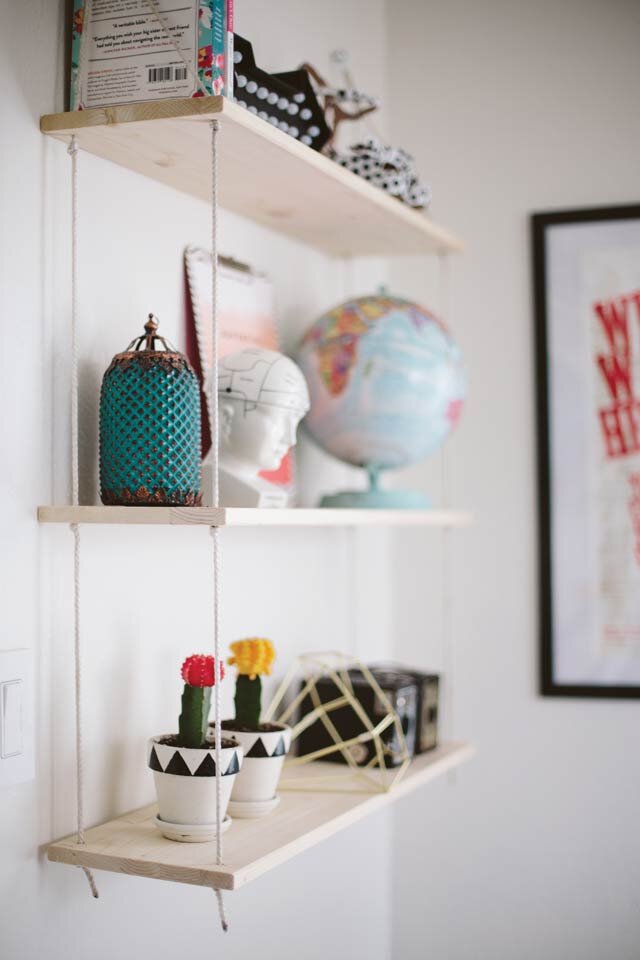
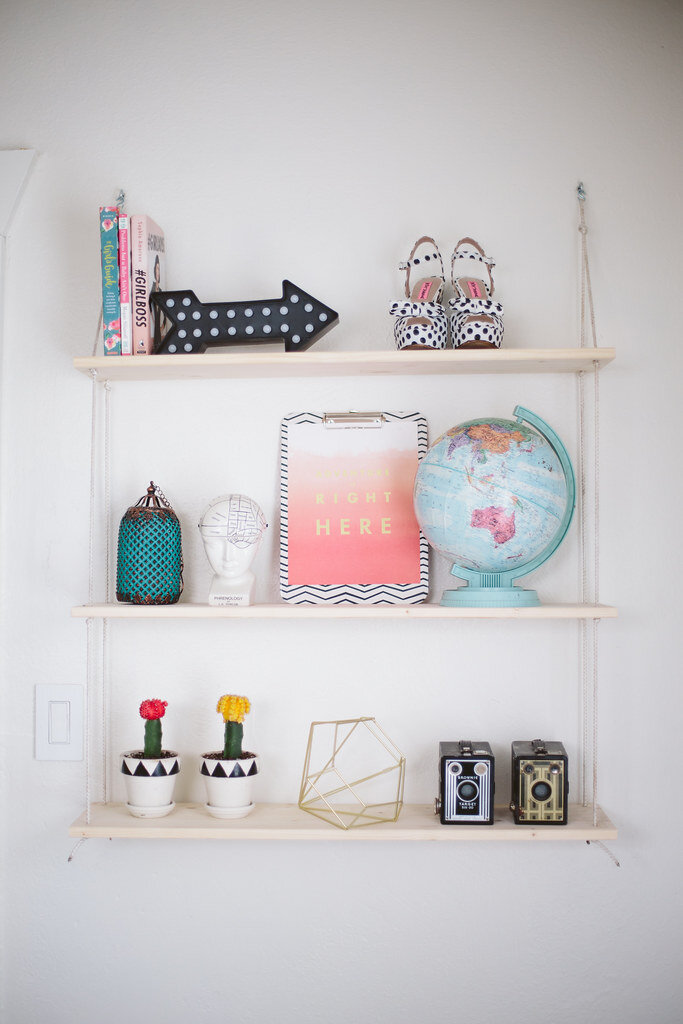
DIY Hanging Rope Shelf
I made this shelf probably five or six years ago and it’s followed me around in all those years. I brought it over to our new house when we moved in last year and it’s just been sitting in Jack’s closet since then. Yesterday I finally decided to put it up, but then when I got some questions about it I realized I had never posted the DIY to my blog! So here it is!
What you’ll need:
Rope
Screw hooks and anchors
Wood planks
Drill
1/ Drill holes in the shelves in their four corners, about an inch in from the edges.
2/ Decide how far apart you want your shelves to hang from eachother. Cut a length of rope long enough to go from the bottom of the lowest shelf, up to the top of the shelves and back to the bottom, plus a couple of feet.
3/ Tie a knot at one end of the rope and push the other end through a corner hole on the first plank. Tie the next knot at the distance apart you decided to make your shelves and then push the end of the rope through the next shelf’s corresponding corner hole.
4/ Repeat with each shelf. When you reach the top shelf, create a looped knot at the top, forming a right triangle so the shelves hang level from the screw hook you’ll be hanging the shelves from.
5/ Now, take the rope down through the back holes in the shelves, tying knots at equal distances as the first set of knots so the shelves hang level. When you get back to the bottom knot, cut off the excess rope. Repeat with the second side.
6/ Measure the distance between the two rope sides to determine how far apart you’ll place your hooks. Decide how high you want the shelves to hang, then install your screw hooks. You might want to put anchors in, depending on what kind of walls you have and how heavy you predict the items on your shelf will be.
7/ Once the screw hooks are in, you can hang the shelf! Use a level to check that your shelves are straight. You may need to do some tweaking and raise/lower some of the knots to get everything perfectly level.


