Fuck Ice
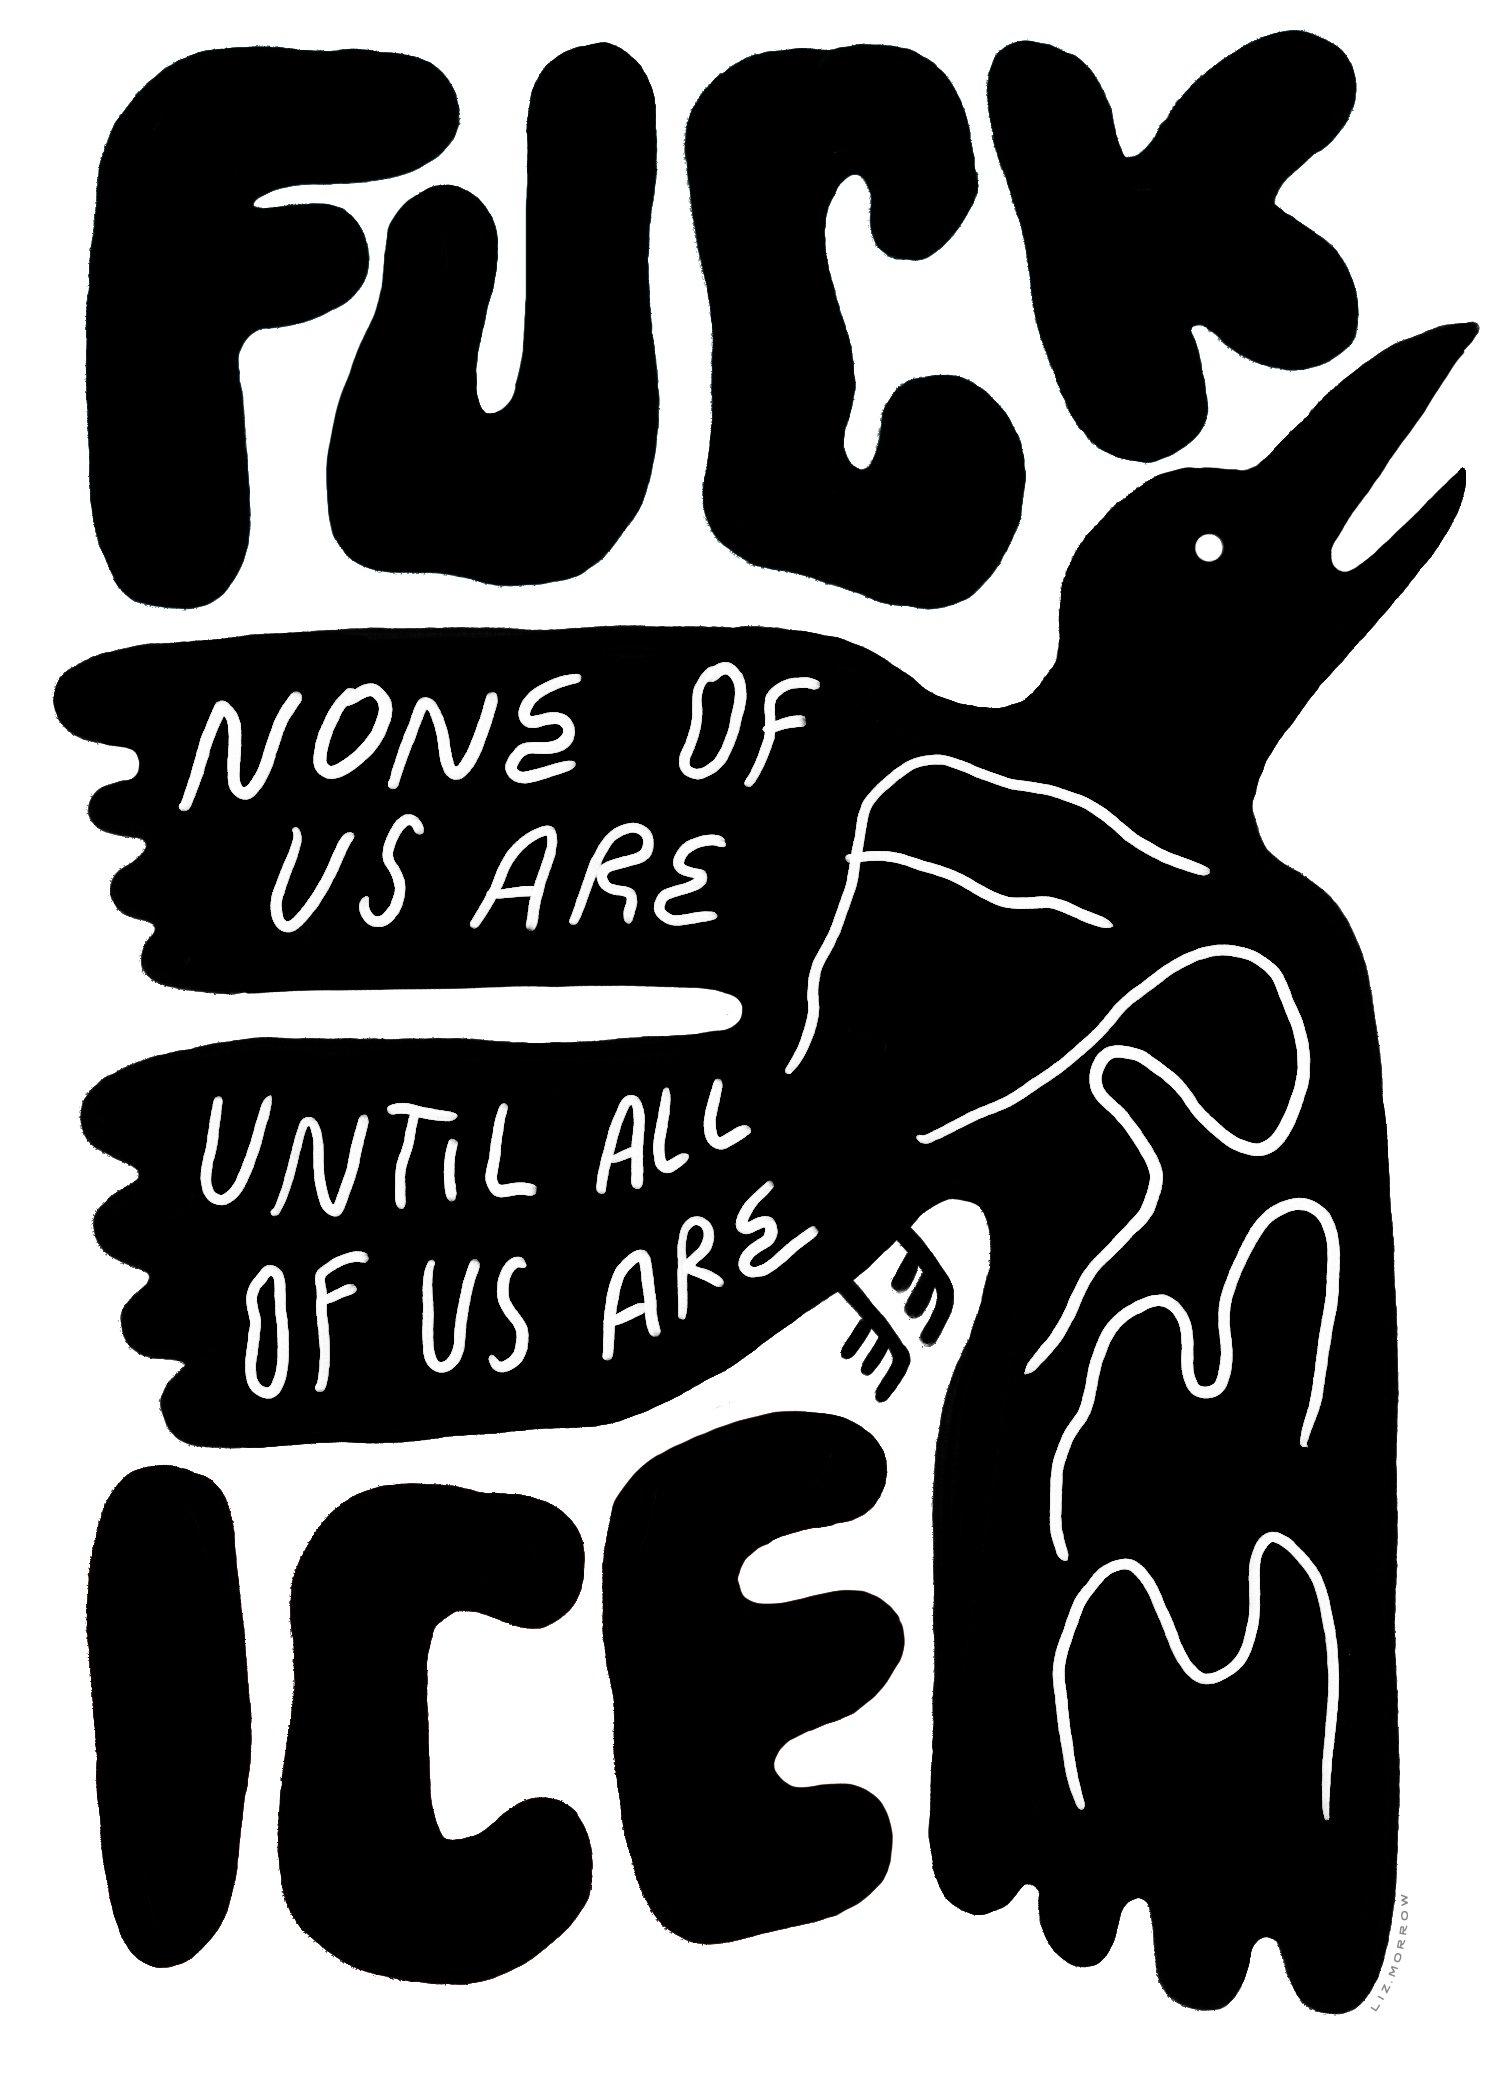
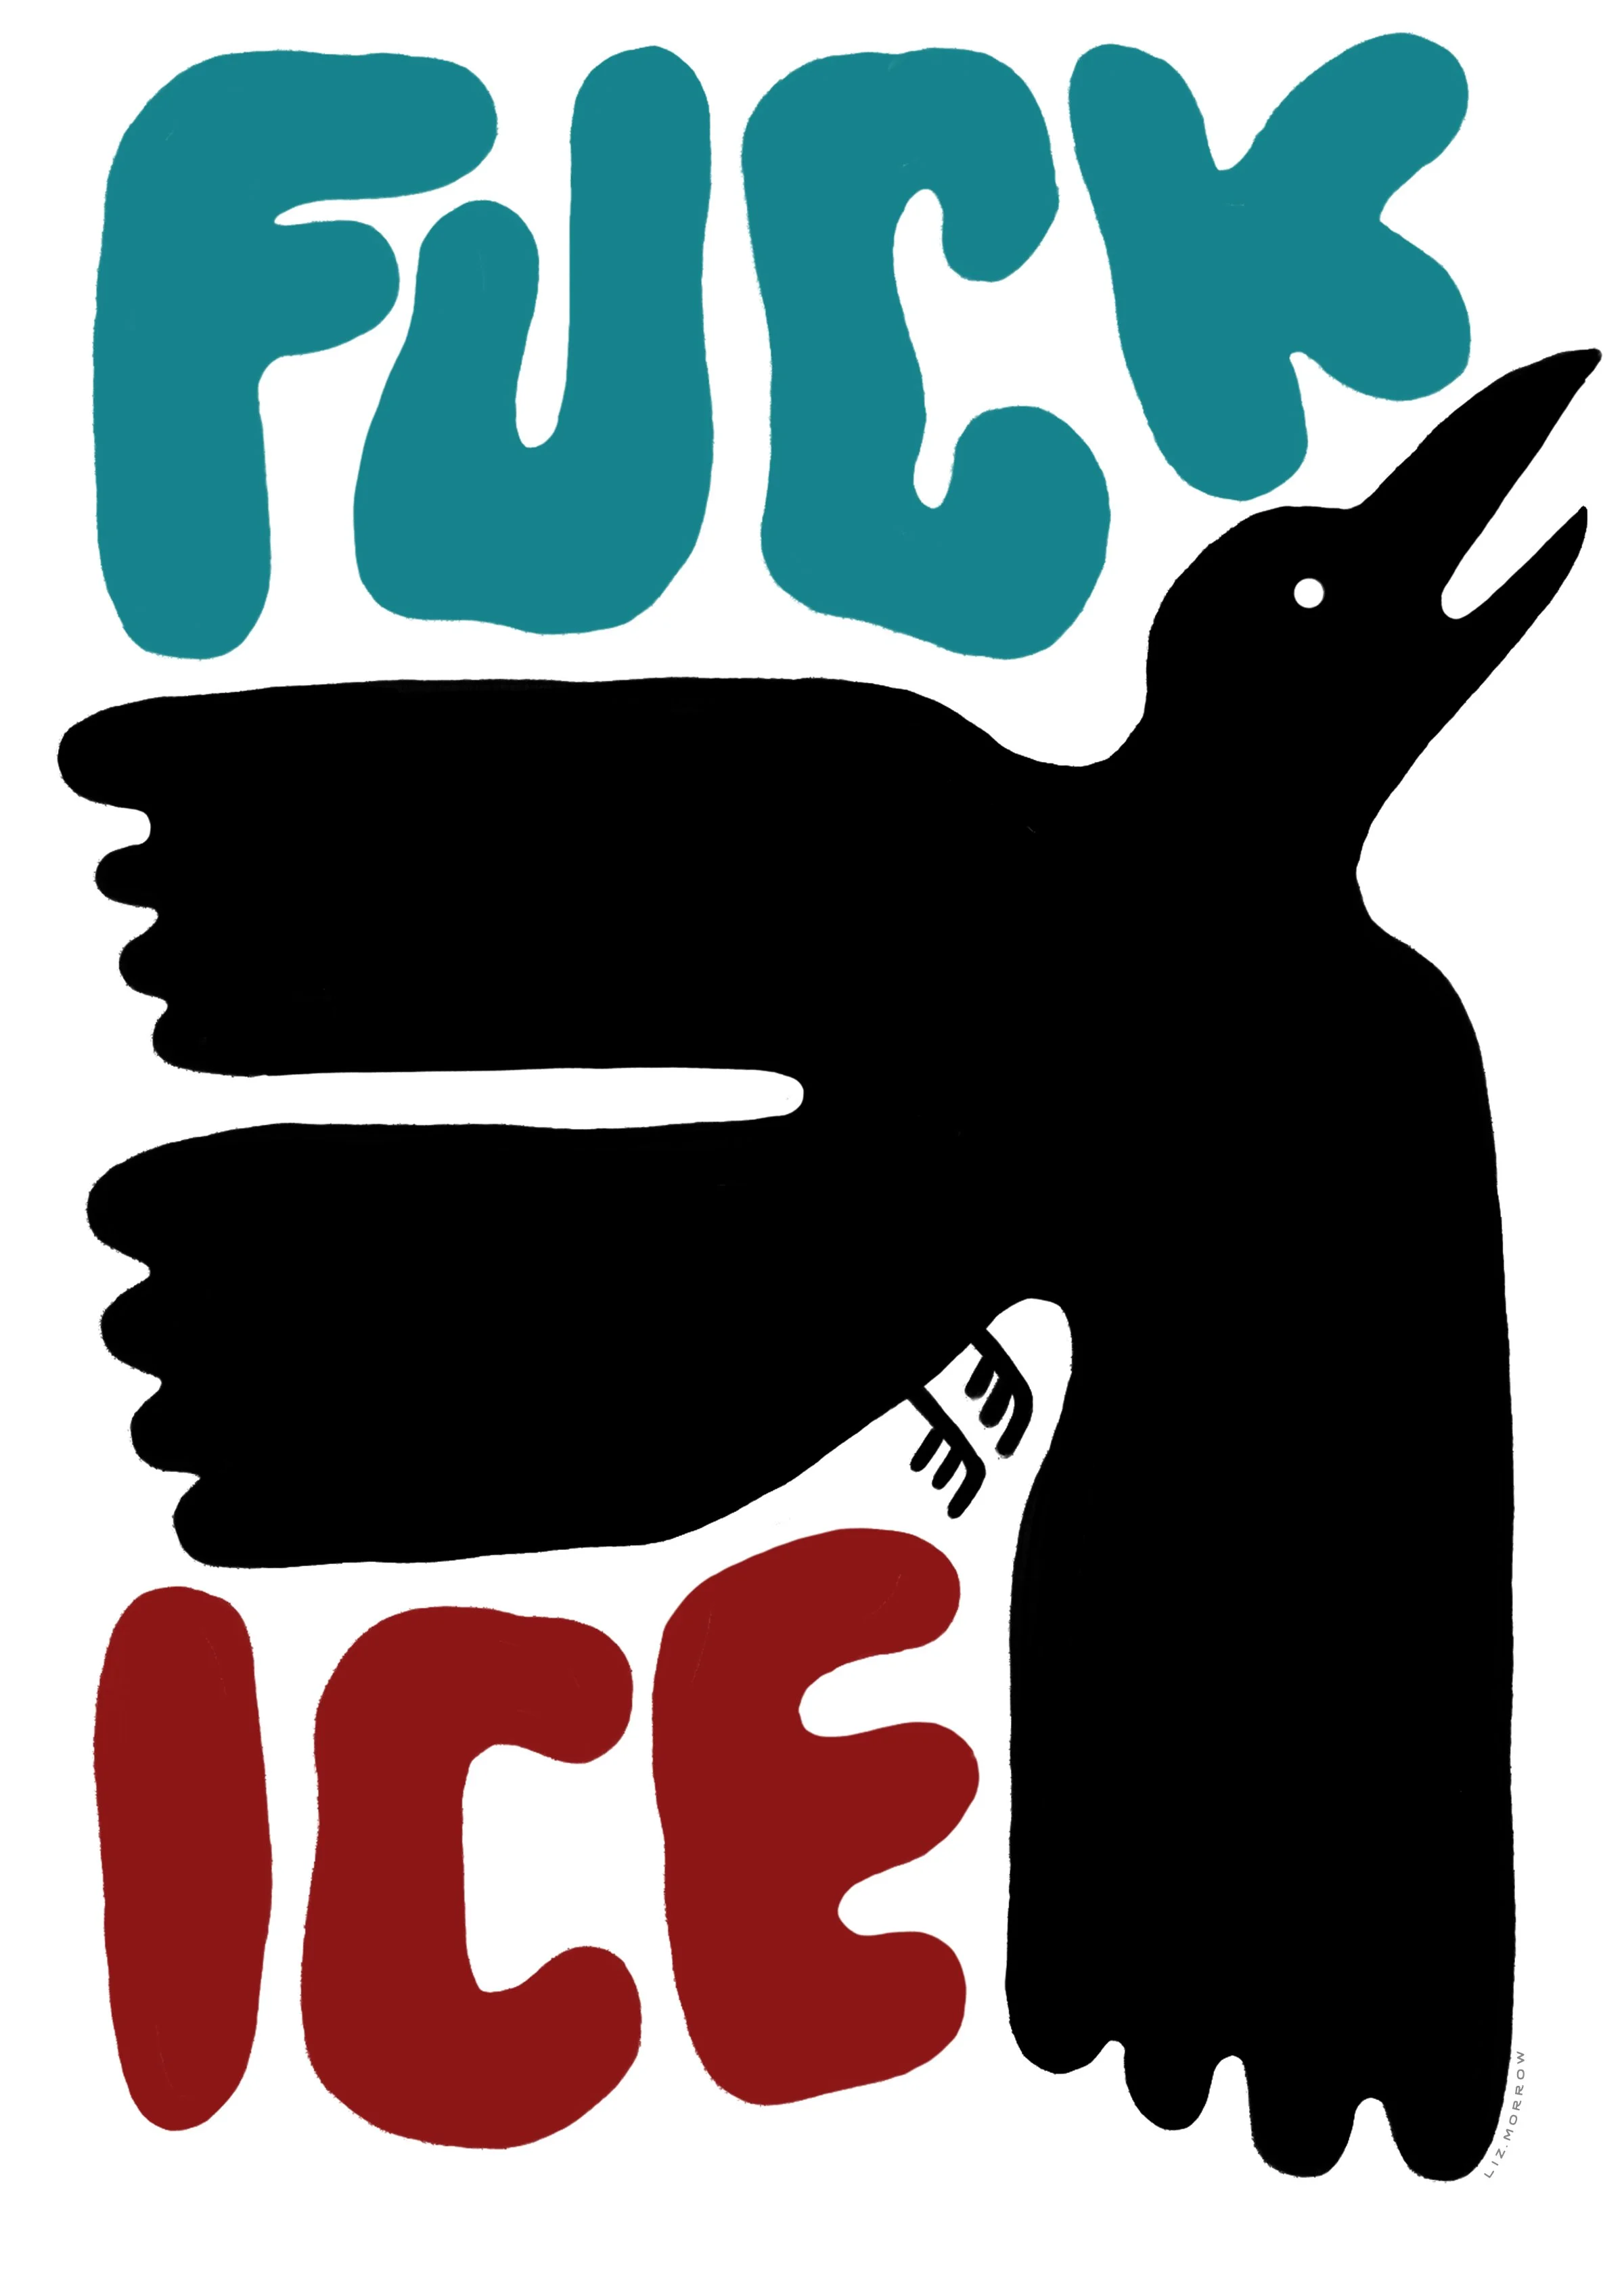
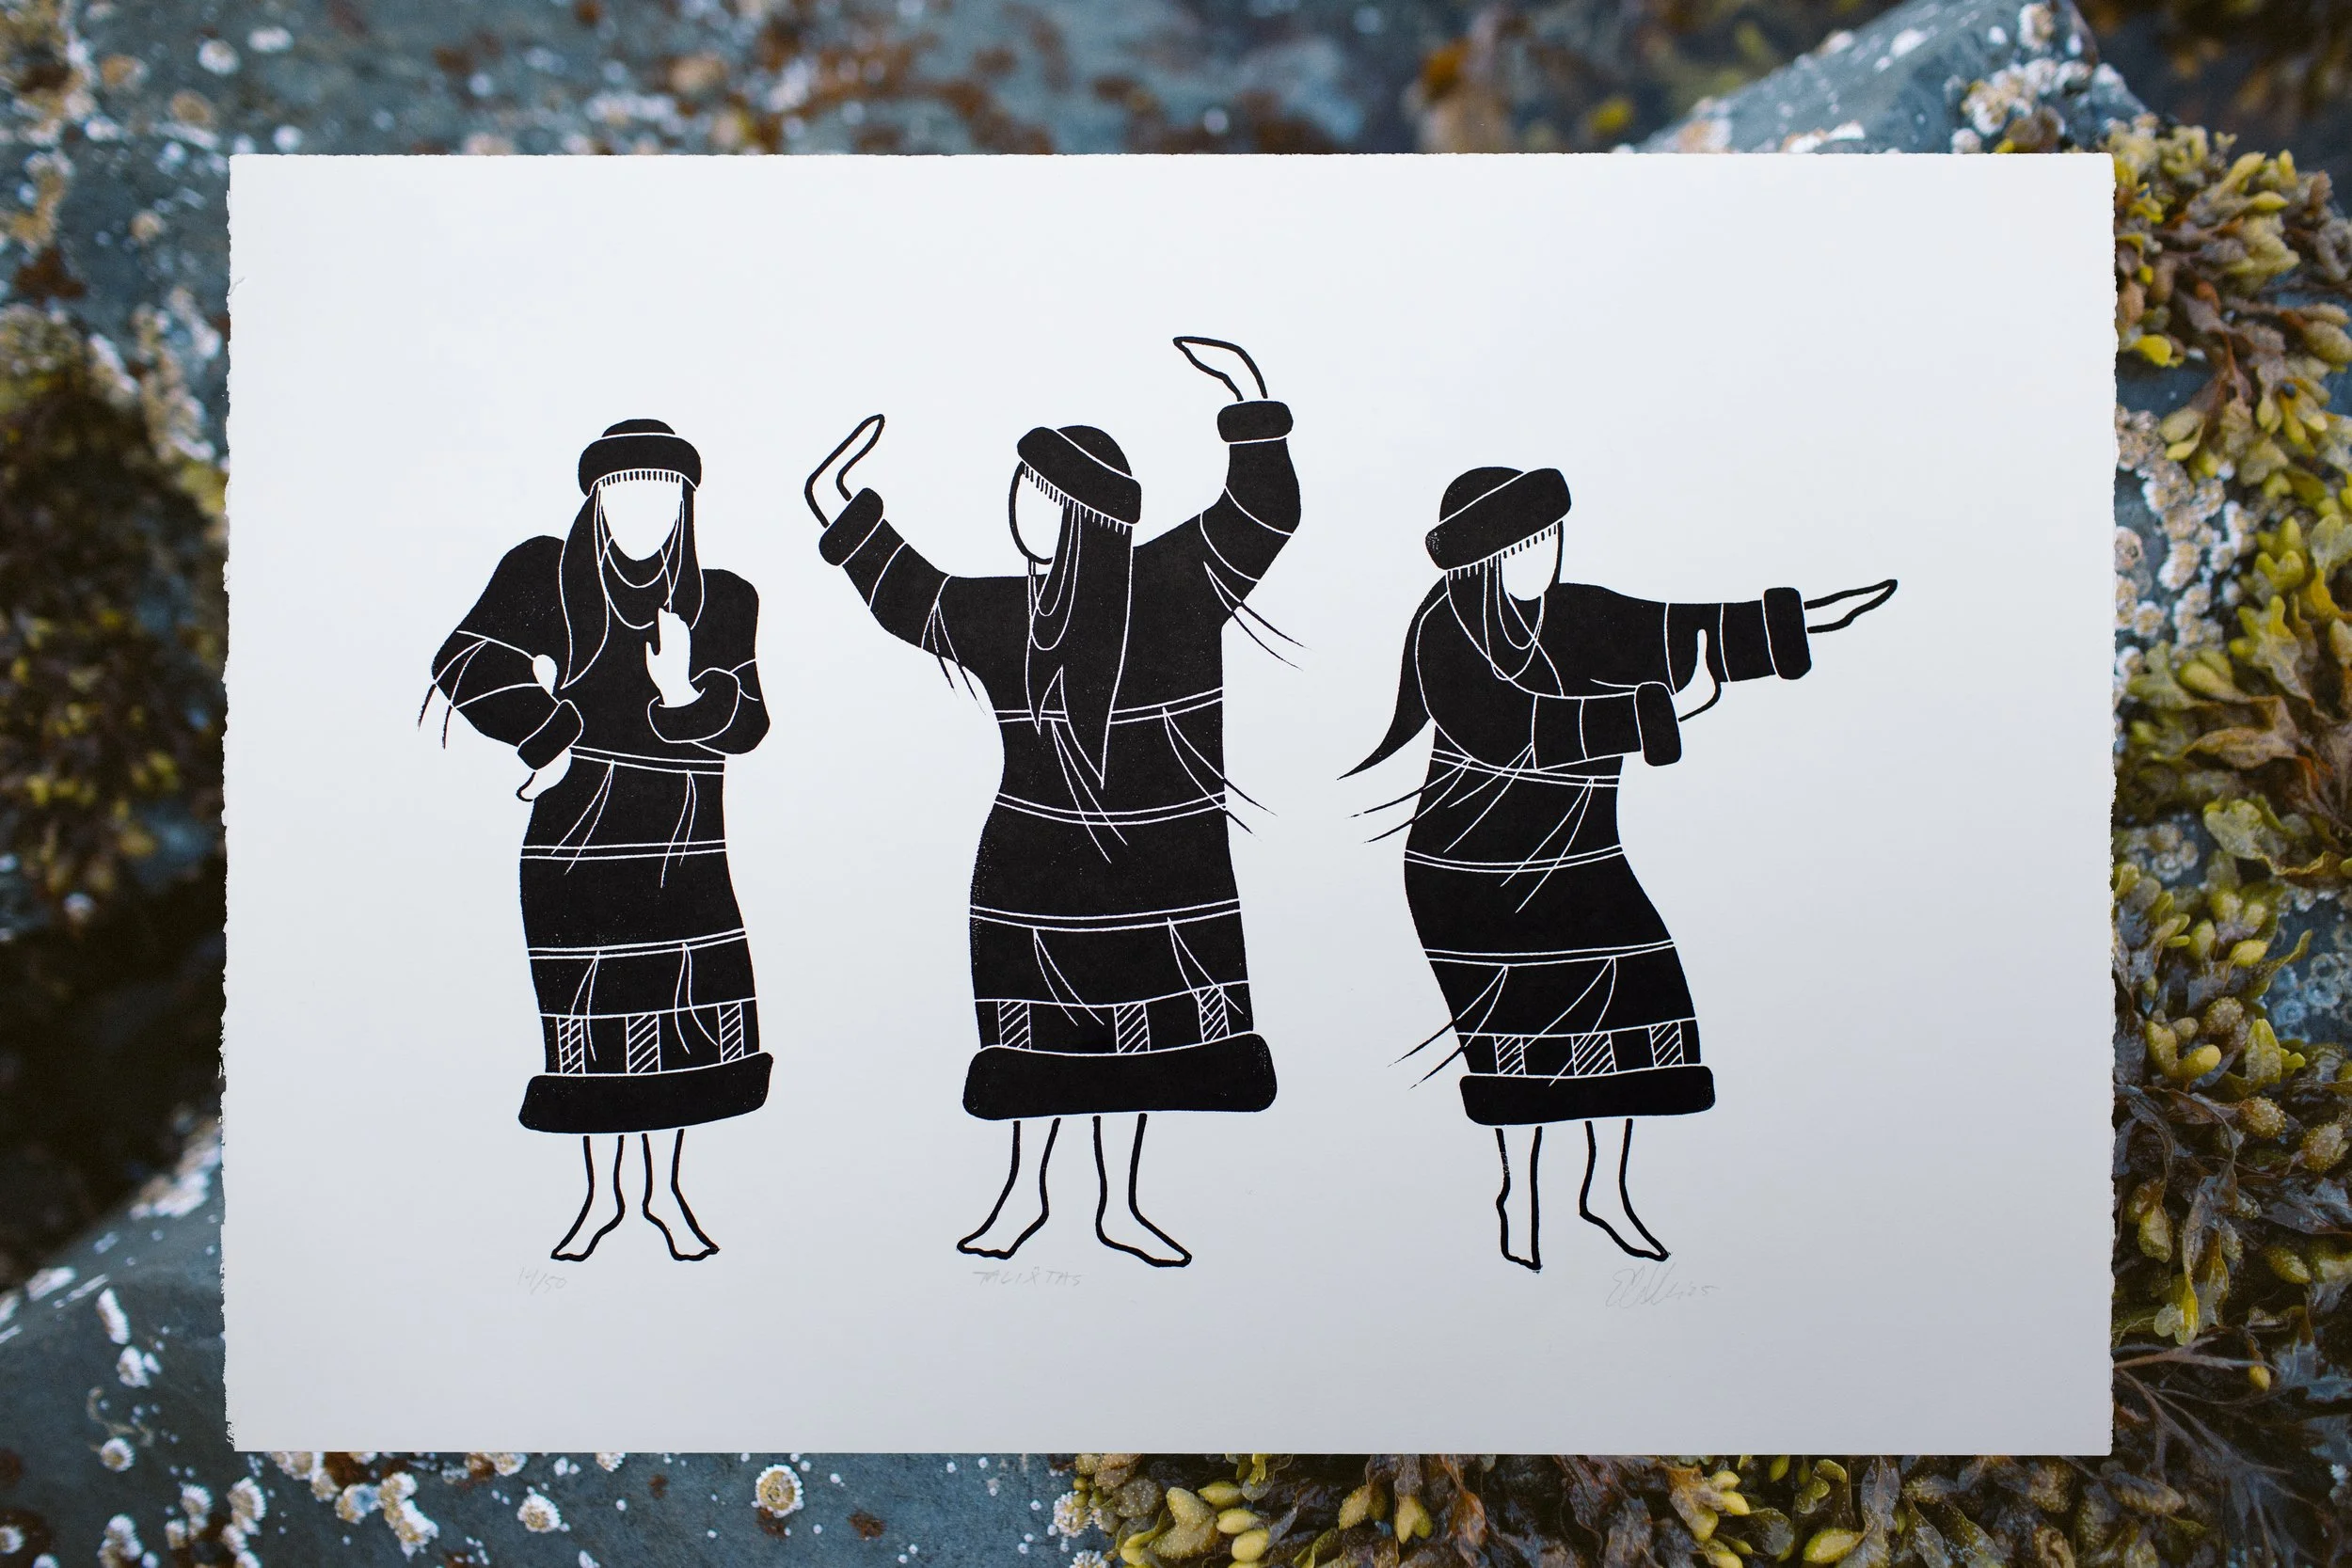
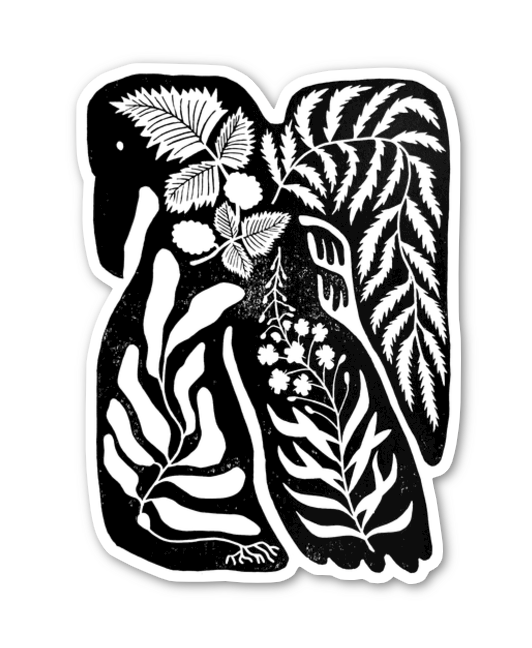
These posters are free to download and print out to post around your local neighborhood, in the window at your storefront, etc. Click on the image and it will take you to the file you can download and print.
Don’t have a printer? Your local library does! It’s usually only a few cents per page to print things at your local library.
Relief printing as a reflection of traditional indigenous carving
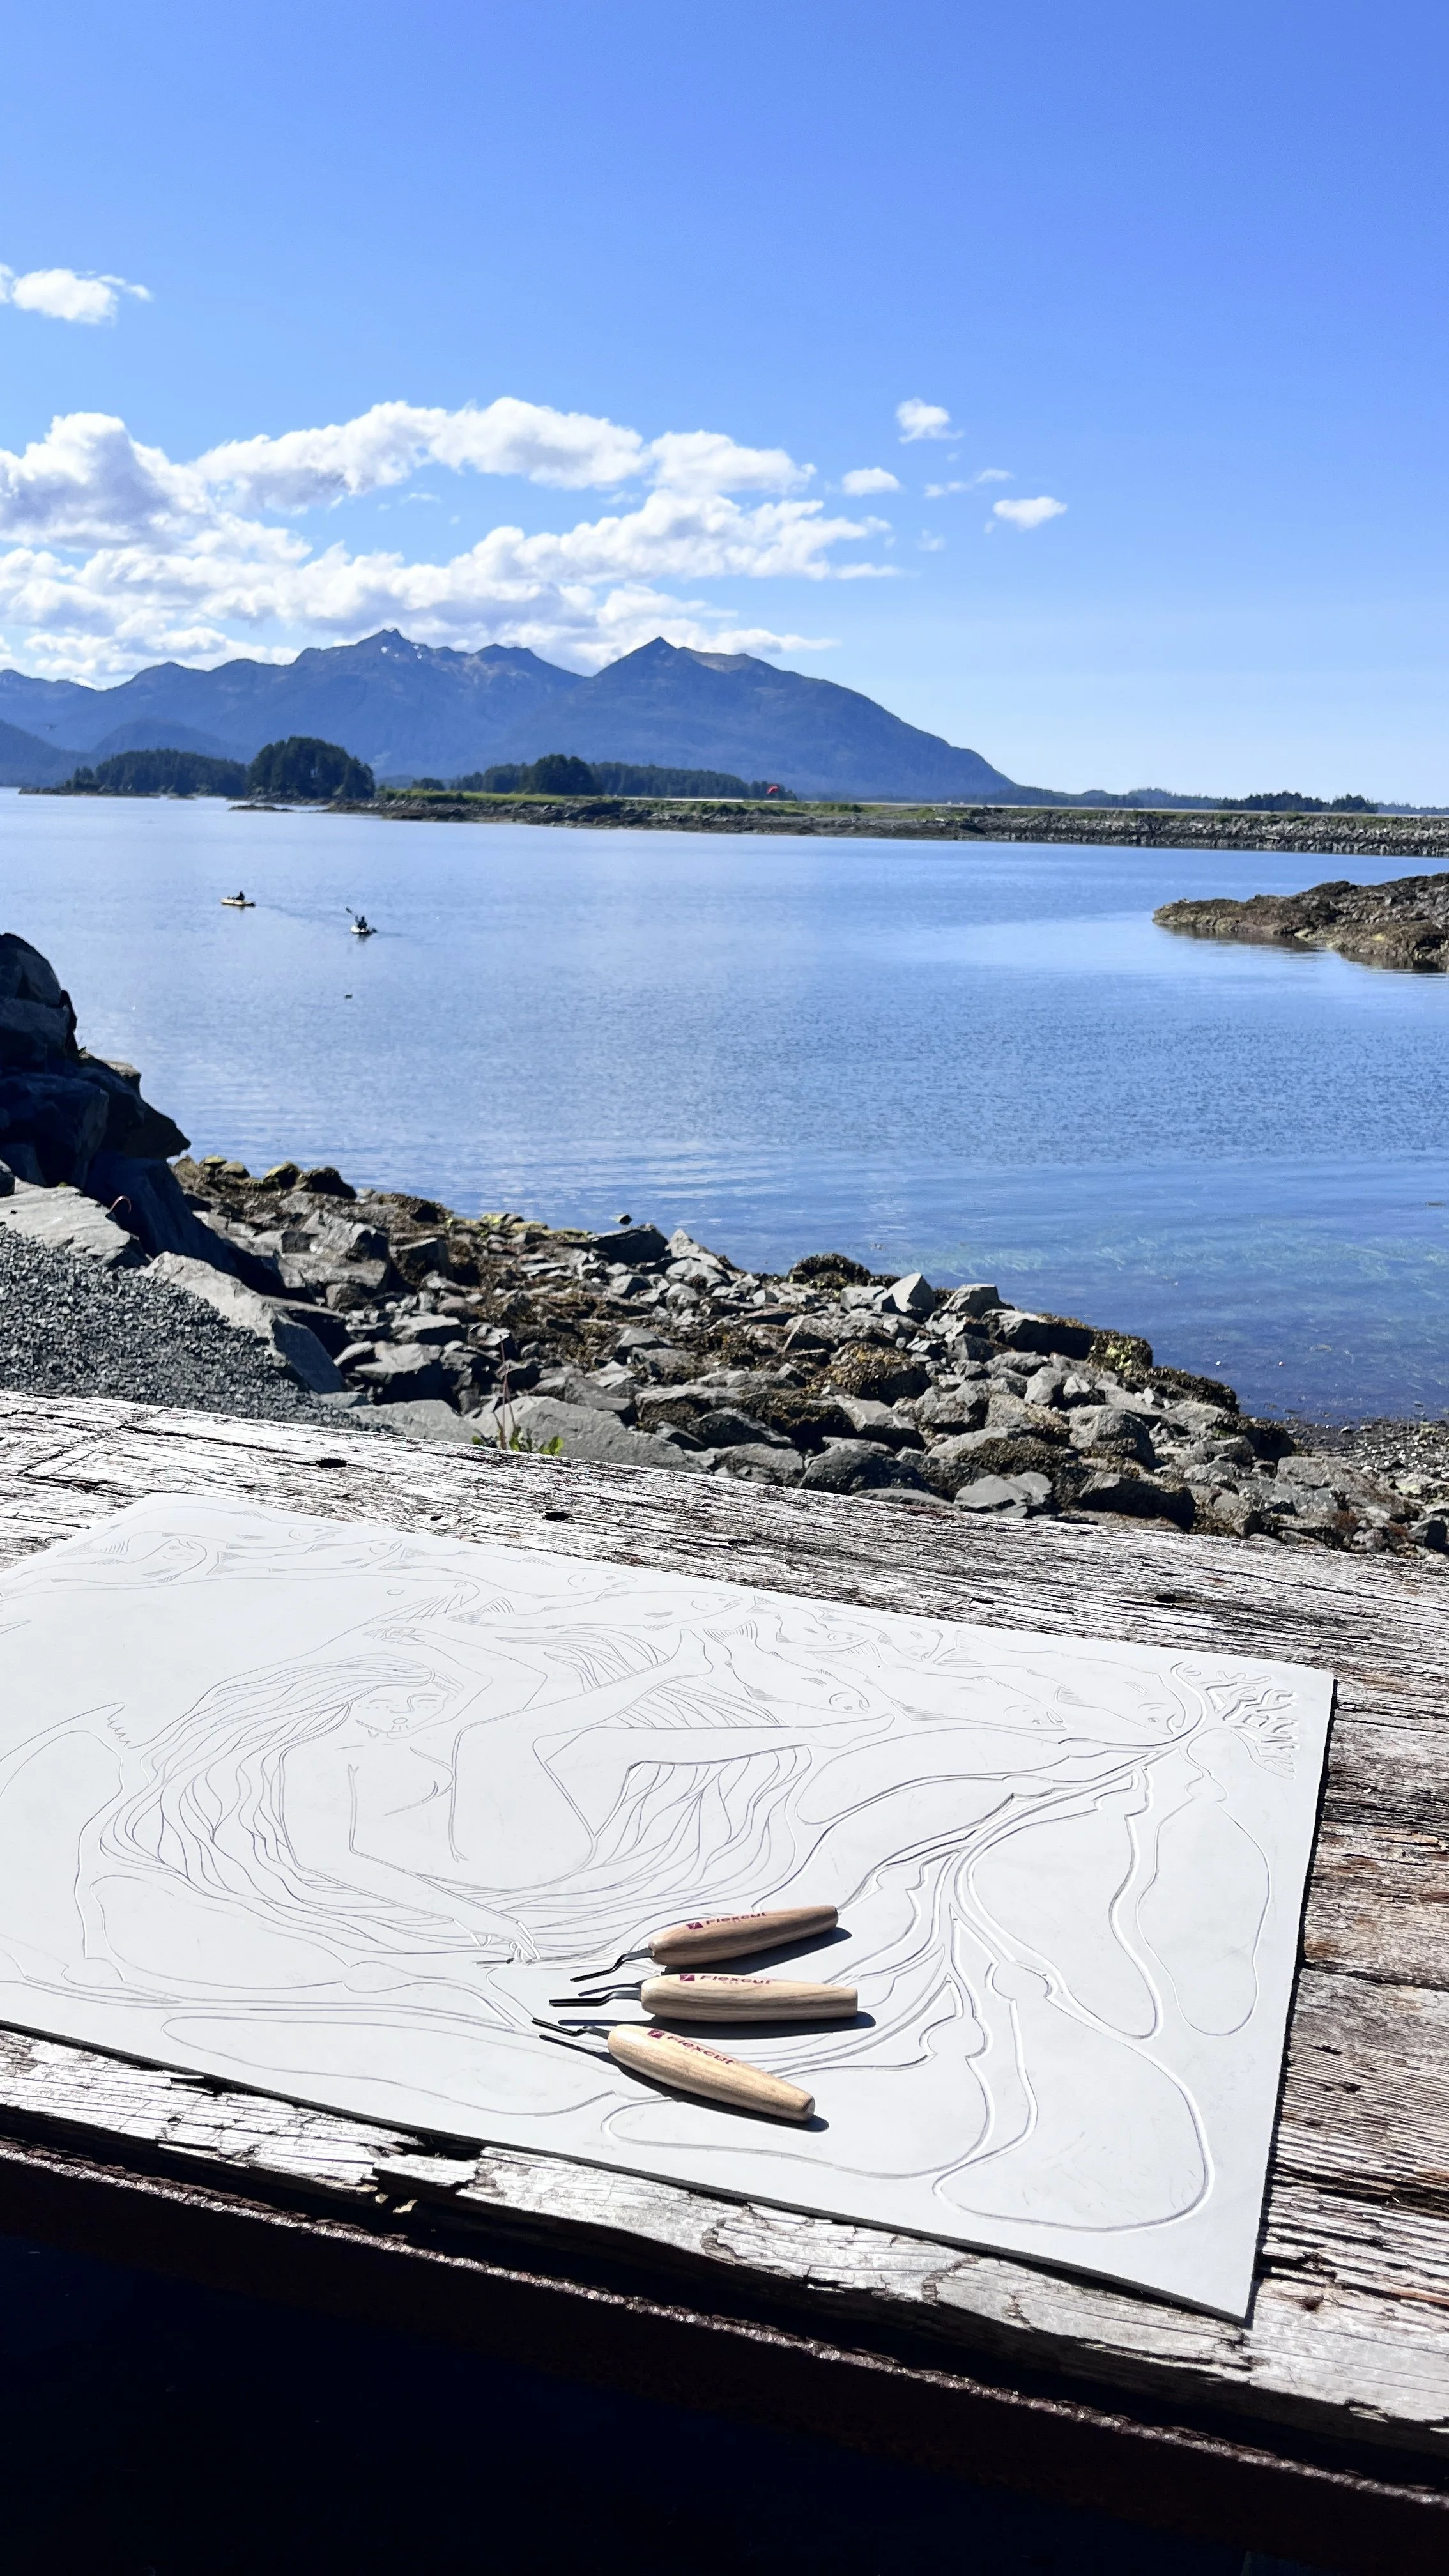
As a part of my artist residency at Sheldon Jackson Museum, I was invited to do a couple artist talks. As I’ve continued my relief printing practice, I’ve felt a correlation between relief carved prints and more traditional indigenous carving practices. The connection was brought to the front of my mind after attending Pacific Northwest Aleut Council’s culture camp last year where I took part in a mask carving class. I loved the class, carving masks, and also recognized a connection in the carving to what I was already doing as a relief printmaker. Even the tools were the exact same as the ones I used at home for carving relief print blocks.
For my talk, I delved into that connection and how indigenous artists have incorporated new mediums and materials into artistic practice as trade and availability bring them in. I also take a look back at the origins of relief printing and how it’s a truly ancient method of art-making. Watch it above!
“Sitka Wild” | A Brave Heart Volunteers Auction buoy
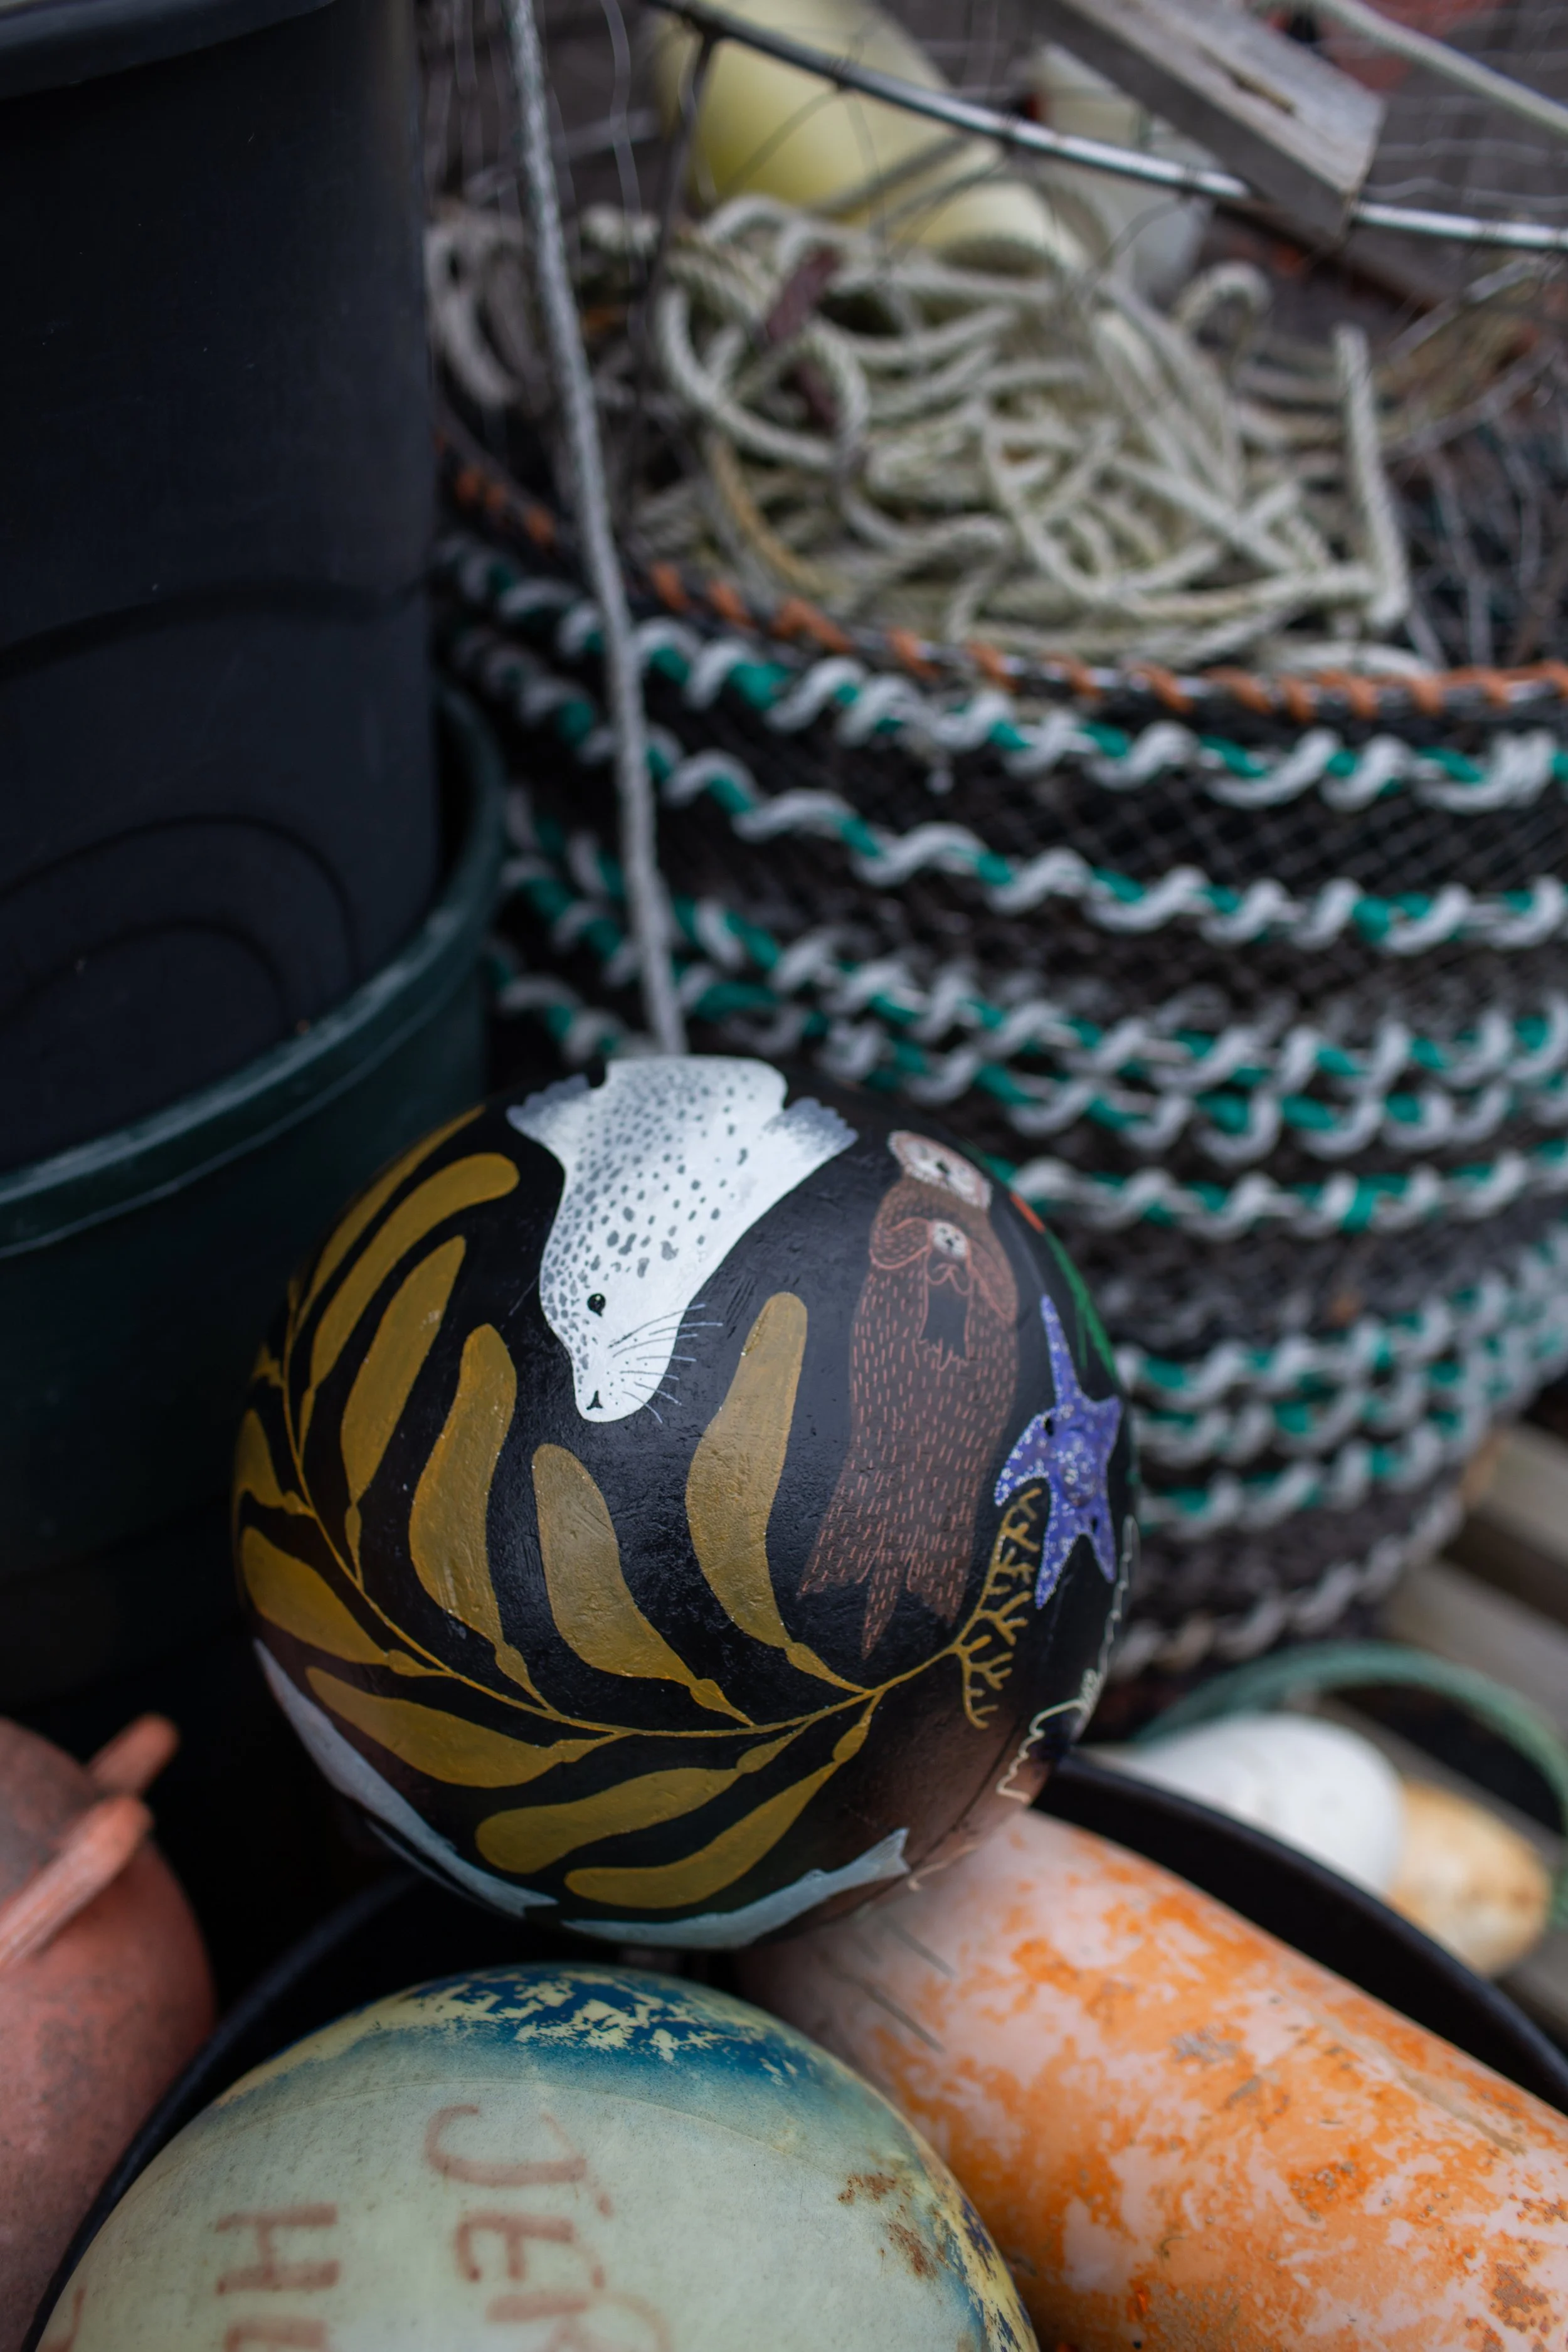
The last couple years I’ve watched as artists in Sitka painted these hard plastic buoys that get auctioned off every September to support Brave Heart Volunteers, a nonprofit organization offering free social, emotional, and educational support services in Sitka, Alaska. Their mission is to provide compassionate care, companionship, respite, and education to those facing illness, isolation, end of life, and grief. Both of my grandparents spent the last few years of their lives at the Pioneer Home in Sitka so their mission is important to me, and beyond that, I wanted to make sure I was giving back to the community that I was invited into as an artist in residence. So before I flew up to Sitka in early June I messaged them and asked if I could paint a buoy for the fundraiser this year and they said yes!
For my buoy I decided to celebrate some of my favorite flora and fauna in the Sitka area. On one side of the buoy there are undersea creatures and plant life, and on the other side are topside creatures and plants. These buoys aren’t the soft, inflatable kind you’re probably more familiar with. This is made of hard, hollow plastic so they’re easy to paint on but relatively lightweight.
For the undersea side I included salmon, kelp, a seal, sea star, and an otter mama and baby.
For the land side I painted a slug, ermine, mussels (which count as undersea, but they’re topside for low tide!), salmonberry, ravens, lupine, and a bald eagle.
The buoys are hung outside downtown over the summer and then they’ll be auctioned off in September! Typically they’re auctioned online in a silent auction but this year there’s going to be a live auction event as well.
It was incredibly fun to be able to paint a buoy this year and I would 100% do it again. It was a cool design challenge to paint on a sphere and I actually finally started using Posca pens for some of the detail work and definitely understand the hype.
If you’re in Sitka, keep an eye out downtown for it to get hung from one of the light poles!
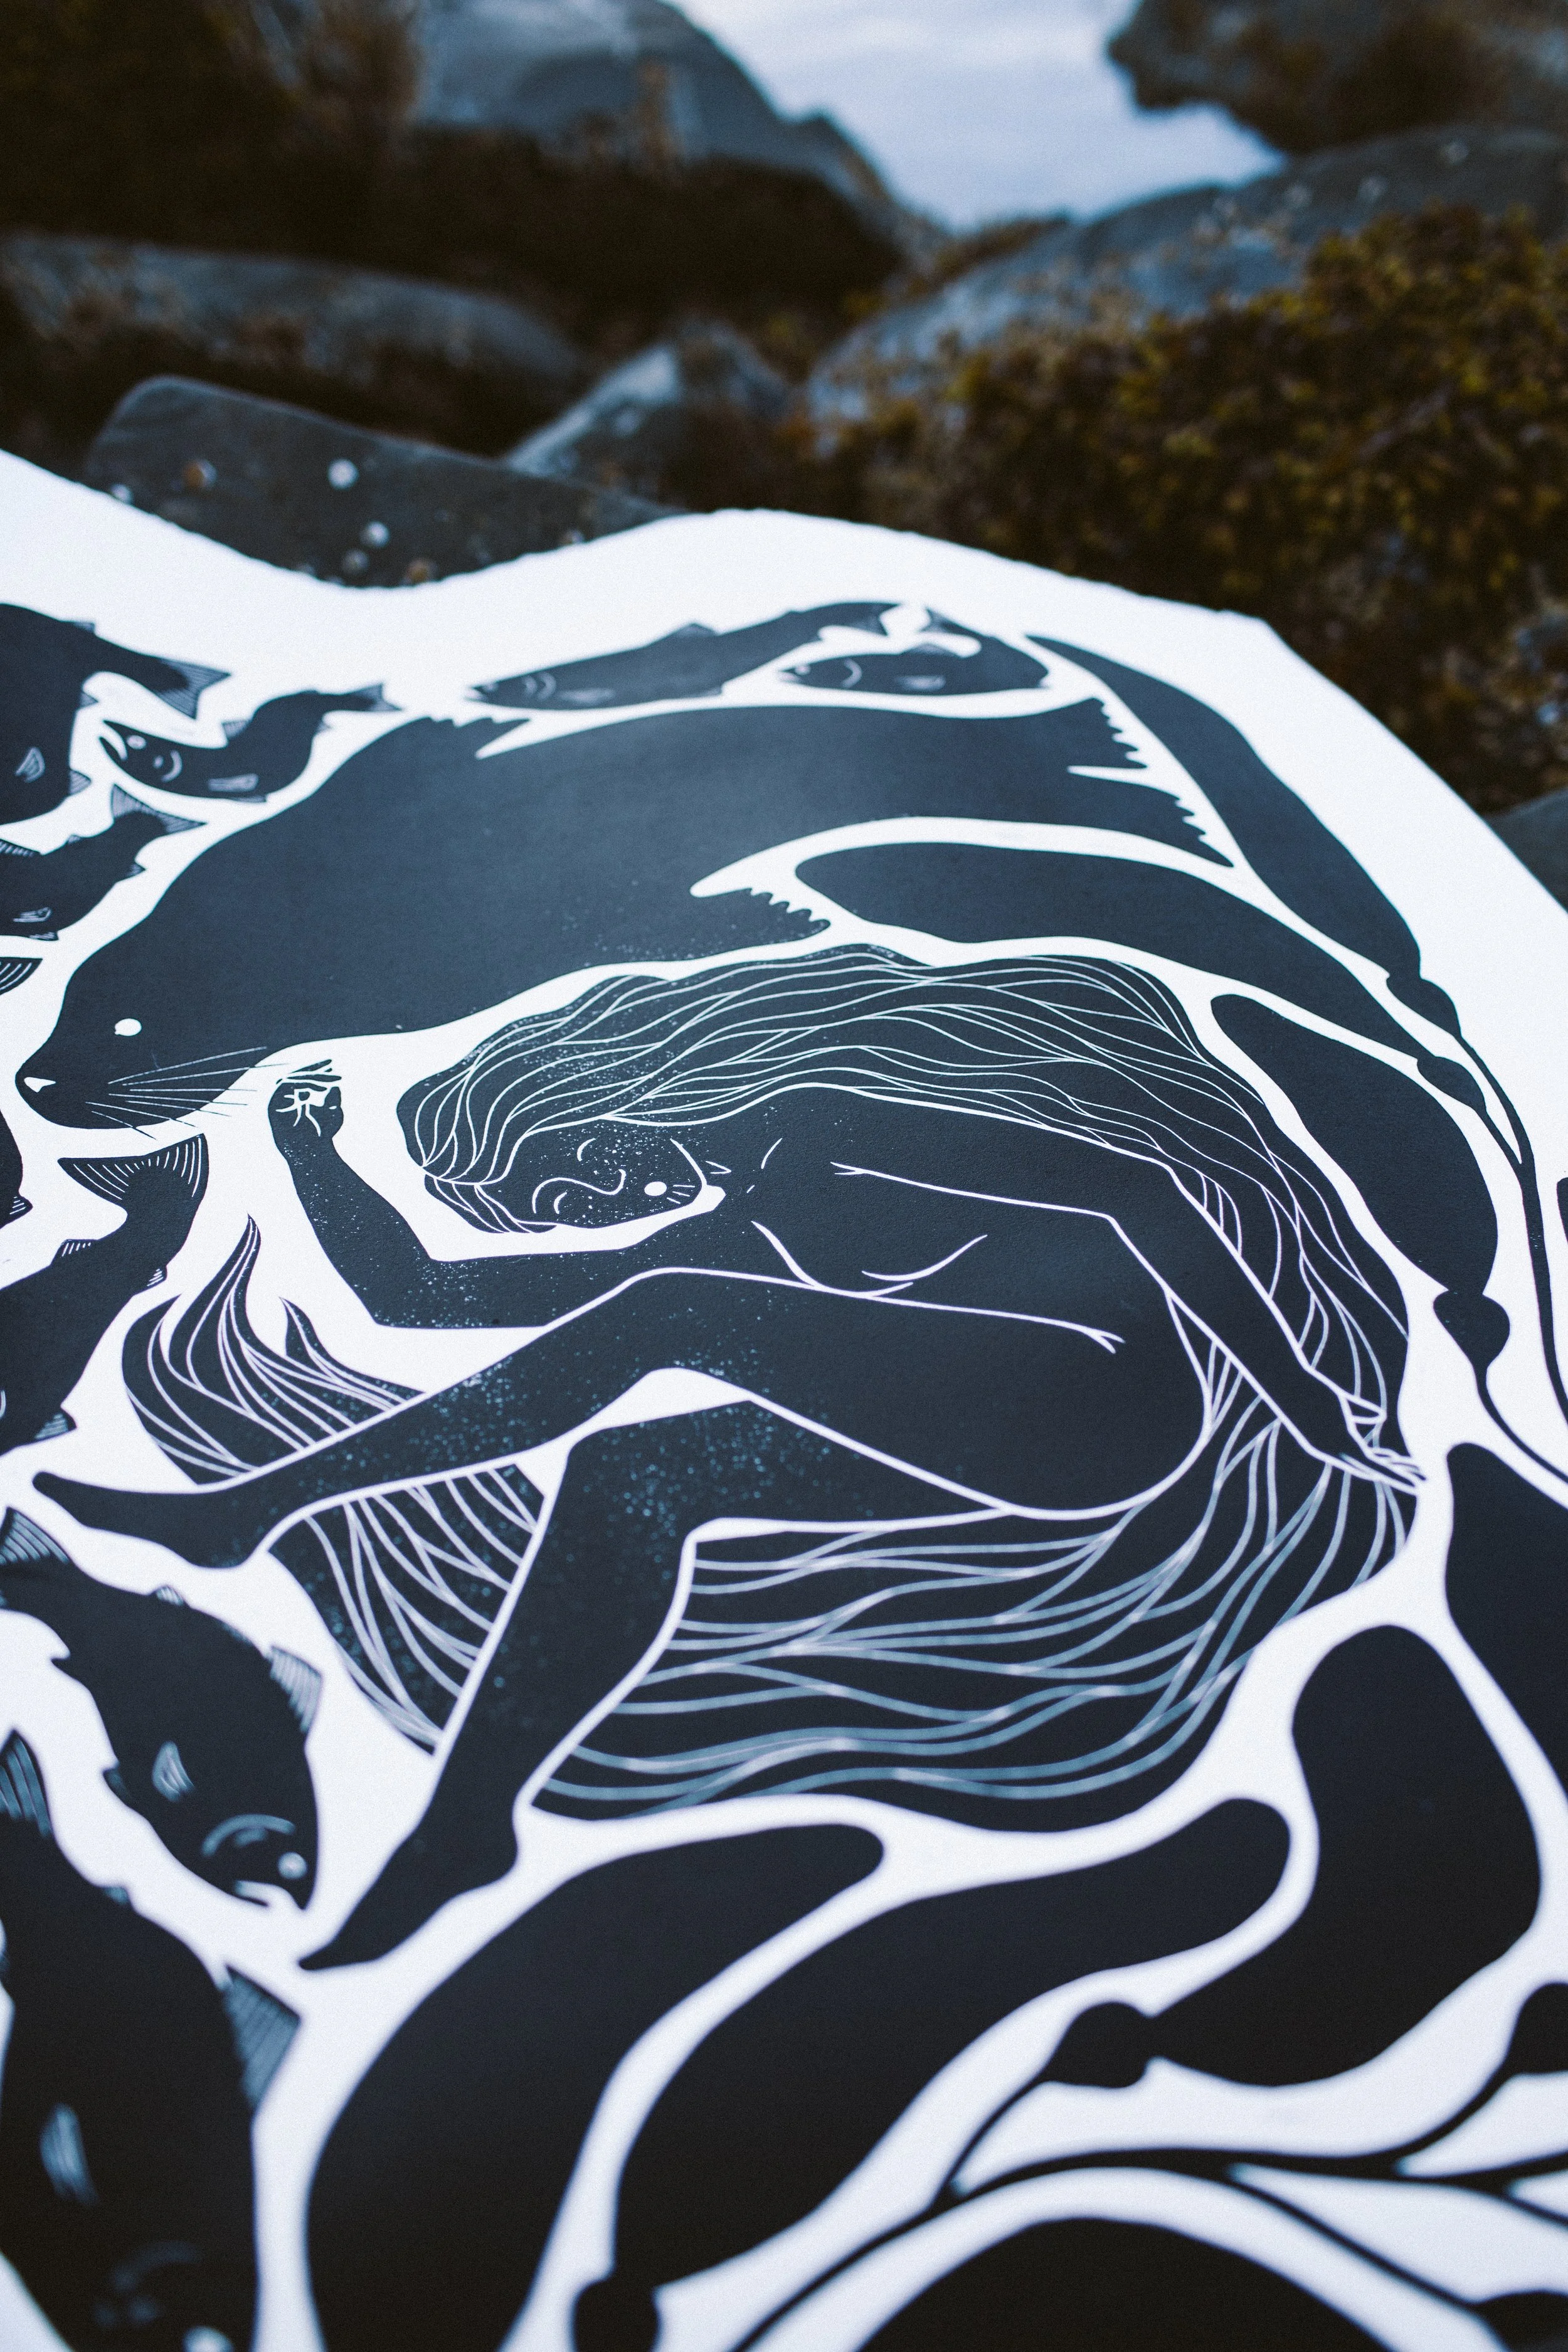
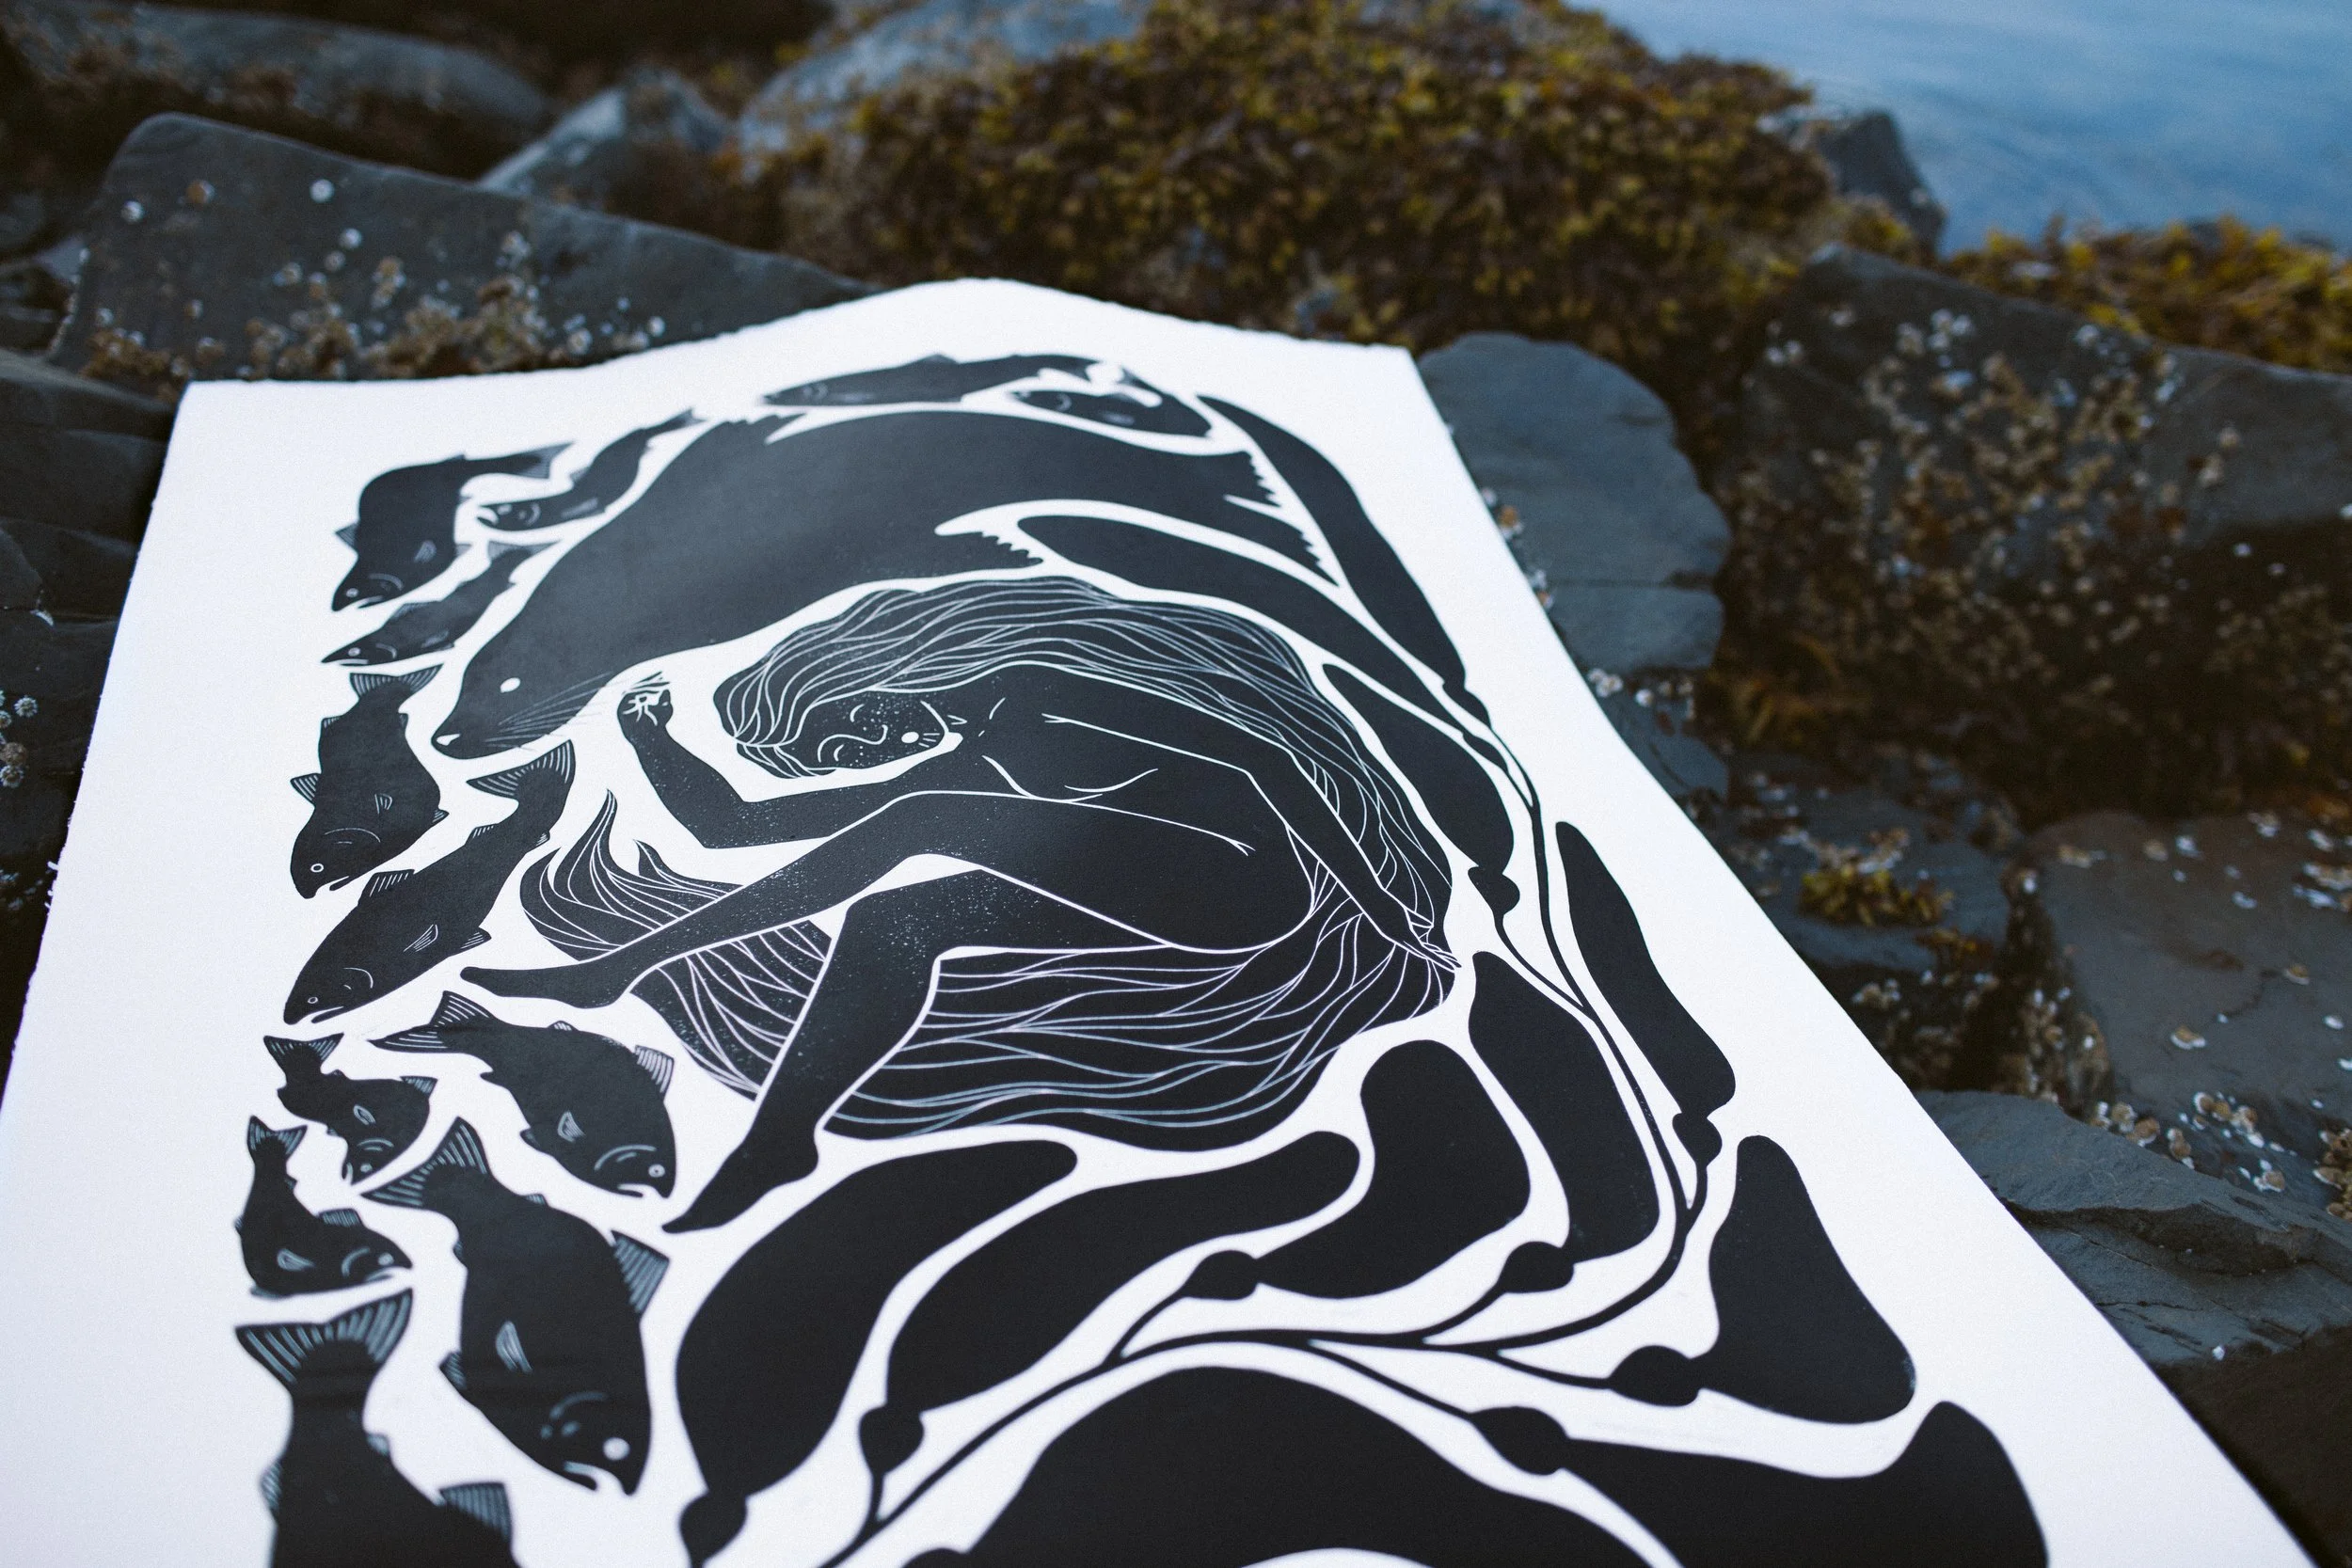
“Sea Kin” - a print to support the sheldon Jackson Museum Alaska Native Artist Residency
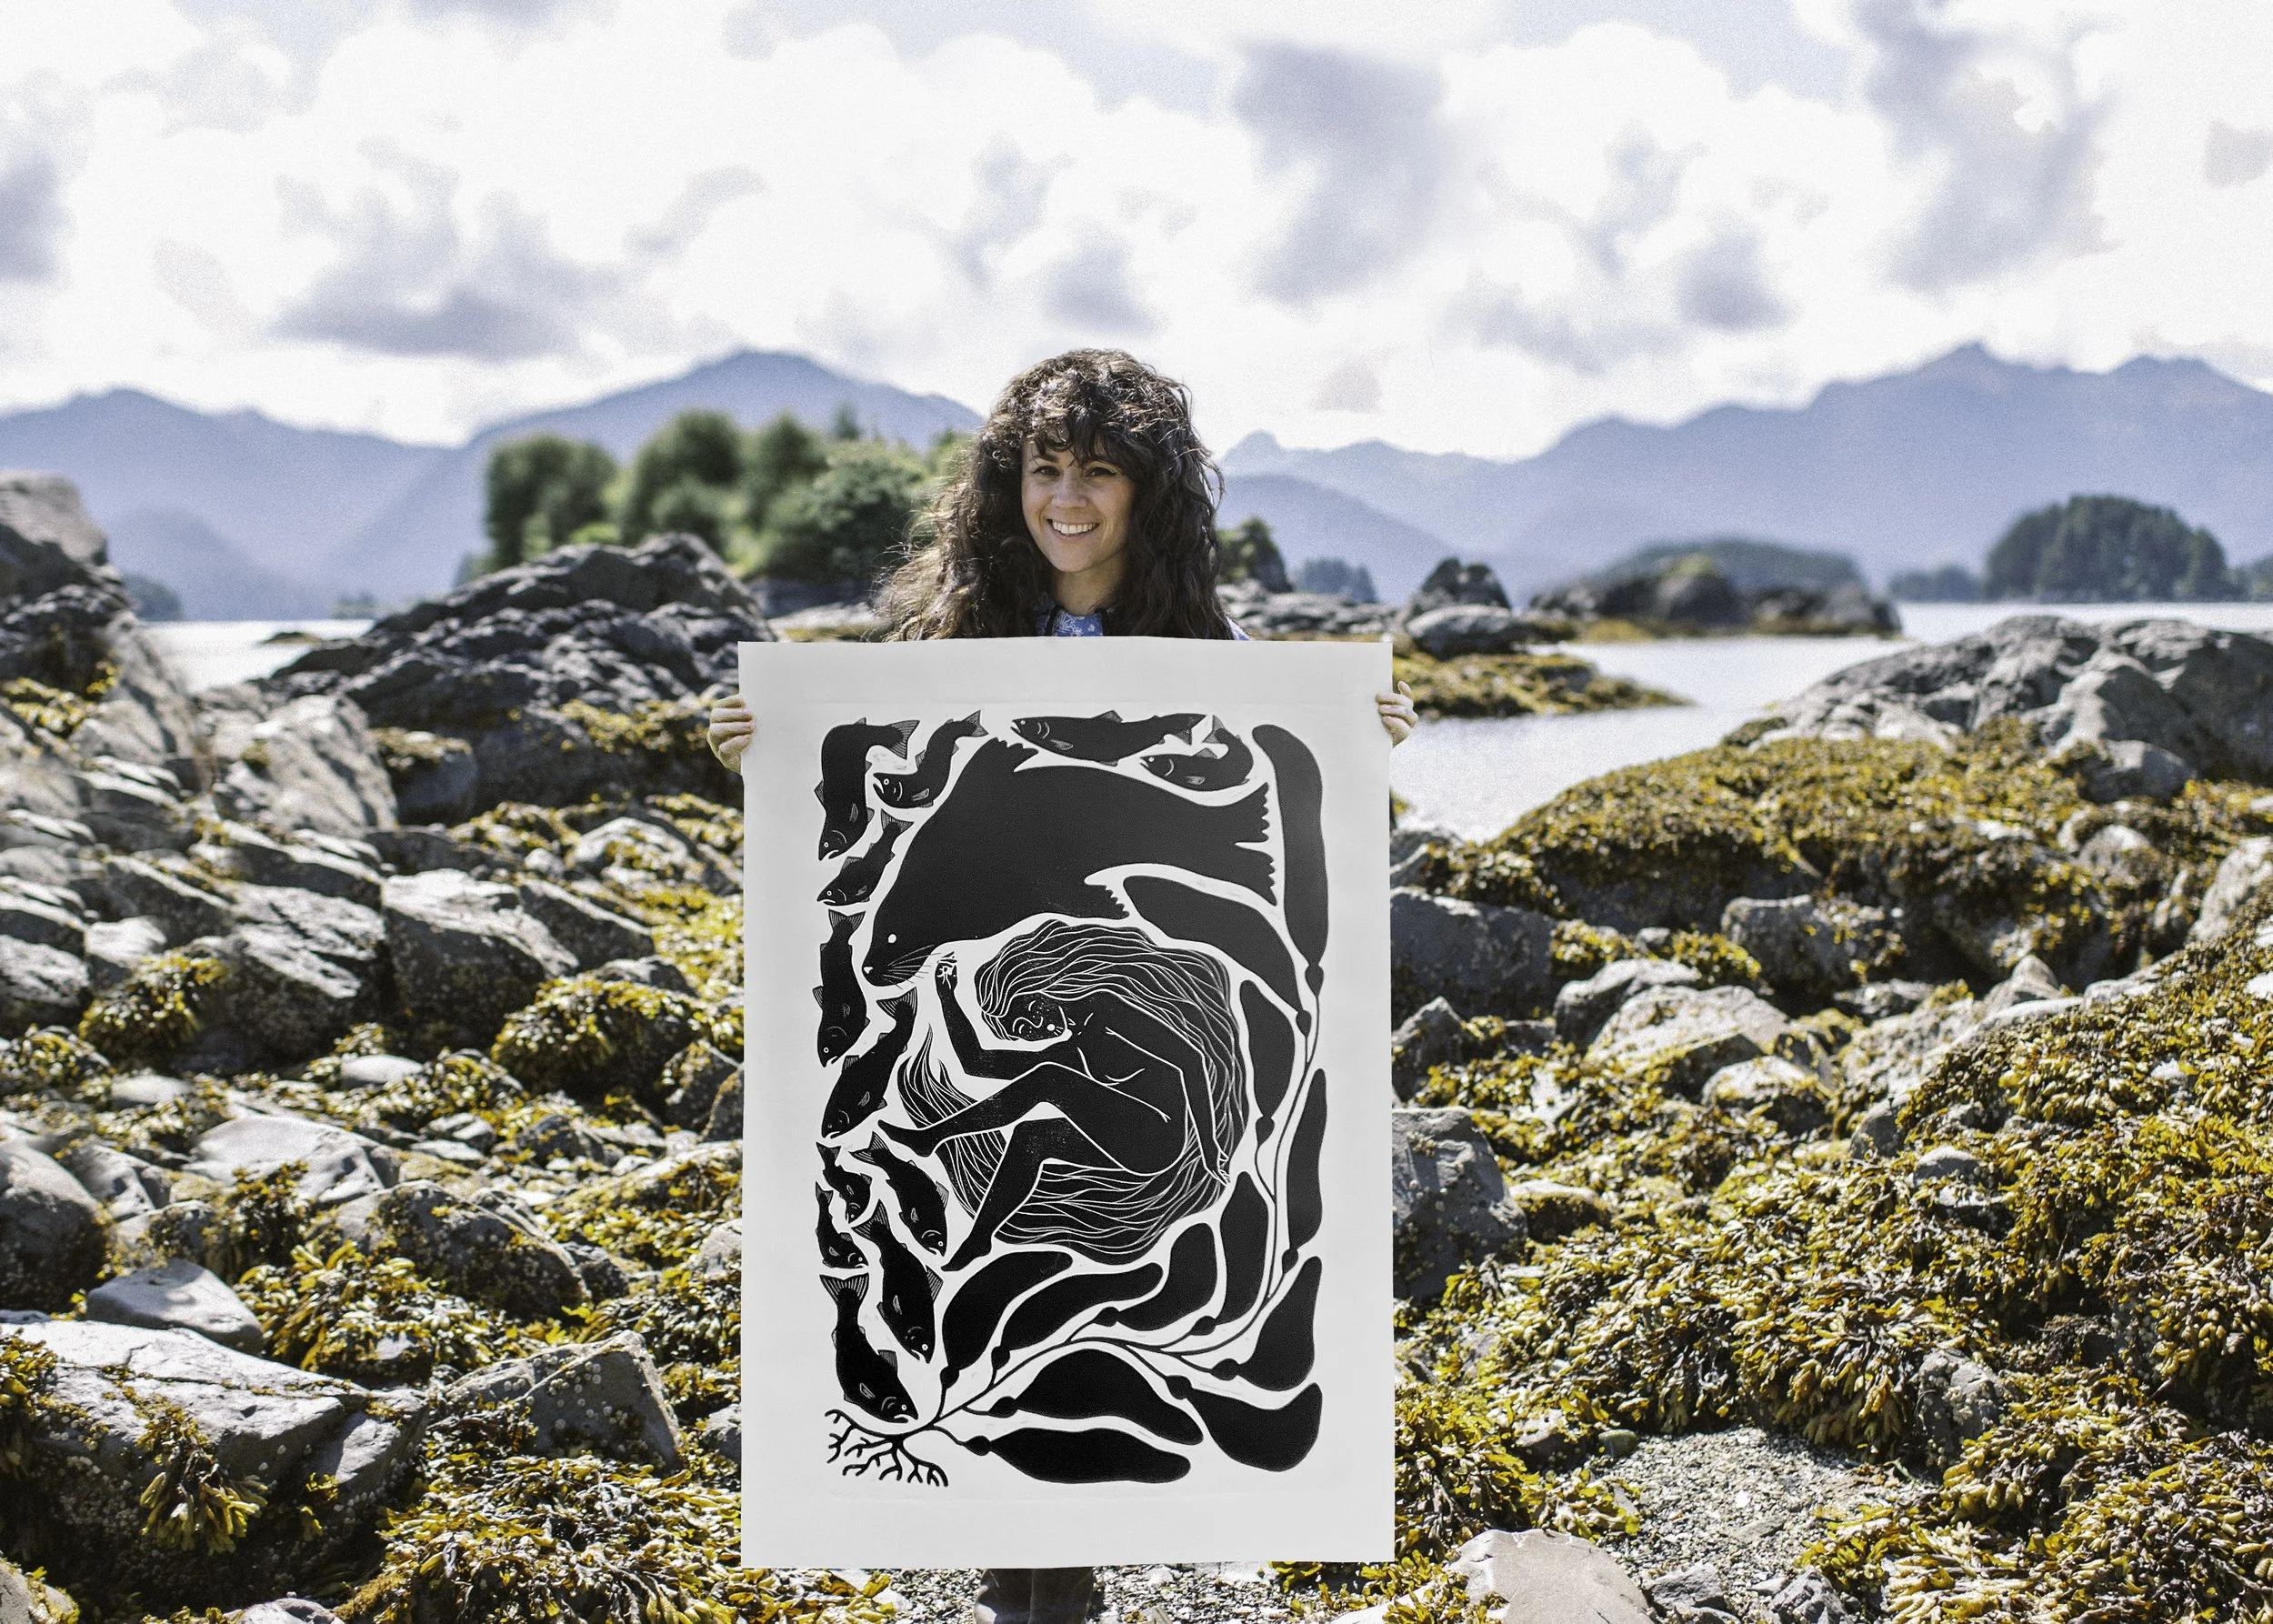
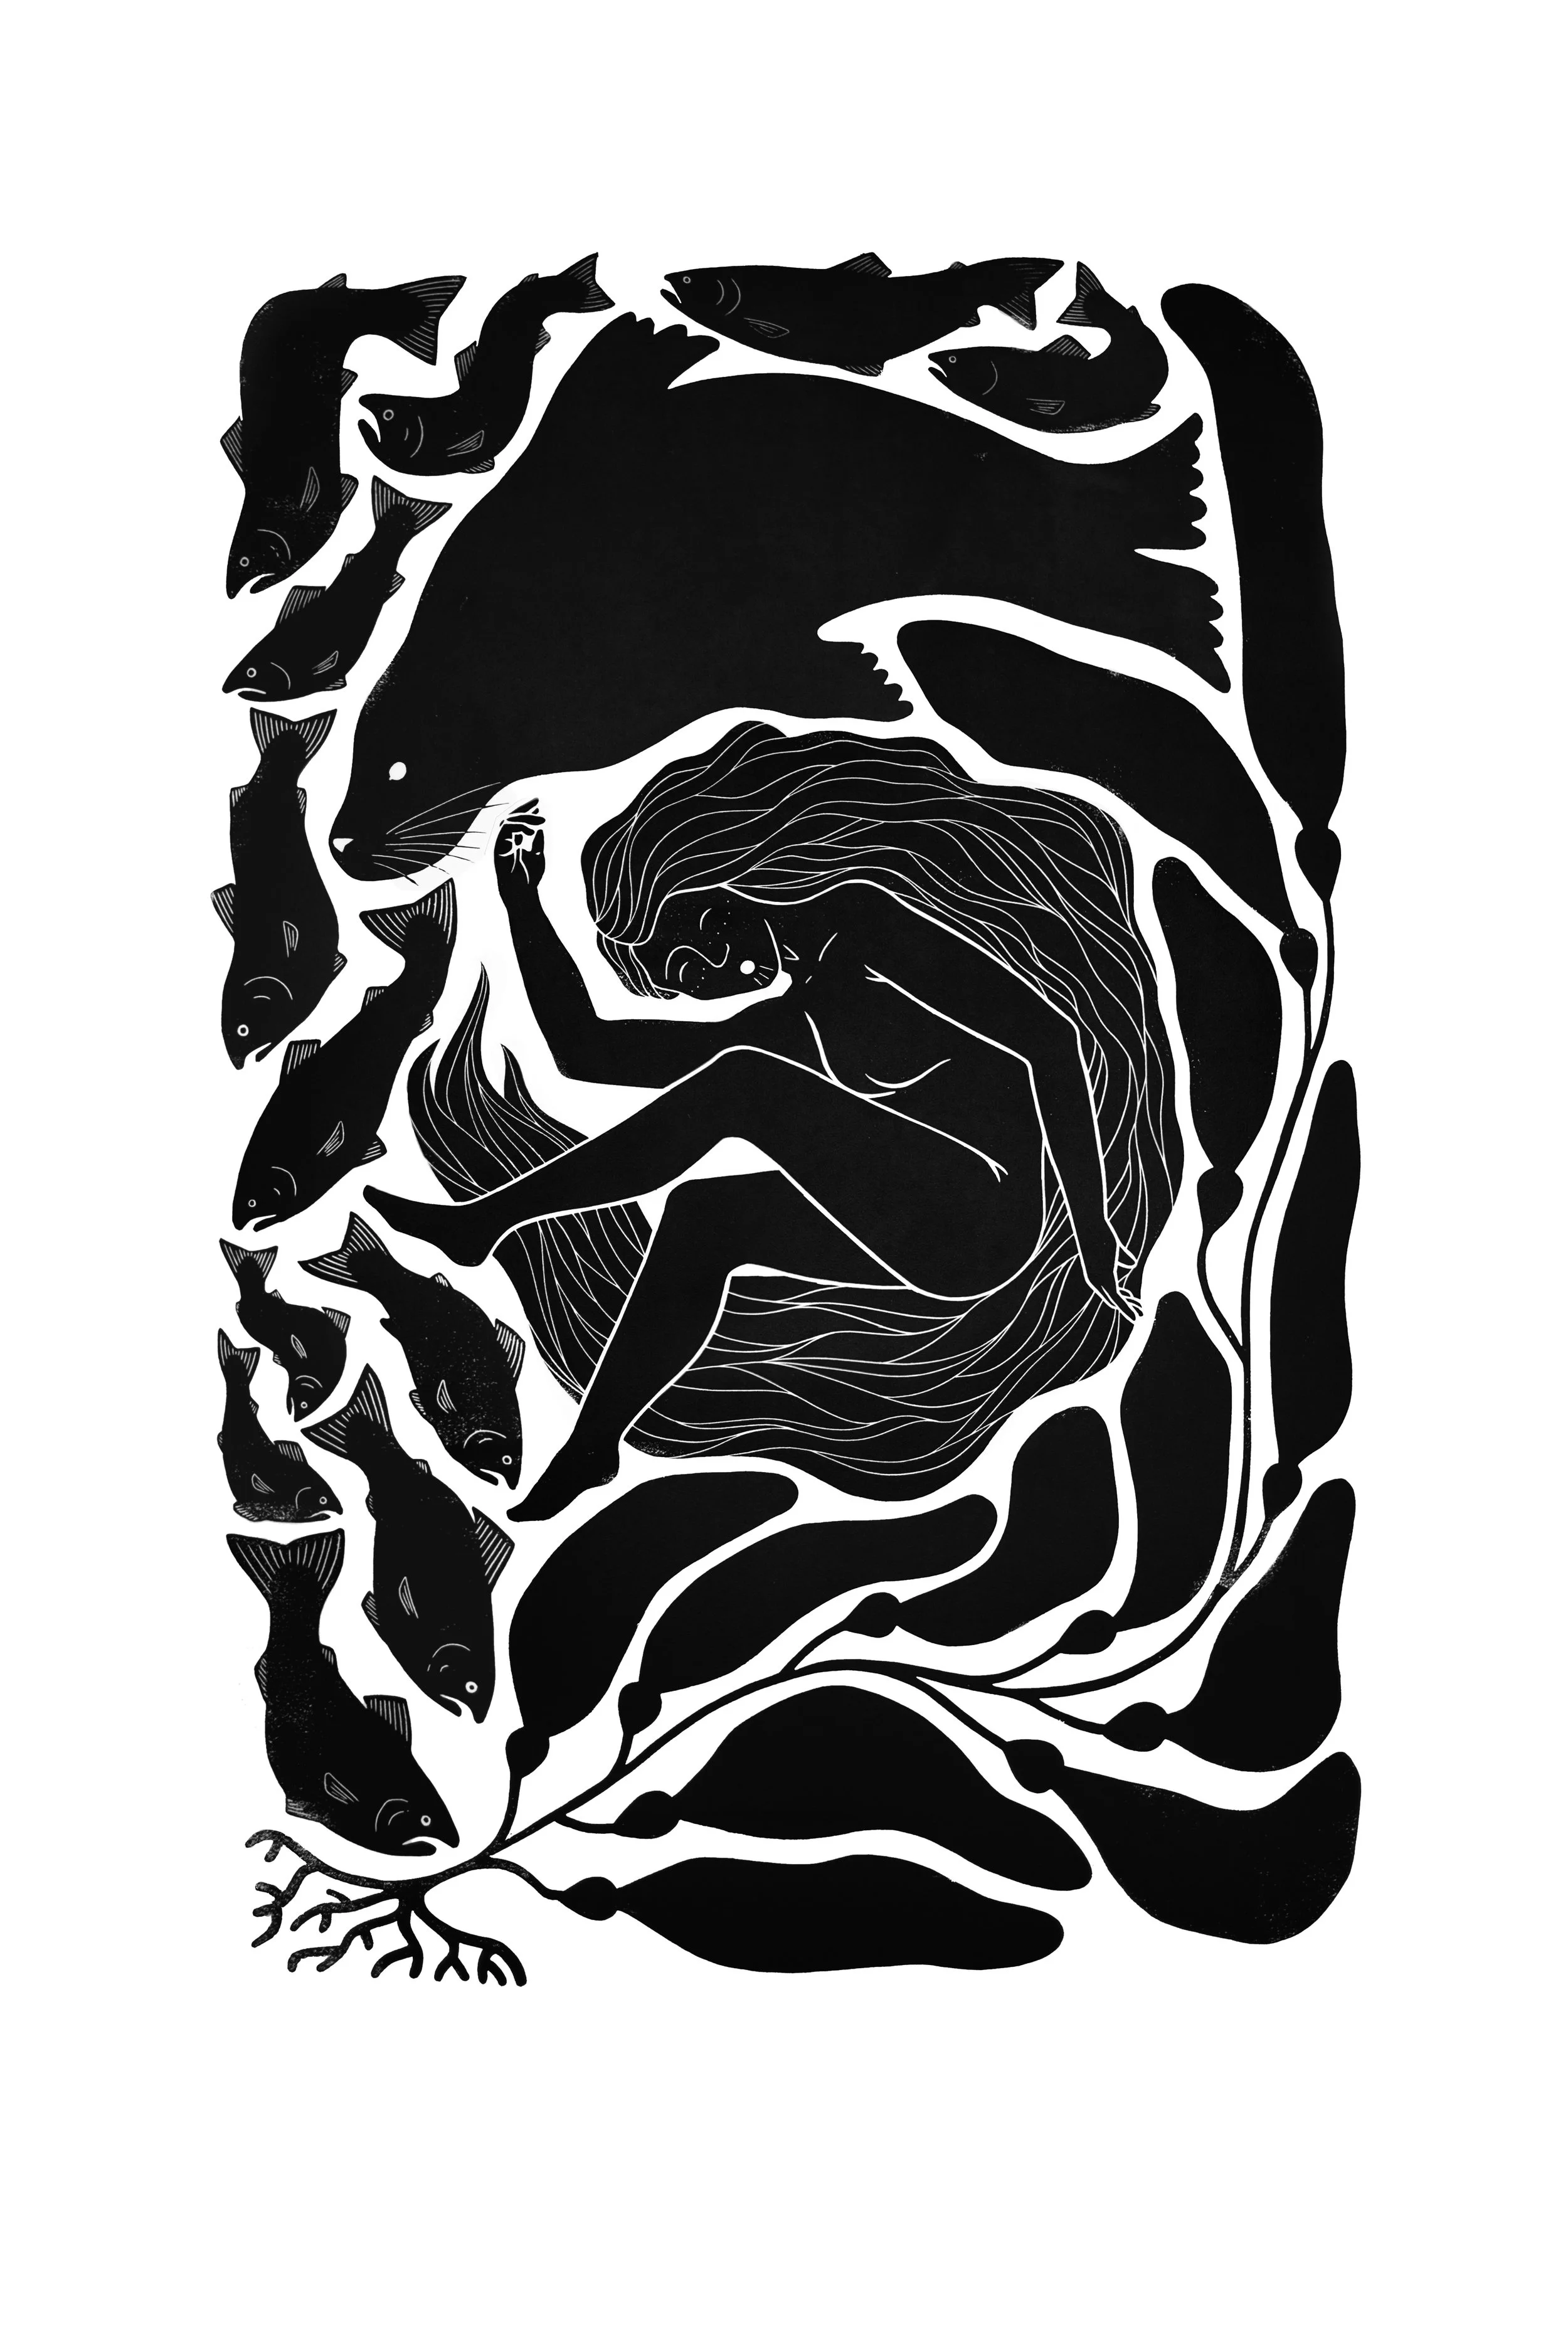
When I applied for Sheldon Jackson Museum’s Alaska Native Artist Residency Program in December I pitched a project inspired by the Tacoma Wayzgoose Festival here in Tacoma. Every year Tacoma Wayzgoose accepts 12 artists to carve large scale 2x3ft linoleum relief blocks which are then printed live at the festival, and one print by each artist is raffled off to support the festival. My idea for the residency was to spend the residency carving a large linoleum block, then printing it with a steamroller as a community event, and selling the prints produced with proceeds going directly to the Native Artist Residency program. At the time I pitched the idea, federal funding for the program was in place, but in the few weeks leading up to my residency the administration pulled the residency program’s funding— funding which they’d been receiving for 30 years. Thankfully a private organization stepped in to fund this year’s residencies, but looking to the future with National Endowment for the Arts funding in jeopardy, I’m hoping the sales from these prints can help, in some small way, to continue the residency program.
This print was inspired by a dream I had shortly before leaving for Sitka. In the dream I swam all the way from Tacoma to Sitka, then upon arriving in Sitka I was out on a spit of land across the water from town and a huge tsunami wave tossed me into the sea. I was tumbling underwater, the ocean was opaque from the wave kicking up silt, and I realized I couldn’t tell up from down to find the surface and was going to drown, alone beneath the waves. I woke up in a start— it was one of those almost-too-real dreams that had you wake with your heart racing. Later that day I was ruminating on the dream and realized that while I felt alone underwater because I couldn’t see anything, I wasn’t actually alone. I was surrounded by kin: Salmon guiding me to the headwaters of a stream, kelp growing towards upwards to guide me to the surface, seals who could pull me along.
I spent the first week of my residency carving the linoleum, then we got our steamroller rental delivered and printed! The steamroller was a little smaller than the ones we use for Wayzgoose so I wasn’t sure if it would be heavy enough, but it worked perfectly and we ended up with nine prints. So many people came out to watch and it was such a blast getting to do another steamroller print!
If you’re interested in purchasing one of these prints, get in touch with Friends of Sheldon Jackson Museum, they’re available with a minimum donation of $250.00. Huge thanks to the Friends of Sheldon Jackson and the team at Sheldon Jackson Museum for coming on board with this (possibly) wacky idea— steamroller printing was something I don’t think had been done in Sitka before, and I’m grateful they trusted my vision!
If you don’t want one of the prints but still want to donate to the residency program you can do that here! It’s a great program that brings several Alaska Native artists and craftsmen to Sitka to create work for three weeks in the summer. They also do lots of other programming throughout the year focused on Alaska Native culture bearers, researchers, and artists. And if you’re interested in applying for the residency program, the application typically opens up in December!
Tacoma Wayzgoose 2025
This year’s Tacoma Wayzgoose theme was “make some noise.” The email plopped in my inbox sharing the prompt for hopeful steamroller artists sharing, “This year's steamroller print theme celebrates the music of Tacoma. Think of all the great artists who've called Tacoma home, all the great venues, all the great music the city makes (foghorns and seagulls!), the music of languages, the music of everyday life...” I took that last section as my inspiration, ruminating on the music of Tacoma, what it’s like to close your eyes in the middle of the city and listen. What is the song of Tacoma?
“Where’s that confounded bridge?” Led Zeppelin’s The Crunge’s final lyrics ask. What is a song’s bridge? A musical change of pace, intended to provide contrast to the rest of the composition. Here in the Northwest we’re the bridge. We’re not the fancy metropolitan city of Seattle, we’re not a densely wooded small town or coastal hamlet, and we aren’t rolling fields of agricultural land. We’re something different. Something gritty and creative. We’ve got a little bit of funk to us, and I’m not just talking about the aroma. We strut to the beat of our own rhythm. Blue collar, grunge, and art all steeped together under the watchful eye of our namesake peak.
And then there’s the bridge, or should I say bridges. We’re perched on our peninsula jutting out into the Puget sound, anchored on west and east by bridges— Tacoma Narrows, Murray Morgan, and the E 21st St bridge.
In this piece I wanted to share a poem about the music of Tacoma, it’s people, it’s land, the interweaving of everything we hear when we close our eyes in the middle of the city. Tacoma has birthed many amazing artists, some nationally known, like Neko Case, some with cult Tacoma followings, like Girl Trouble— but I like to think we are all a part of the song of Tacoma, being sung throughout the ages as we build our lives between bridges in this little gritty city, “a dusty old jewel on the south Puget Sound.”
I wanted to create something that had a similar visual style to last year’s Wayzgoose print, so they could hang together and be like a sort of diptych. They both have the same black border and if you hang the Home Sweet Tacoma one to the left of this one they’re sort of geographically accurate with the port east of the Murray Morgan Bridge.
The few original steamroller prints I had sold out in ten minutes but I made 20x30 and 16x24 reproduciton giclee prints of this one like I did for last year’s steamroller print so those are in the shop!
Hi, I’m Liz
I'm an artist, writer, designer, DIY renovator, and … well basically I like to do all the things. If it’s creative I’m probably doing it. I’ve spent over 30 years voraciously pursuing a life steeped in creativity and I wholeheartedly believe creativity and joy are inextricably linked.
Read more…
Explore The Archive
- January 2026
- July 2025
- May 2025
- January 2025
- December 2024
- August 2024
- July 2024
- May 2024
- April 2024
- January 2024
- December 2023
- October 2023
- September 2023
- July 2023
- June 2023
- May 2023
- April 2023
- March 2023
- February 2023
- January 2023
- December 2022
- November 2022
- October 2022
- August 2022
- June 2022
- May 2022
- April 2022
- March 2022
- November 2021
- October 2021
- August 2021
- July 2021
- May 2021
- January 2021
- November 2020
- October 2020
- September 2020
- August 2020
- July 2020
- June 2020
- May 2020
- April 2020
- February 2020
- January 2020
- November 2019
- October 2019
- August 2019
- July 2019
- June 2019
- May 2019
- April 2019
- February 2019
- January 2019
- December 2018
- November 2018
- October 2018
- September 2018
- August 2018
- July 2018
- June 2018
- May 2018
- April 2018
- February 2018
- January 2018
- November 2017
- September 2017
- August 2017
- July 2017
- June 2017
- May 2017
- April 2017
- March 2017
- February 2017
- January 2017
- December 2016
- November 2016
- October 2016
- September 2016
- August 2016
- June 2016
- May 2016
- April 2016
- March 2016
- February 2016
- January 2016
- December 2015
- November 2015
- October 2015
- September 2015
- August 2015
- July 2015
- June 2015
- May 2015
- April 2015
- March 2015
- February 2015
- January 2015
- December 2014
- November 2014
- October 2014
- September 2014
- August 2014
- July 2014
- June 2014
- May 2014
- April 2014
- March 2014
- February 2014
- January 2014
- December 2013
- November 2013
- October 2013
- September 2013
- August 2013
- July 2013
- June 2013
- May 2013
- April 2013
- March 2013
- February 2013
- January 2013
- December 2012
- November 2012
- October 2012
- September 2012
- August 2012
- July 2012
- June 2012
- May 2012
- April 2012
- March 2012
- February 2012
- January 2012
- December 2011
- November 2011
- October 2011
- September 2011
- August 2011
- July 2011
- June 2011
- May 2011
- April 2011
- March 2011
- February 2011
- January 2011
- December 2010
- November 2010
- October 2010
- September 2010
- August 2010
- July 2010
- June 2010
- May 2010
- April 2010
- March 2010
- February 2010
- January 2010
- December 2009
- November 2009
- October 2009
- September 2009
- August 2009
- July 2009
- June 2009
- May 2009
- April 2009
- March 2009
- February 2009
- January 2009
- December 2008
- November 2008
- October 2008
- September 2008
- August 2008
- July 2008
VISIT THE SHOP
PRIVACY POLICY & DISCLOSURE
We are a participant in the Amazon Services LLC Associates Program, an affiliate advertising program designed to provide a means for us to earn fees by linking to Amazon.com and affiliated sites.

