DIY: Glitter Star Crown
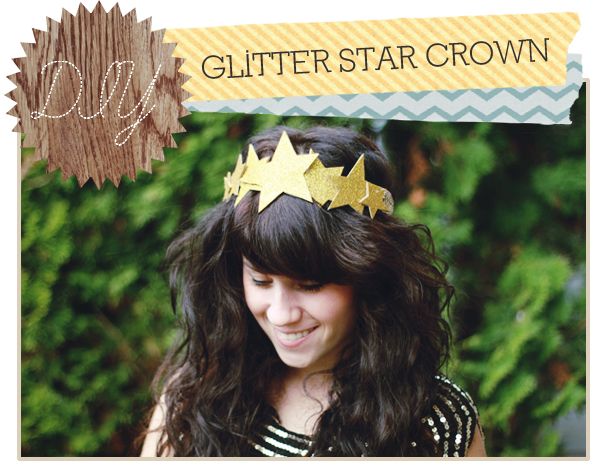
Since we don't have a Christmas tree this year (yeah, our house is that small), I've been channelling my Christmas spirit in other ways, such as creating fun Christmas packaging and DIY presents for people. I wanted to make something festive that I could wear to the holiday progressive dinner next sunday and I thought that glitter + stars + crown= super festive! I had some leftover glitter sticky foam from the wedding, which was perfect! It only took me about a half hour (and then some dry time for the glue and paint).
What you'll need:
Sticky glitter foam paper (I got mine at Michael's. It's just 8.5 x 11 sheets of that foam stuff, but with a sticky back and glitter on top)
Glitter Paint (I used Martha Stewart's stuff, also from Micheal's)
A strip of fabric, a little longer than the circumference of your head
Thin Cardboard, like cereal box cardboard
A Glue Gun
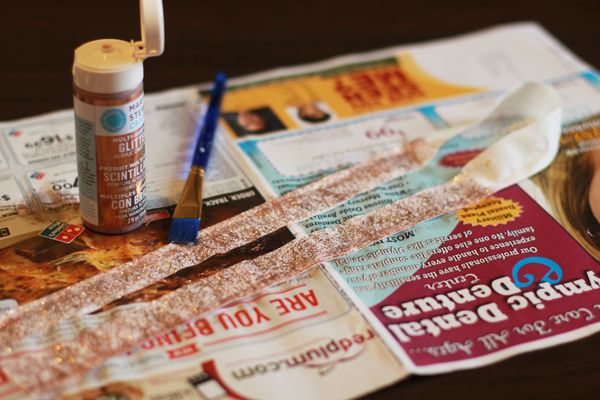
Start off by painting the glitter paint on the headband portion of the crown. You'll want to leave the area at the front (where you'll be gluing your stars) and the tips of the strip (where you'll tie it in the back) free of glitter paint, just so it's easier to glue the stars on and tie it. Set this aside while you work on the stars.
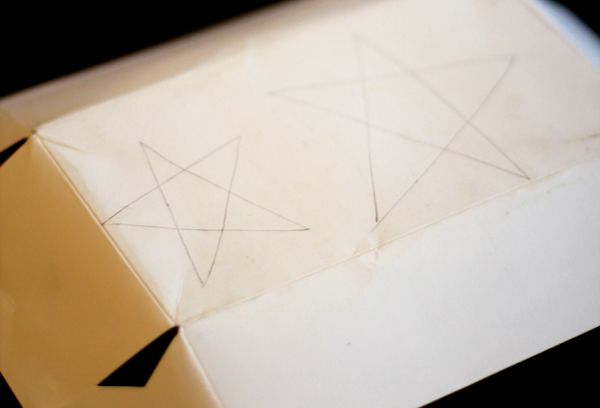
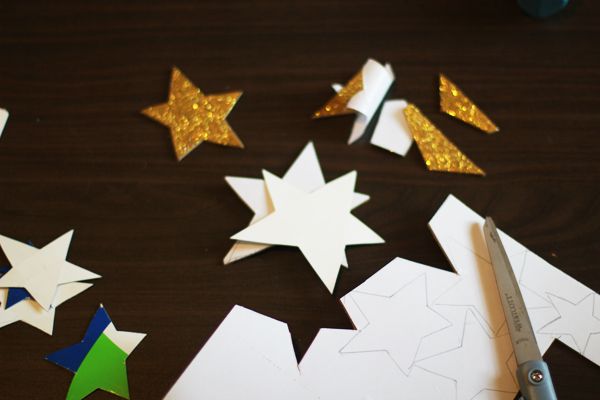
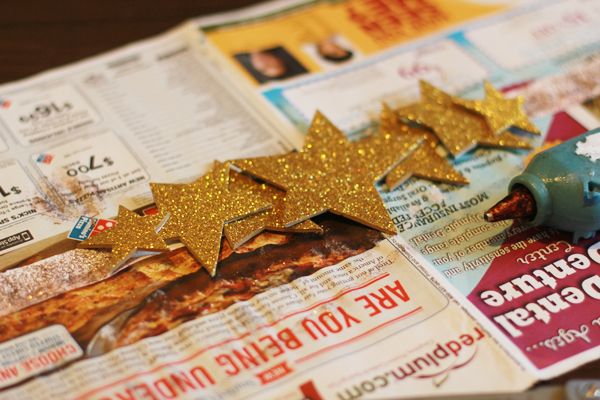
Now take your cardboard and draw out some different sized stars, then cut them out. This thin cardboard is what you'll stick the glitter foam to. I made 7 stars: 1 large, 4 medium, and 2 small ones. Once your stars are cut out, arrange them on the back of the glitter paper, trace them, then cut them out. Now you can peel the cover off the sticky side of the glitter stars and stick them on to your cardboard base stars. (If you can't find the glitter foam sticky paper, you can just use regular glitter and glue it to the cardboard stars).
Now arrange your glitter stars on center of the strip of fabric you painted with glitter paint. Figure out how you want them to be arranged and glue the stars on with a glue gun. I had mine overlapping, so I glued the stars that were underneath first, and then layered the other stars on top.
Let the glue dry and make sure everything is secure and you're ready to be festive! You could make it in silver, gold, or even red and green, if you want to be super Christmassy. Make one of these for your holiday or New Year's party and you'll be the belle of the ball!
