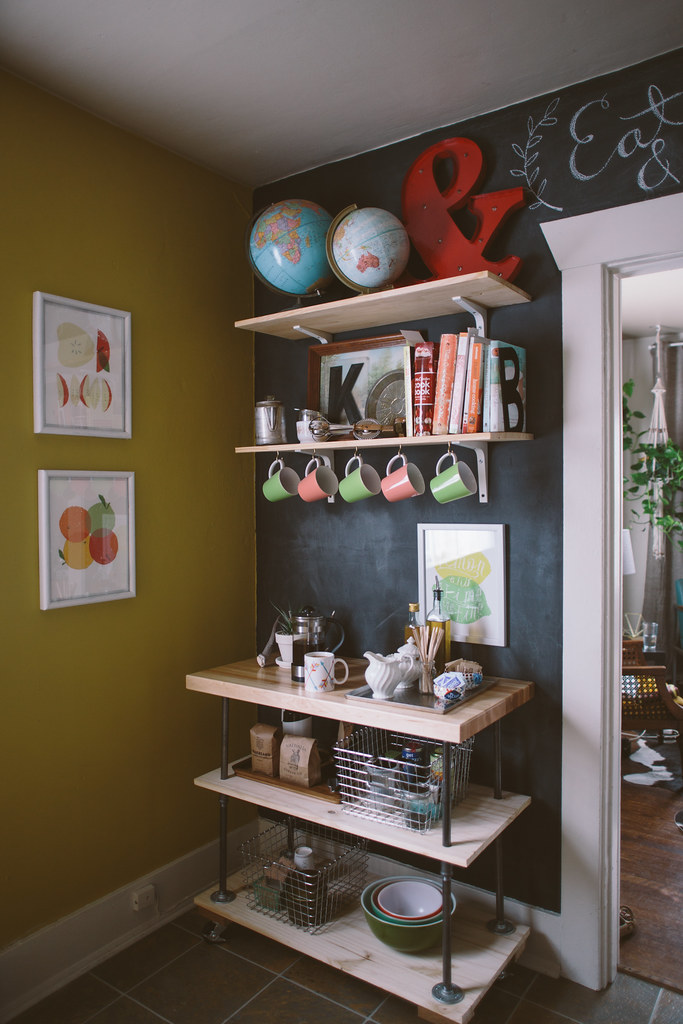
DIY rolling island
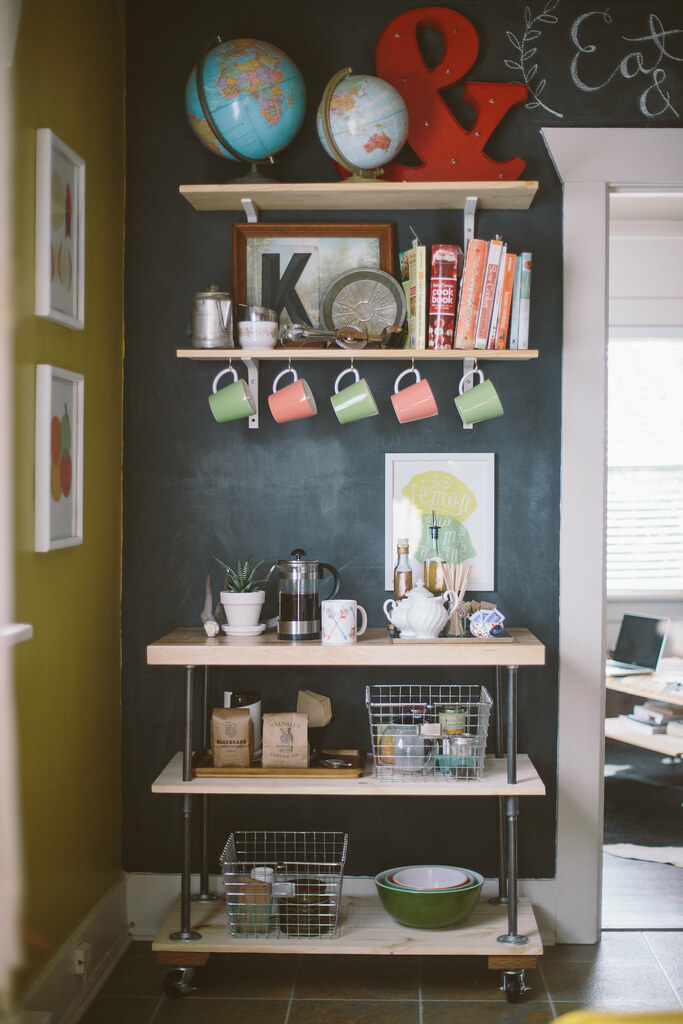

he kitchen is probably my favorite room in the house. No matter how nice the living room is, it always seems like people congregate in the kitchen. Compared to our last house we’ve got a palatial kitchen, but we still find that we’d like a bit more counter space for cooking and entertaining. I figured a rolling island would be the perfect solution and decided that instead of going out and buying one, I’d like to make one myself! I had made our living-room coffee table using pipe and wood, so I wanted to match that aesthetic, plus I was familiar with the process of building that way. I absolutely love the way it turned out, and it’s the perfect space for storing our coffee and tea accoutrements. Whenever we need to use it for extra counter space, we just roll it to where we’re working and it’s ready to go. I got caster wheels with locks so we can keep the island from rolling away when we’re chopping veggies and doing other work.
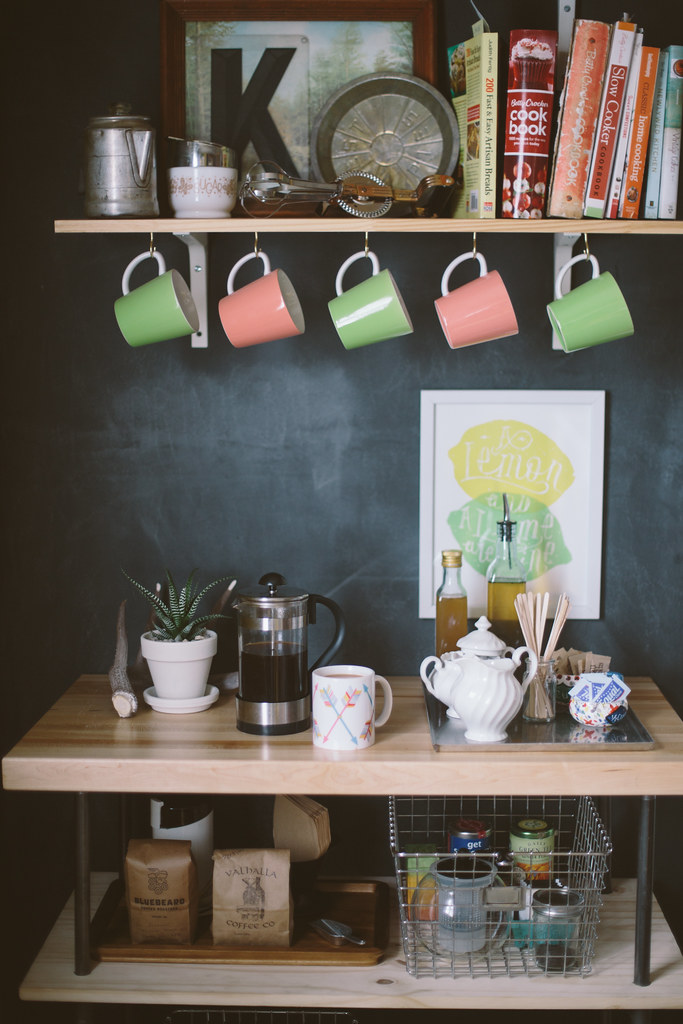
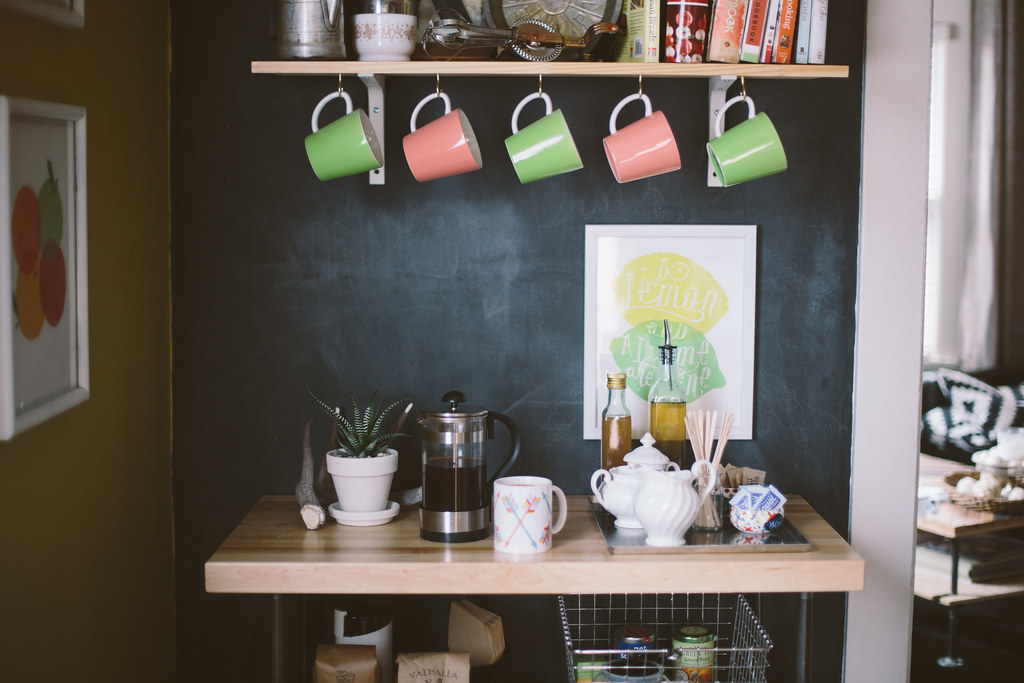
All of our coffee-making things — grinder, French press, pour over and filters — are included on the first shelf to keep the top shelf from getting too cluttered. There aren’t enough of us in my household to justify a drip coffee maker, but there’s plenty of room to store a coffee maker as well. We’ve also started getting into drinking tea, so I made a basket of our tea bags, loose leaf and tea pots as well.
This DIY came to around $350, but I was on a time crunch and Ikea was all sold out of their butcher block so I had to spend about $100 more on the butcher block top by buying it elsewhere, but Ikea's Numerar Beech countertop is much cheaper. I ended up getting the countertop I wanted for this DIY later on when I was redoing the Winne's kitchen and Ikea is definitely one of the most inexpensive places to get a butcher block countertop. They're about $130, and I like it because it's wood and therefore really easy to cut to size, depending on your size needs. I was also thinking of getting the Ikea Sanfrid stainless steel table top and using that as the top, and it's even cheaper, at $99. It also has an industrial look, so it'd go well with this DIY too.

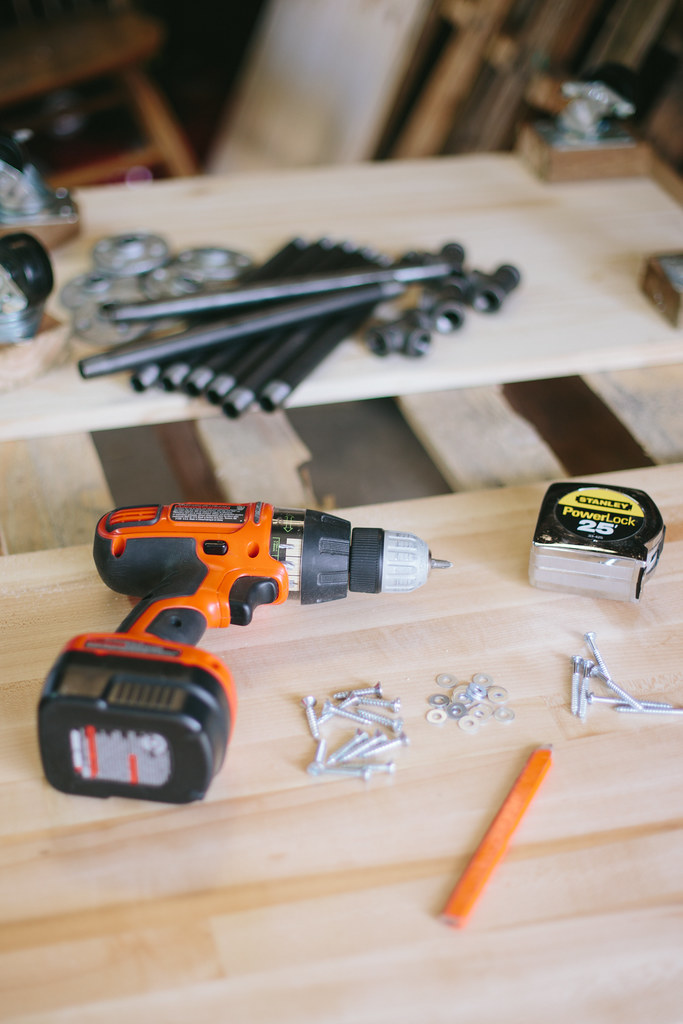
What you’ll need:
8 12-inch-long, ½-inch diameter black pipe nipples
8 1/2 inch floor flanges
4 1/2 inch Ts
32 1 1/4 inch #12 flathead screws
16 2 inch #10 roundhead screws
16 #10 flat washers
4 caster wheels (if you want to keep your cart from rolling, get ones with wheel locks)
4 2×4 blocks (4 inches long)
1 73-inch x 18 inch pine board (cut in half to create two 36-inch long pieces)
1 36-inch x 19 inch butcher block (mine is 1 1/2 inches thick; you can
find inexpensive butcher block countertop IKEA)
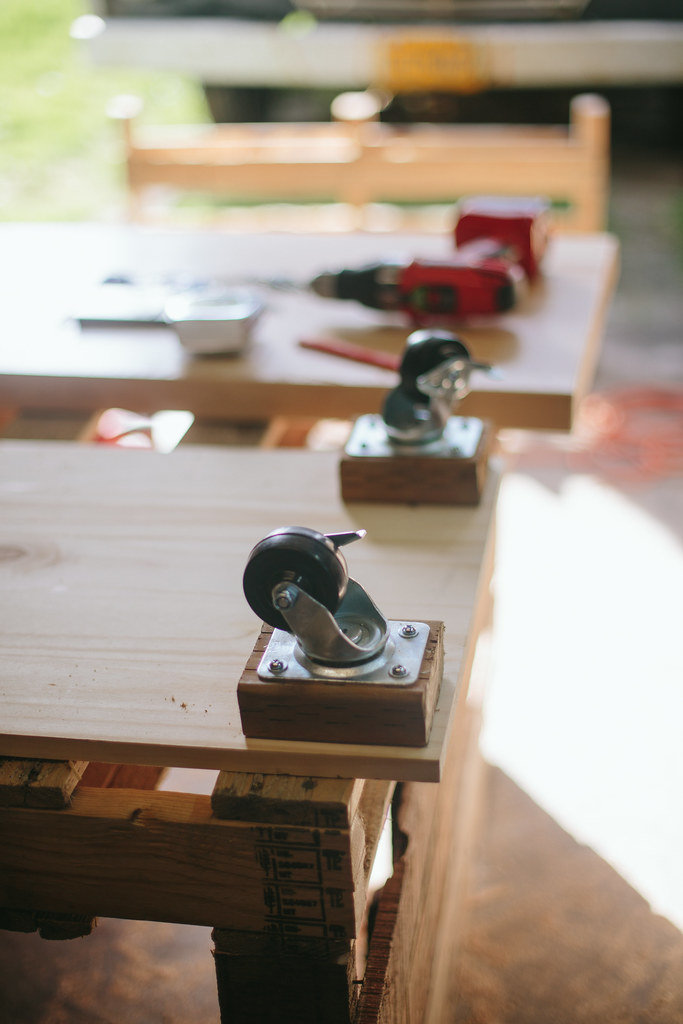
1. First put the caster wheels on the bottom of the bottom shelf. Pre-drill holes in the 4 inch 2×4 blocks. Make sure the holes for the screws are 1 1/4 inches from the edges of the pine board, so place the blocks on your bottom shelf to measure from the edges. The screws will be long enough to attach the 2x4s to the bottom shelf. Once all your holes are drilled, position the 2×4 blocks on the pine board bottom shelf and place the caster wheels lined up with your pre-drilled holes. Put the #10 washers on and screw the wheels on using the #10 roundhead screws.
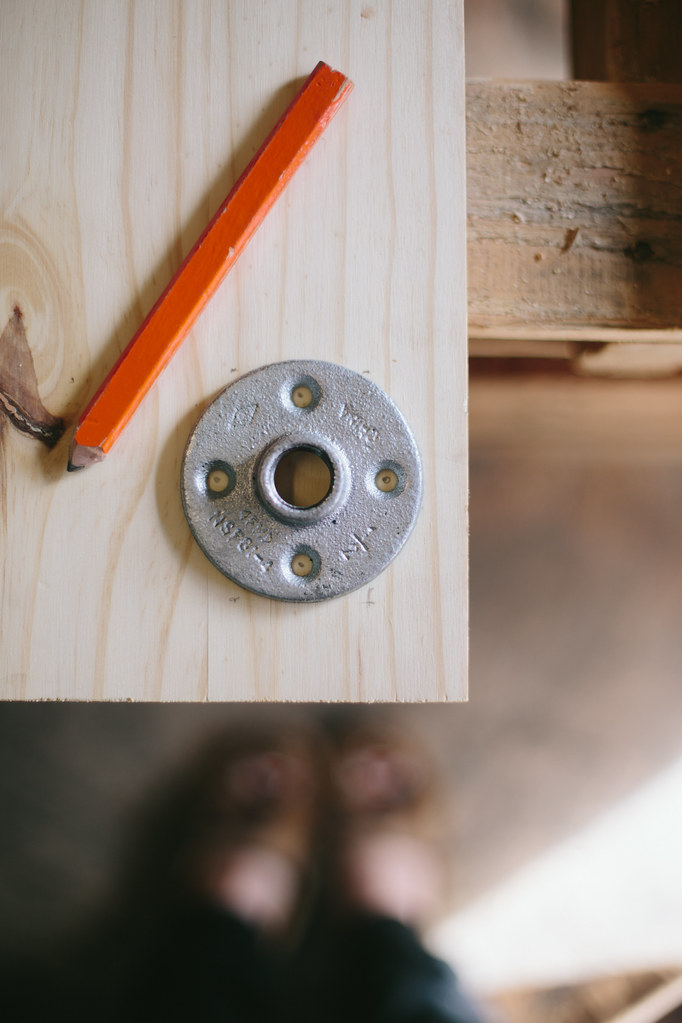
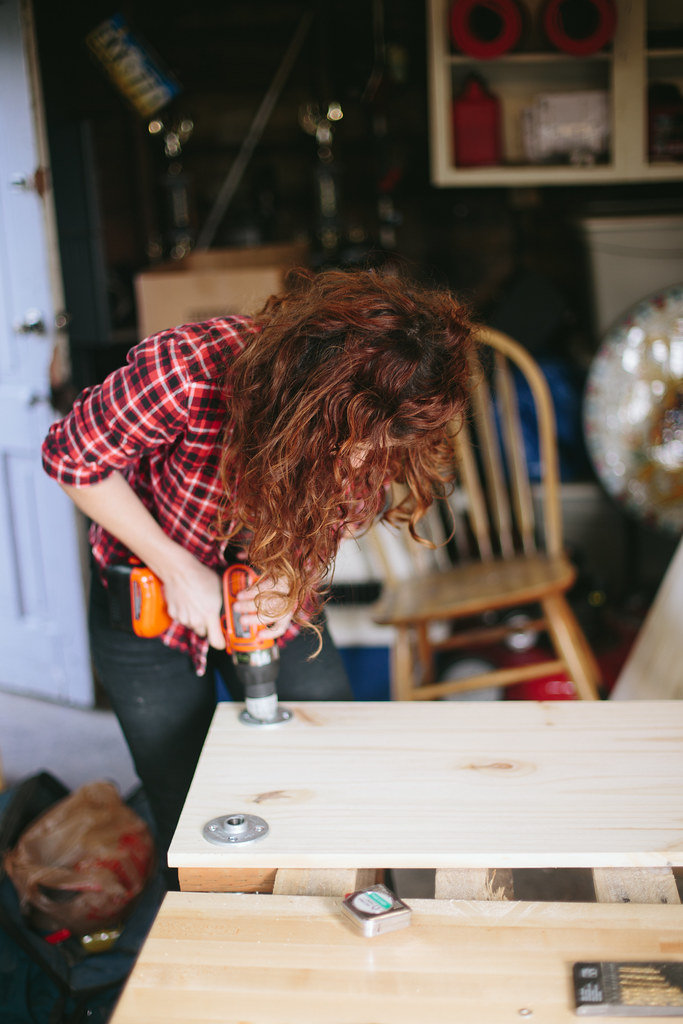
2. Now, flip the bottom shelf so the wheels are facing down. Place your four floor flanges on the bottom shelf directly over the 2×4 blocks and rotate the flange so its 4 holes aren’t directly over the screws you just put in for the wheels. Mark where the holes are with a pencil and drill holes for the screws. These screws will also go through the board and into the 2×4 to further secure the 2×4. Screw the flanges on with the #12 flathead screws.
3. Take your first four 12 inch nipples and screw them into the floor flanges. Screw the Ts on to the top of the nipples and then put the last four 12-inch nipples on top of the Ts.
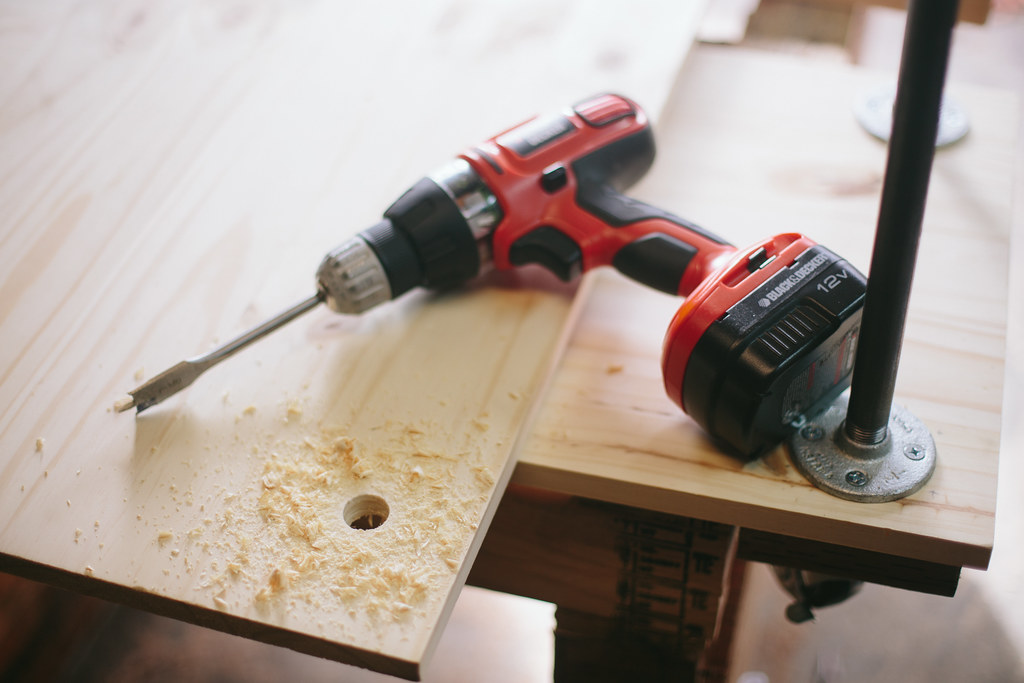
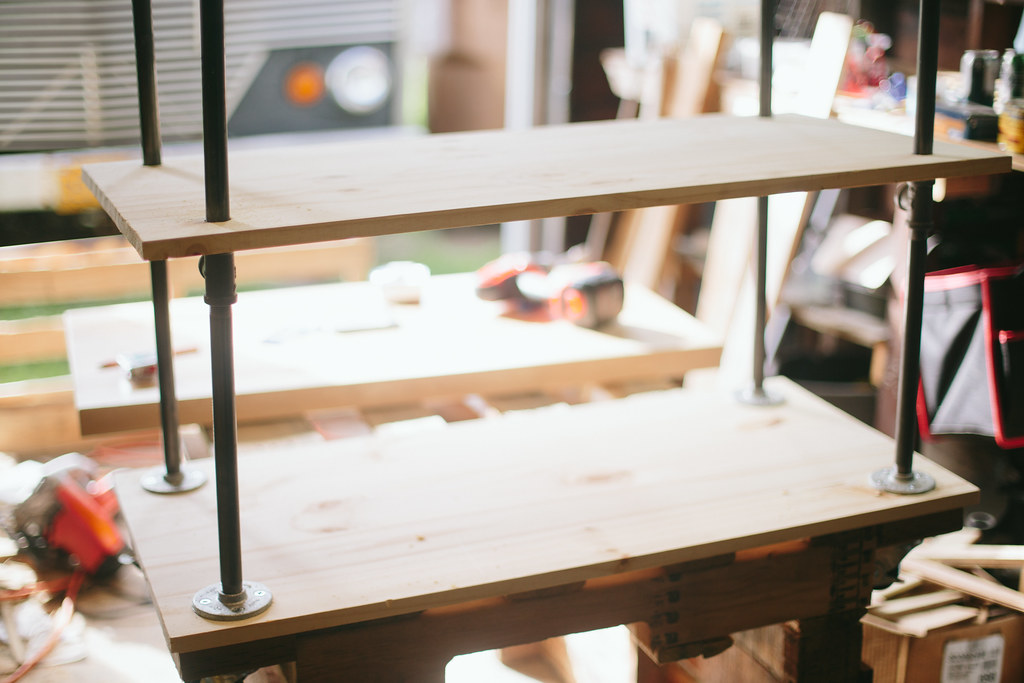
4. Grab the second pine board shelf and place it on top the 12-inch nipples. Position it so it’s directly over the bottom shelf (if you want to measure where the center of the pipe hits on the bottom shelf to get the top shelf exactly matched, you can do that, or you can eyeball it). Draw a circle around the edge of the pipe on the bottom of the board, so you know where to drill the hole so it can slide down to rest on the T. Once you have your circles drawn, take a 7/8ths spade drill bit and drill the holes you just drew. Now you can slide the second shelf onto the 12-inch nipples and they’ll slide down to rest on the Ts.
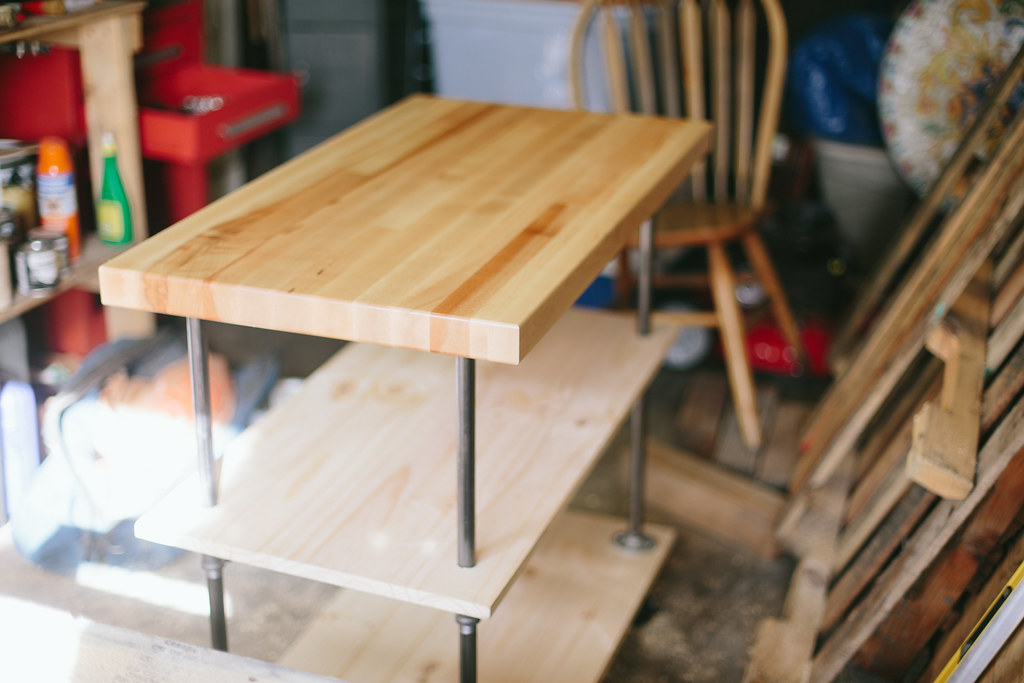
5. Put the last four floor flanges onto the top of the nipples; make sure they’re tight. Put your butcher block on top of them, and again you can measure everything to make sure it’s centered, or you can eyeball it. Mark with a pencil where the floor flange holes are, pre-drill holes and then screw the top on with the #12 flat head screws. You’re done!
