

Making Space

I’m not a stop and smell the roses type of person. By the time I’m mid-way through one thing, my brain is already scheming up the next thing I want to do or make. Living in a fixer-upper there certainly isn’t a dearth of projects in the pipeline, but something I’m doing this summer is spending time enjoying the fruits of my labor. In the DIY content creation world we’re always pumping out projects and room transformations and tutorials and tips, but slowing down and taking the time to slow down and enjoy the projects I’ve poured so many hours of my life into? Okay now that’s a challenge, lol.
Here in the Pacific Northwest it feels like we spend 9 months of the year waiting and pining for the 3 months that make living here tolerable. Maybe that’s a little overdramatic, but the three months of summer here are truly glorious and the winters can be quite difficult. In some ways I feel pressured to do projects during the summer because it’s somewhat miserable doing projects in the winter when it’s rainy outside and freezing and I can’t do anything outside. But on the other hand I want to just soak up every moment of the sun and warmth, like a lizard laying on a hot rock in the desert.


Summers definitely feel different as a parent to a kid in school as well. Jack’s first year of real elementary school just finished, so the structure of my days is completely thrown out the window. Having six hours a day to do work, get household duties completed, and build things? Gone for three months. And instead of resisting and pushing against the tide of summer and all these schedule and lifestyle shifts, I’m choosing to lean into them.
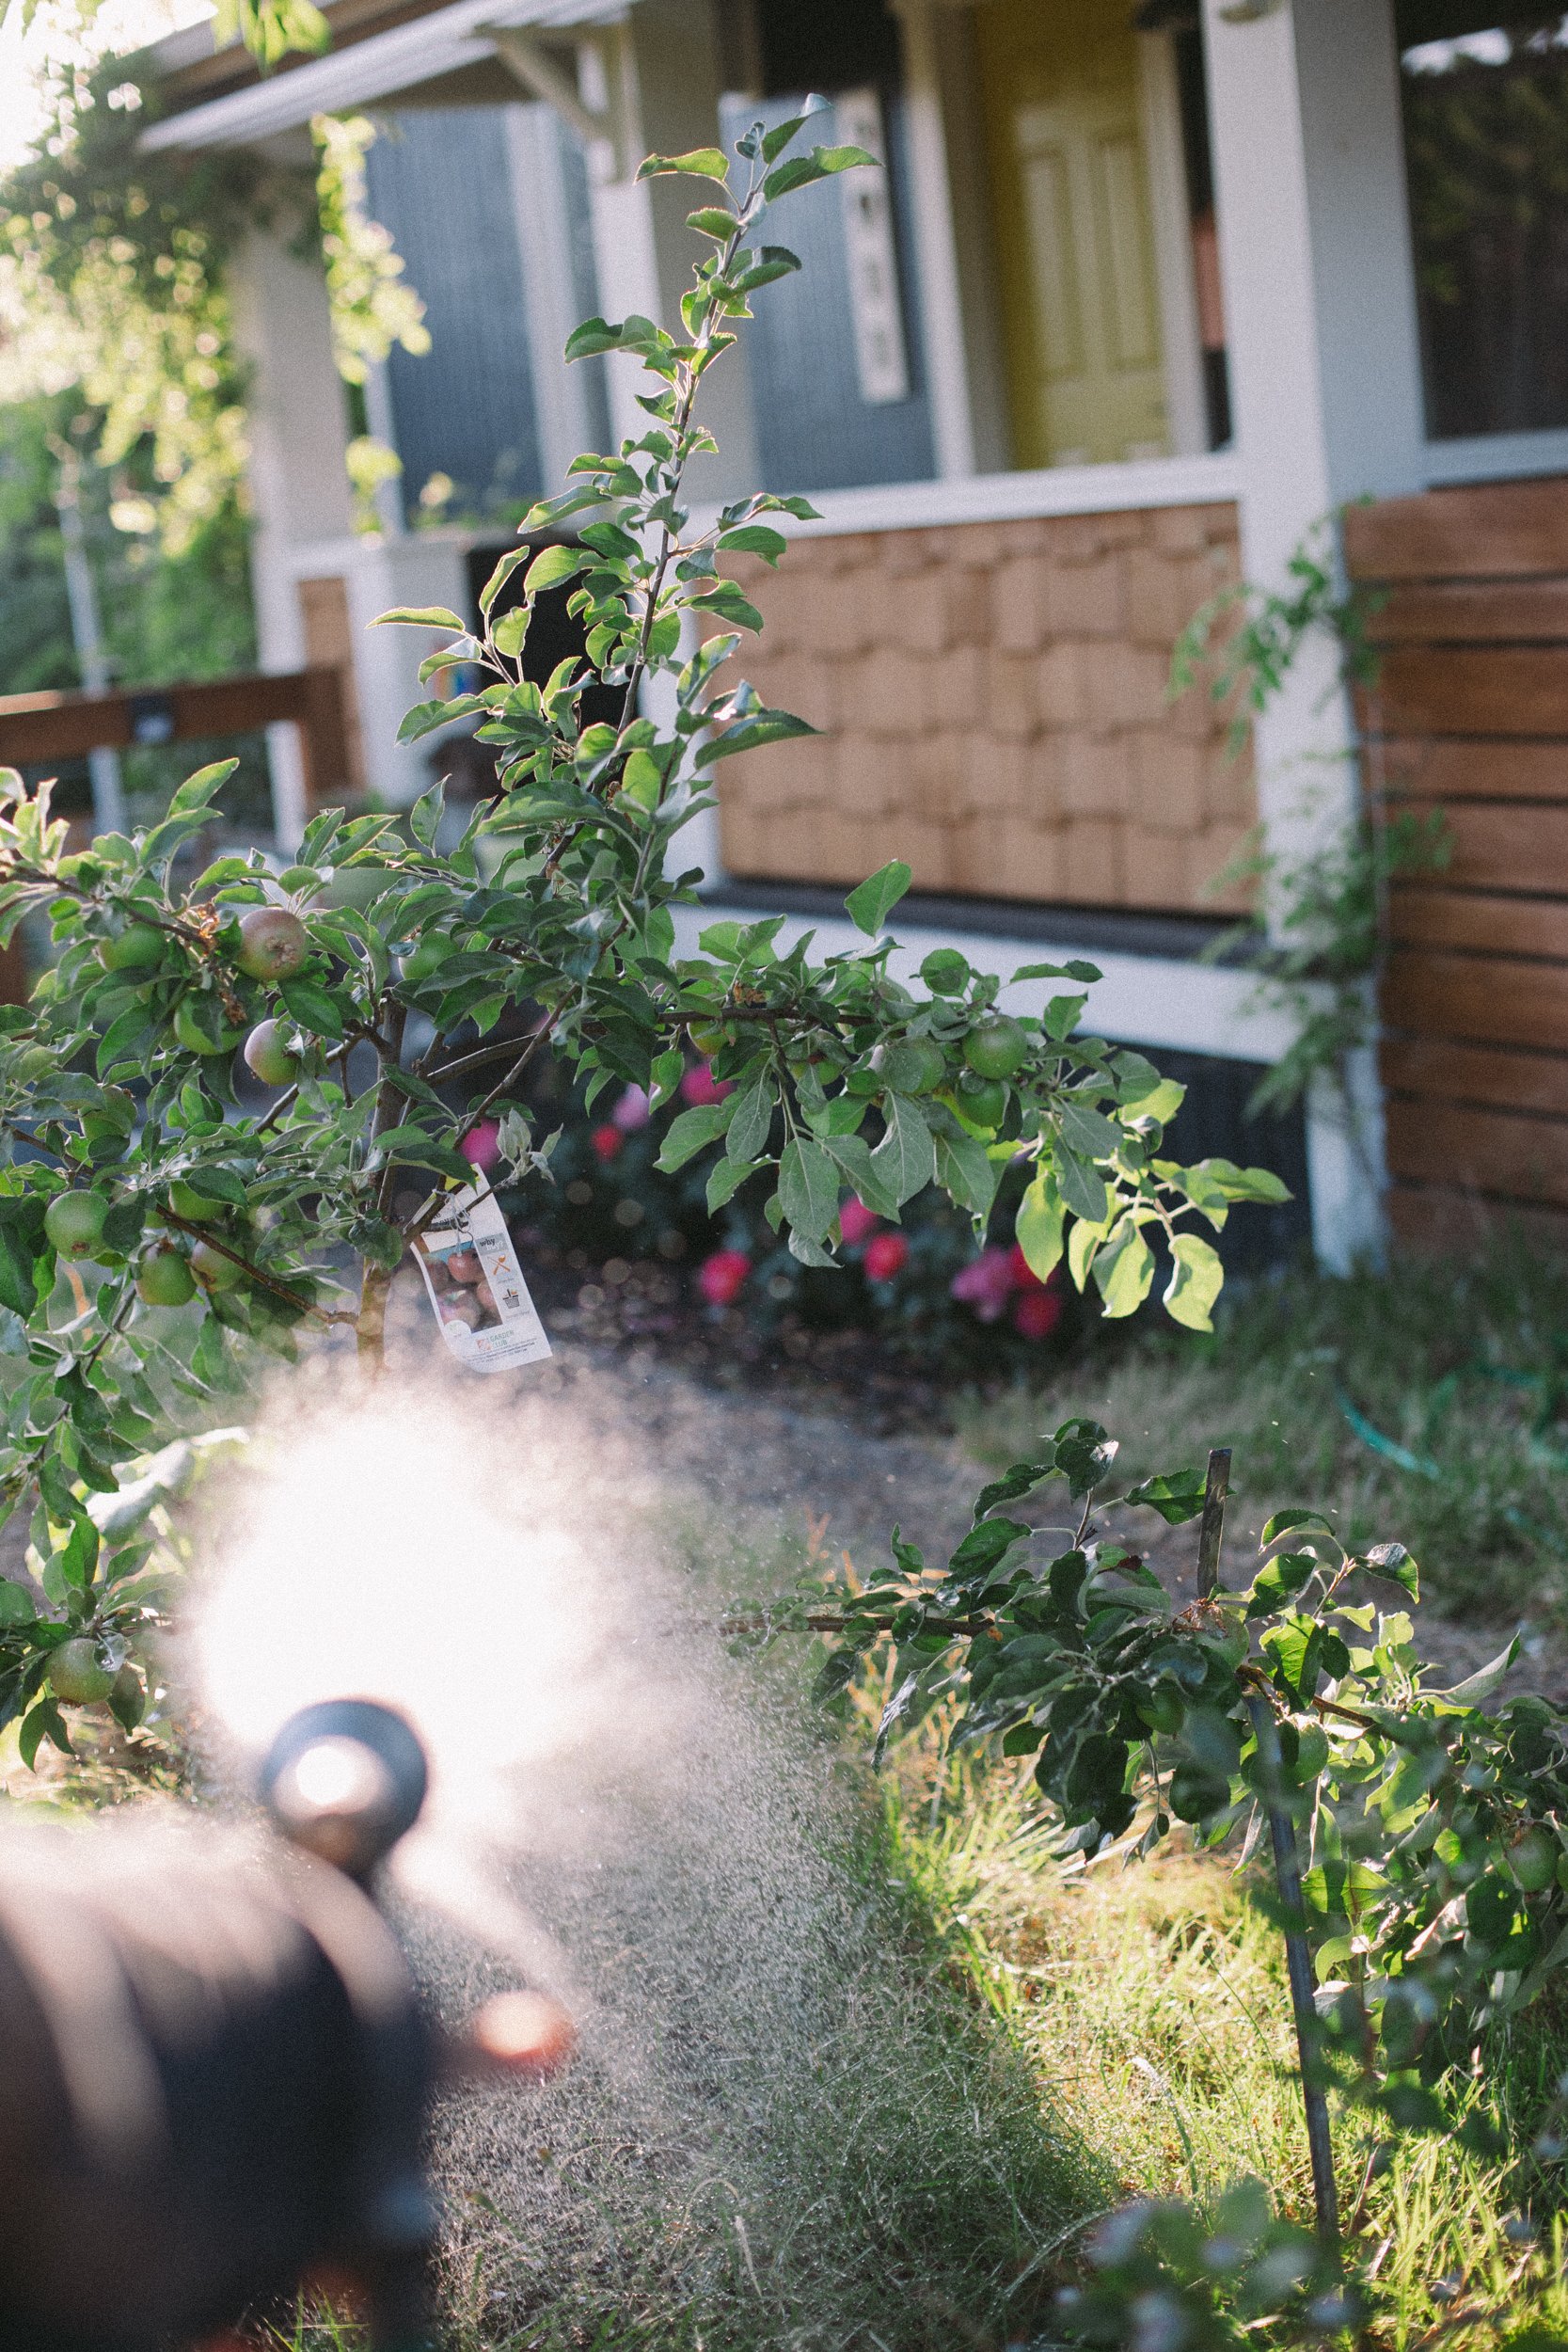
The privilege of taking the summer “off” work (heavy quotations because parenting is a full time job), is certainly not lost on me, especially in the cultural climate we’re currently surviving within. Being able to spend the day running to Home Depot to grab a sprinkler so my kiddo can frolic in the cool water while I sip a Starbs frozen bev feels unbelievably luxurious, and my summer spiritual practice is dropping into that gratitude.


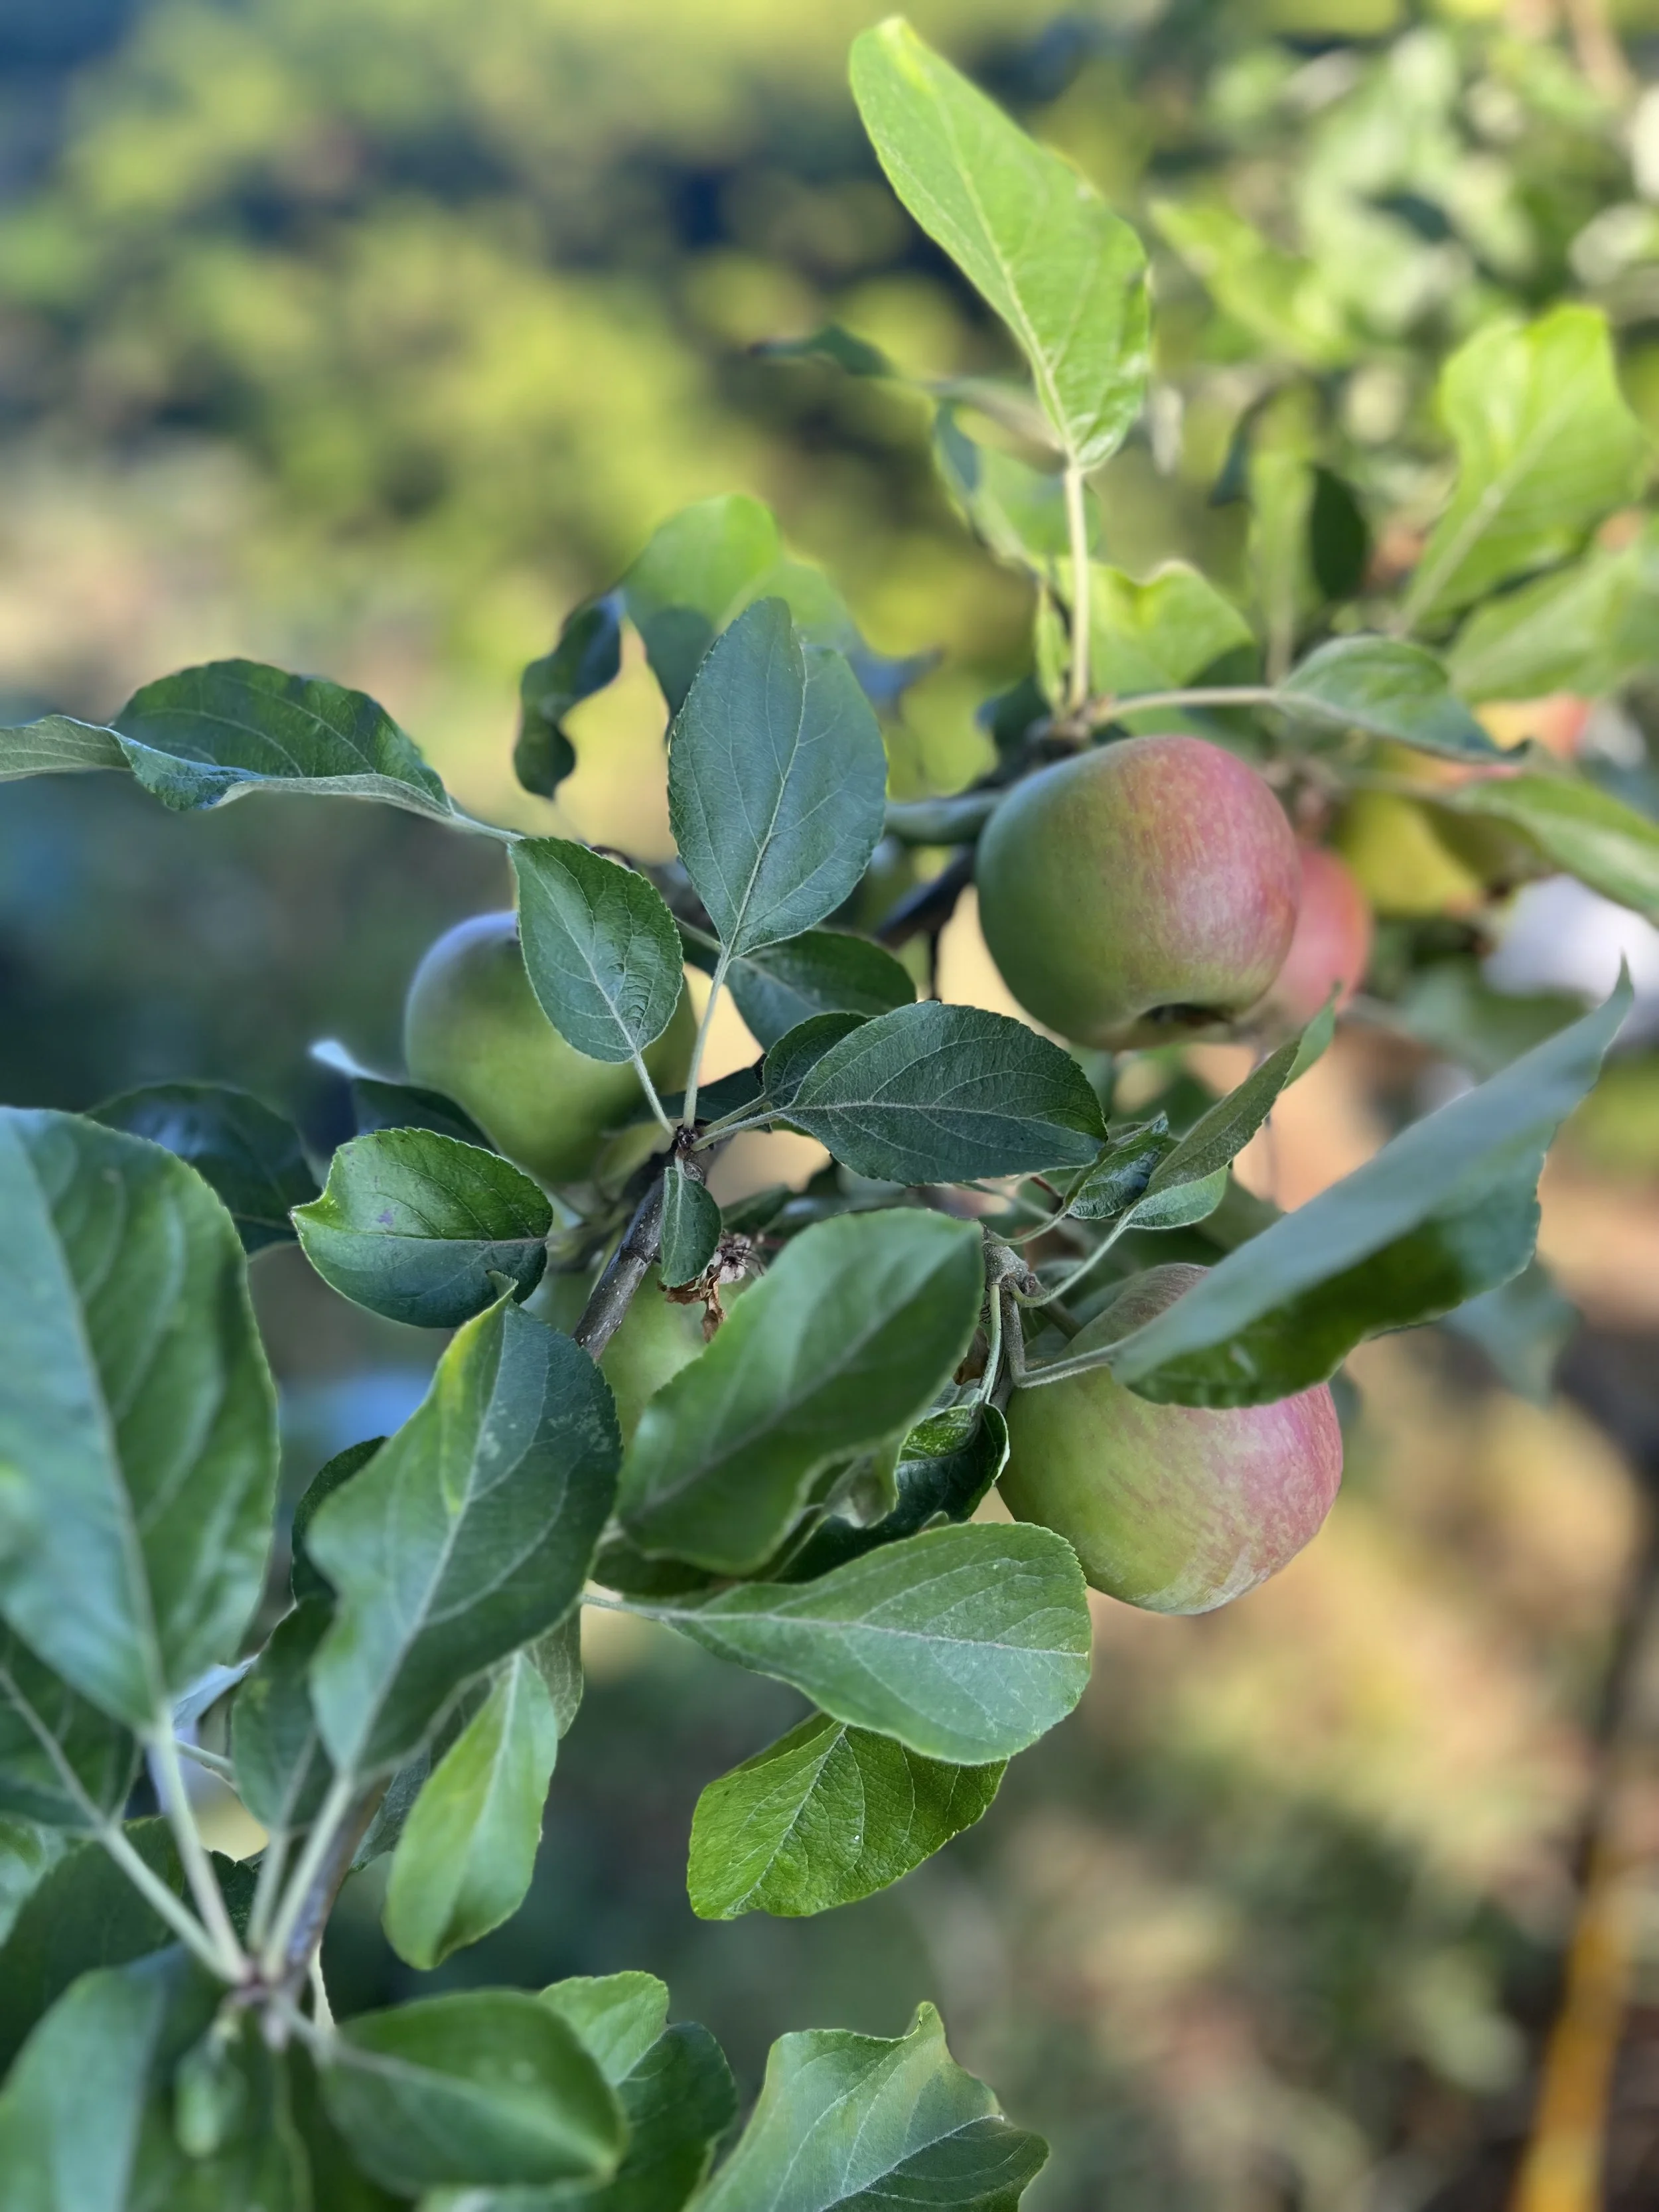
The freedom from my usual grind is also allowing me to push the boundaries of my creativity in ways that are feeling exciting and unexpected. A couple years ago I was thrust back into the joy of reading fiction thanks to Sarah J. Maas’ ACOTAR series (and subsequently all her other books as well), and then this summer I’ve been revisiting some of my favorite Sci-Fi novels that I devoured as a kid. A little door inside me that had been closed and forgotten about started to creep open and, well, I’m now in the throes of plotting out an outline for a Sci Fi novel? I don’t know, guys, but I’m letting it happen and it’s been pretty fun. I also accidentally planted about 100 pumpkin plants, so I’m about to have my very own pumpkin farm. I guess this summer’s lesson is in creating space for unexpected joys to come in and take root.


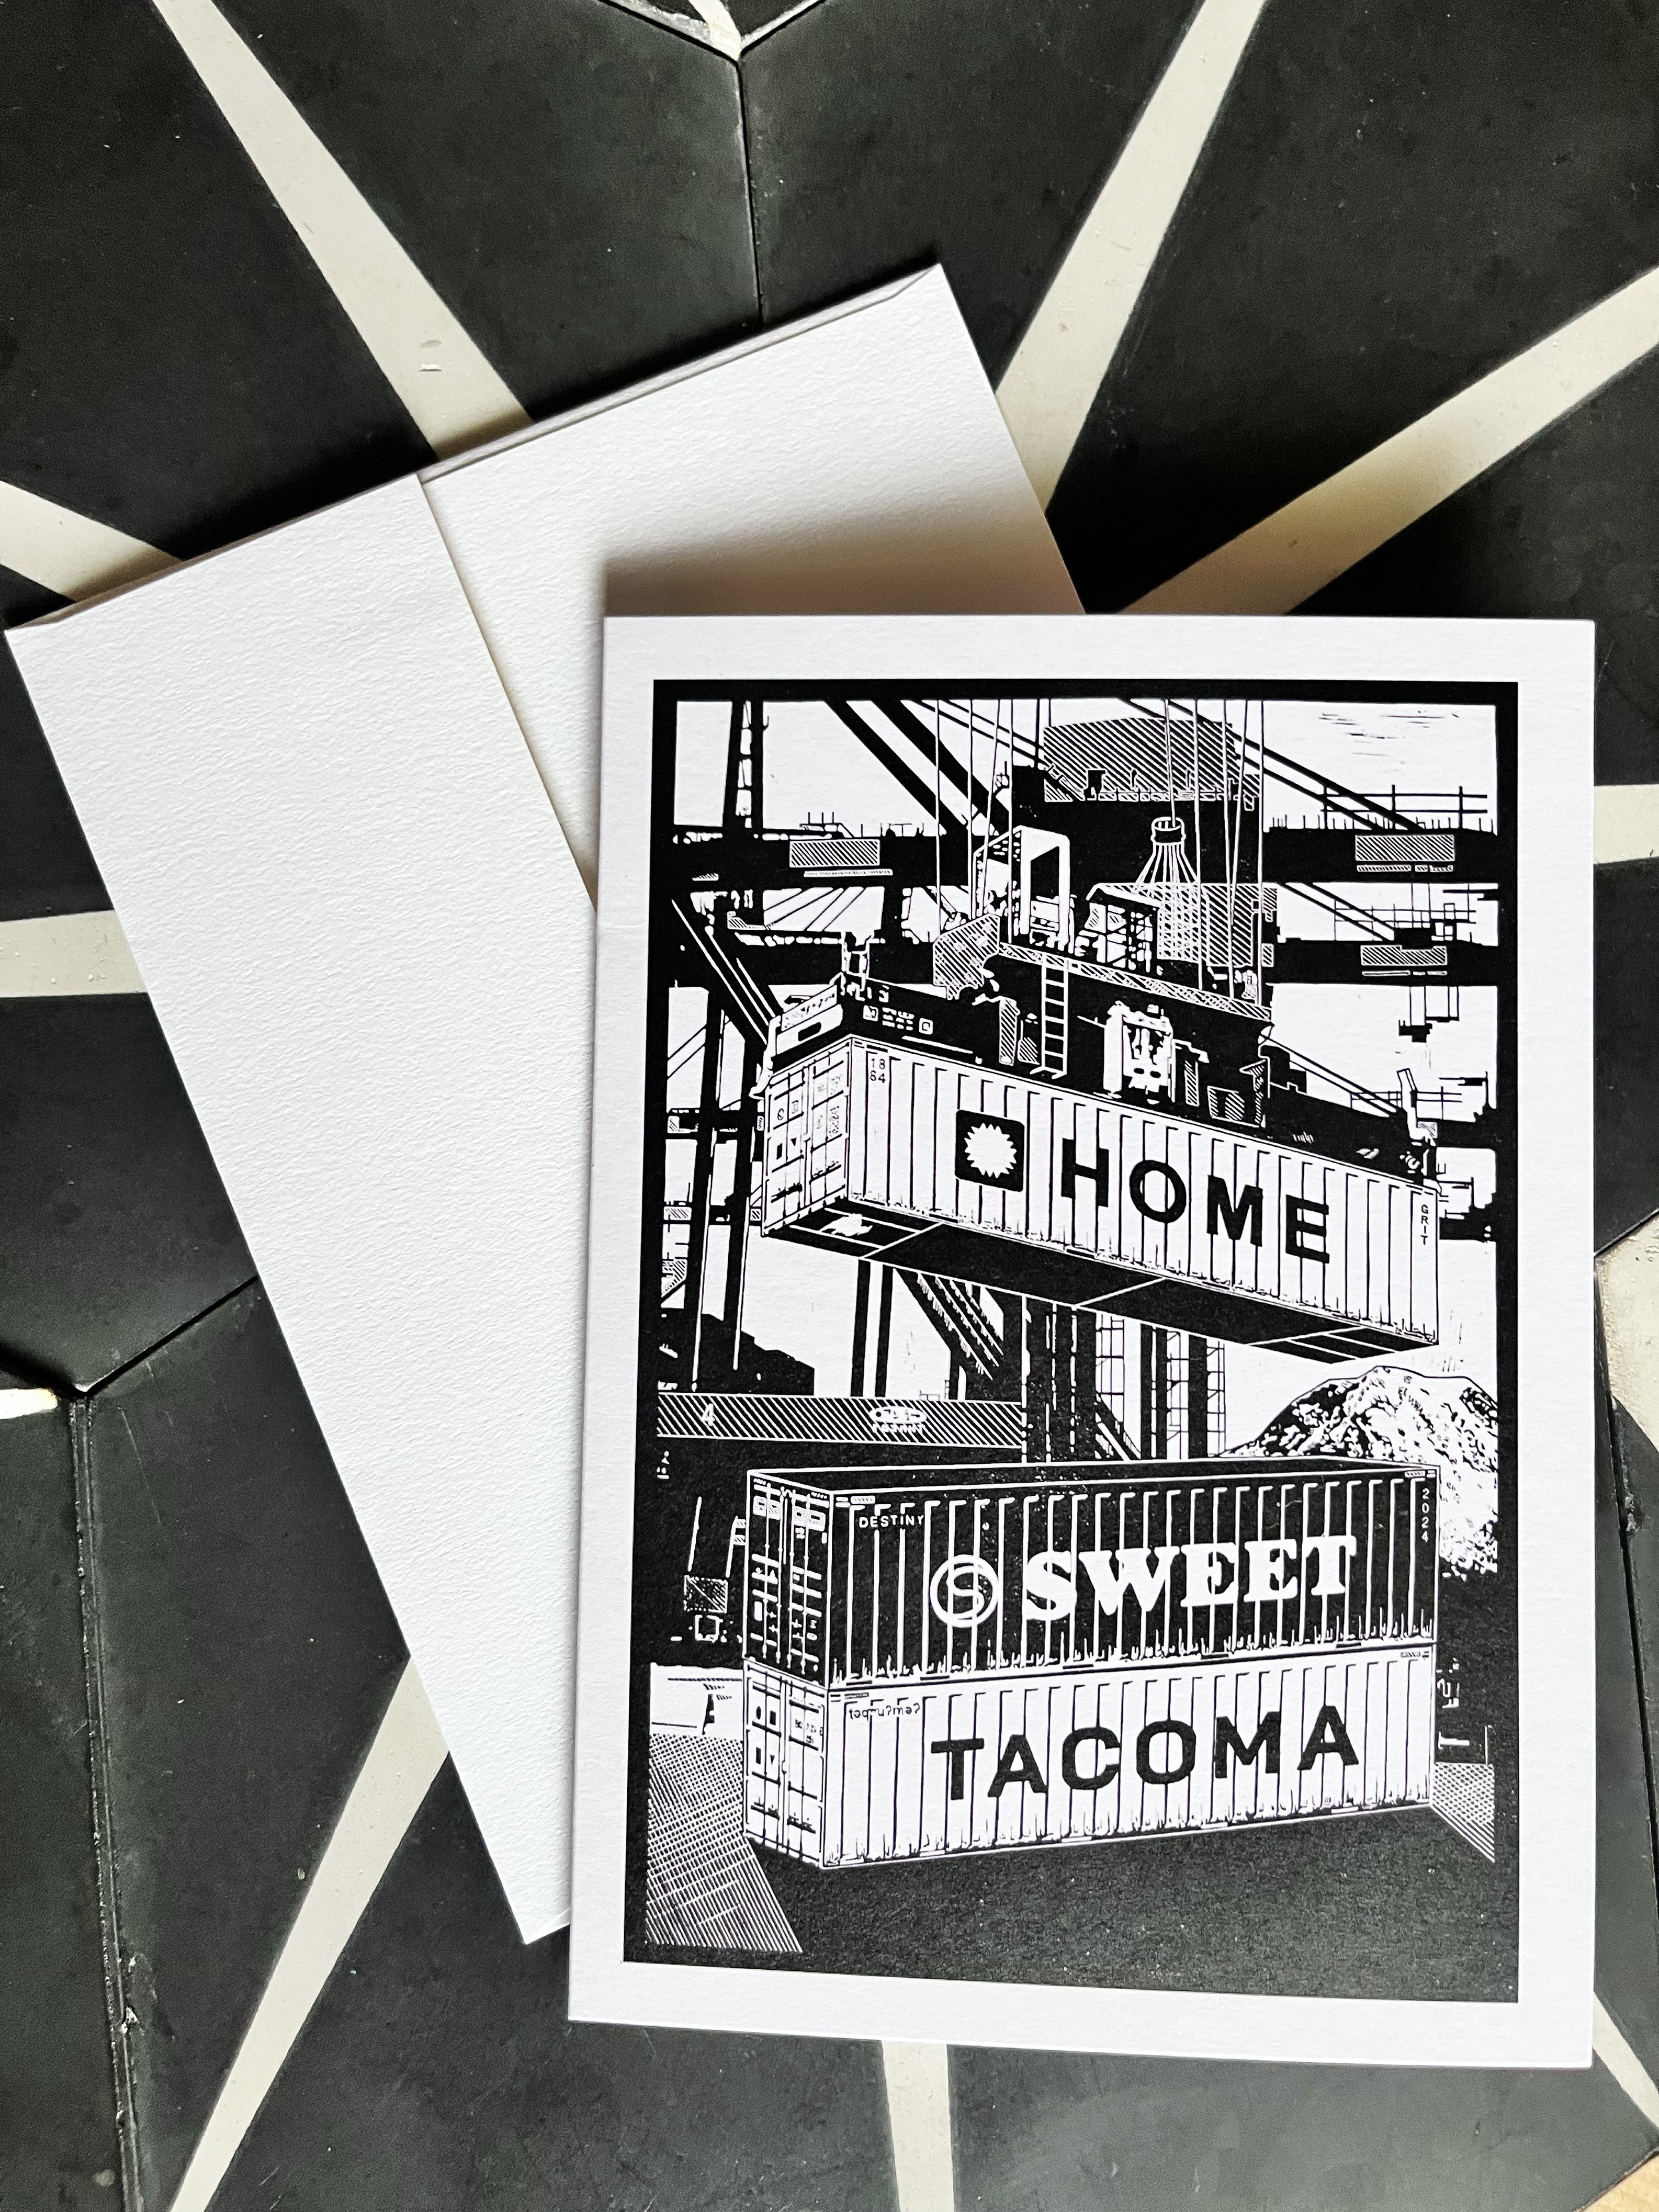
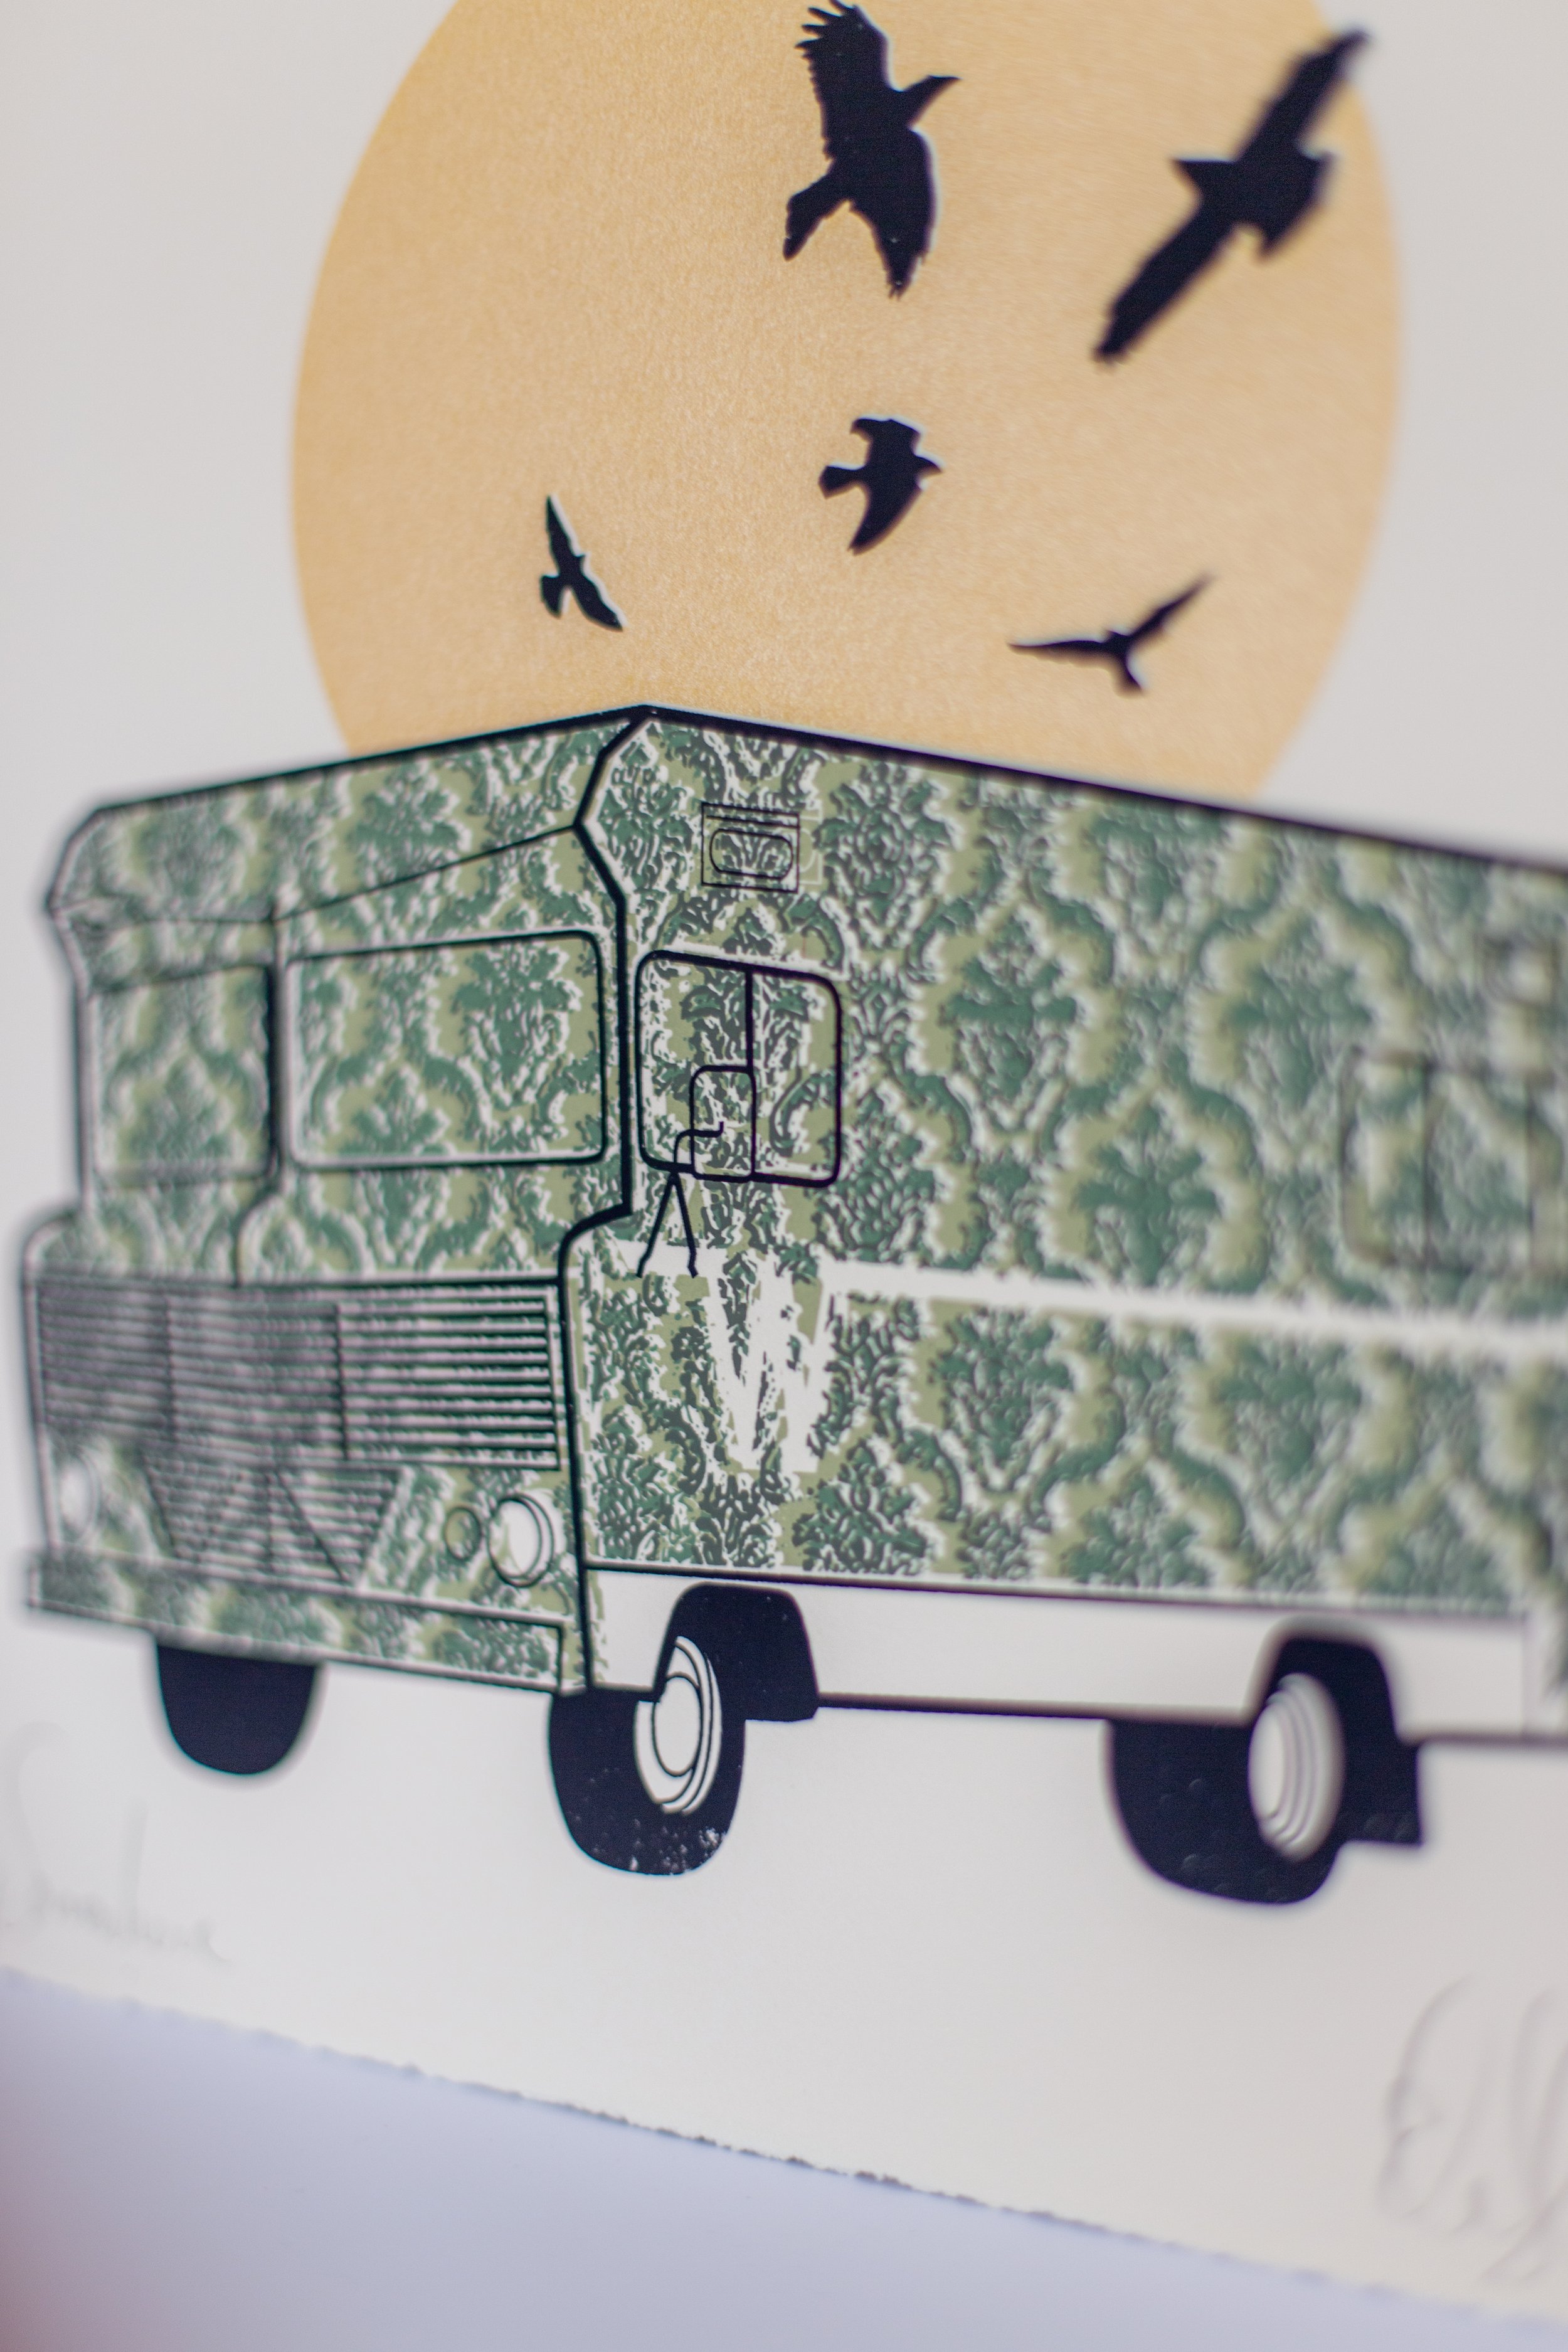
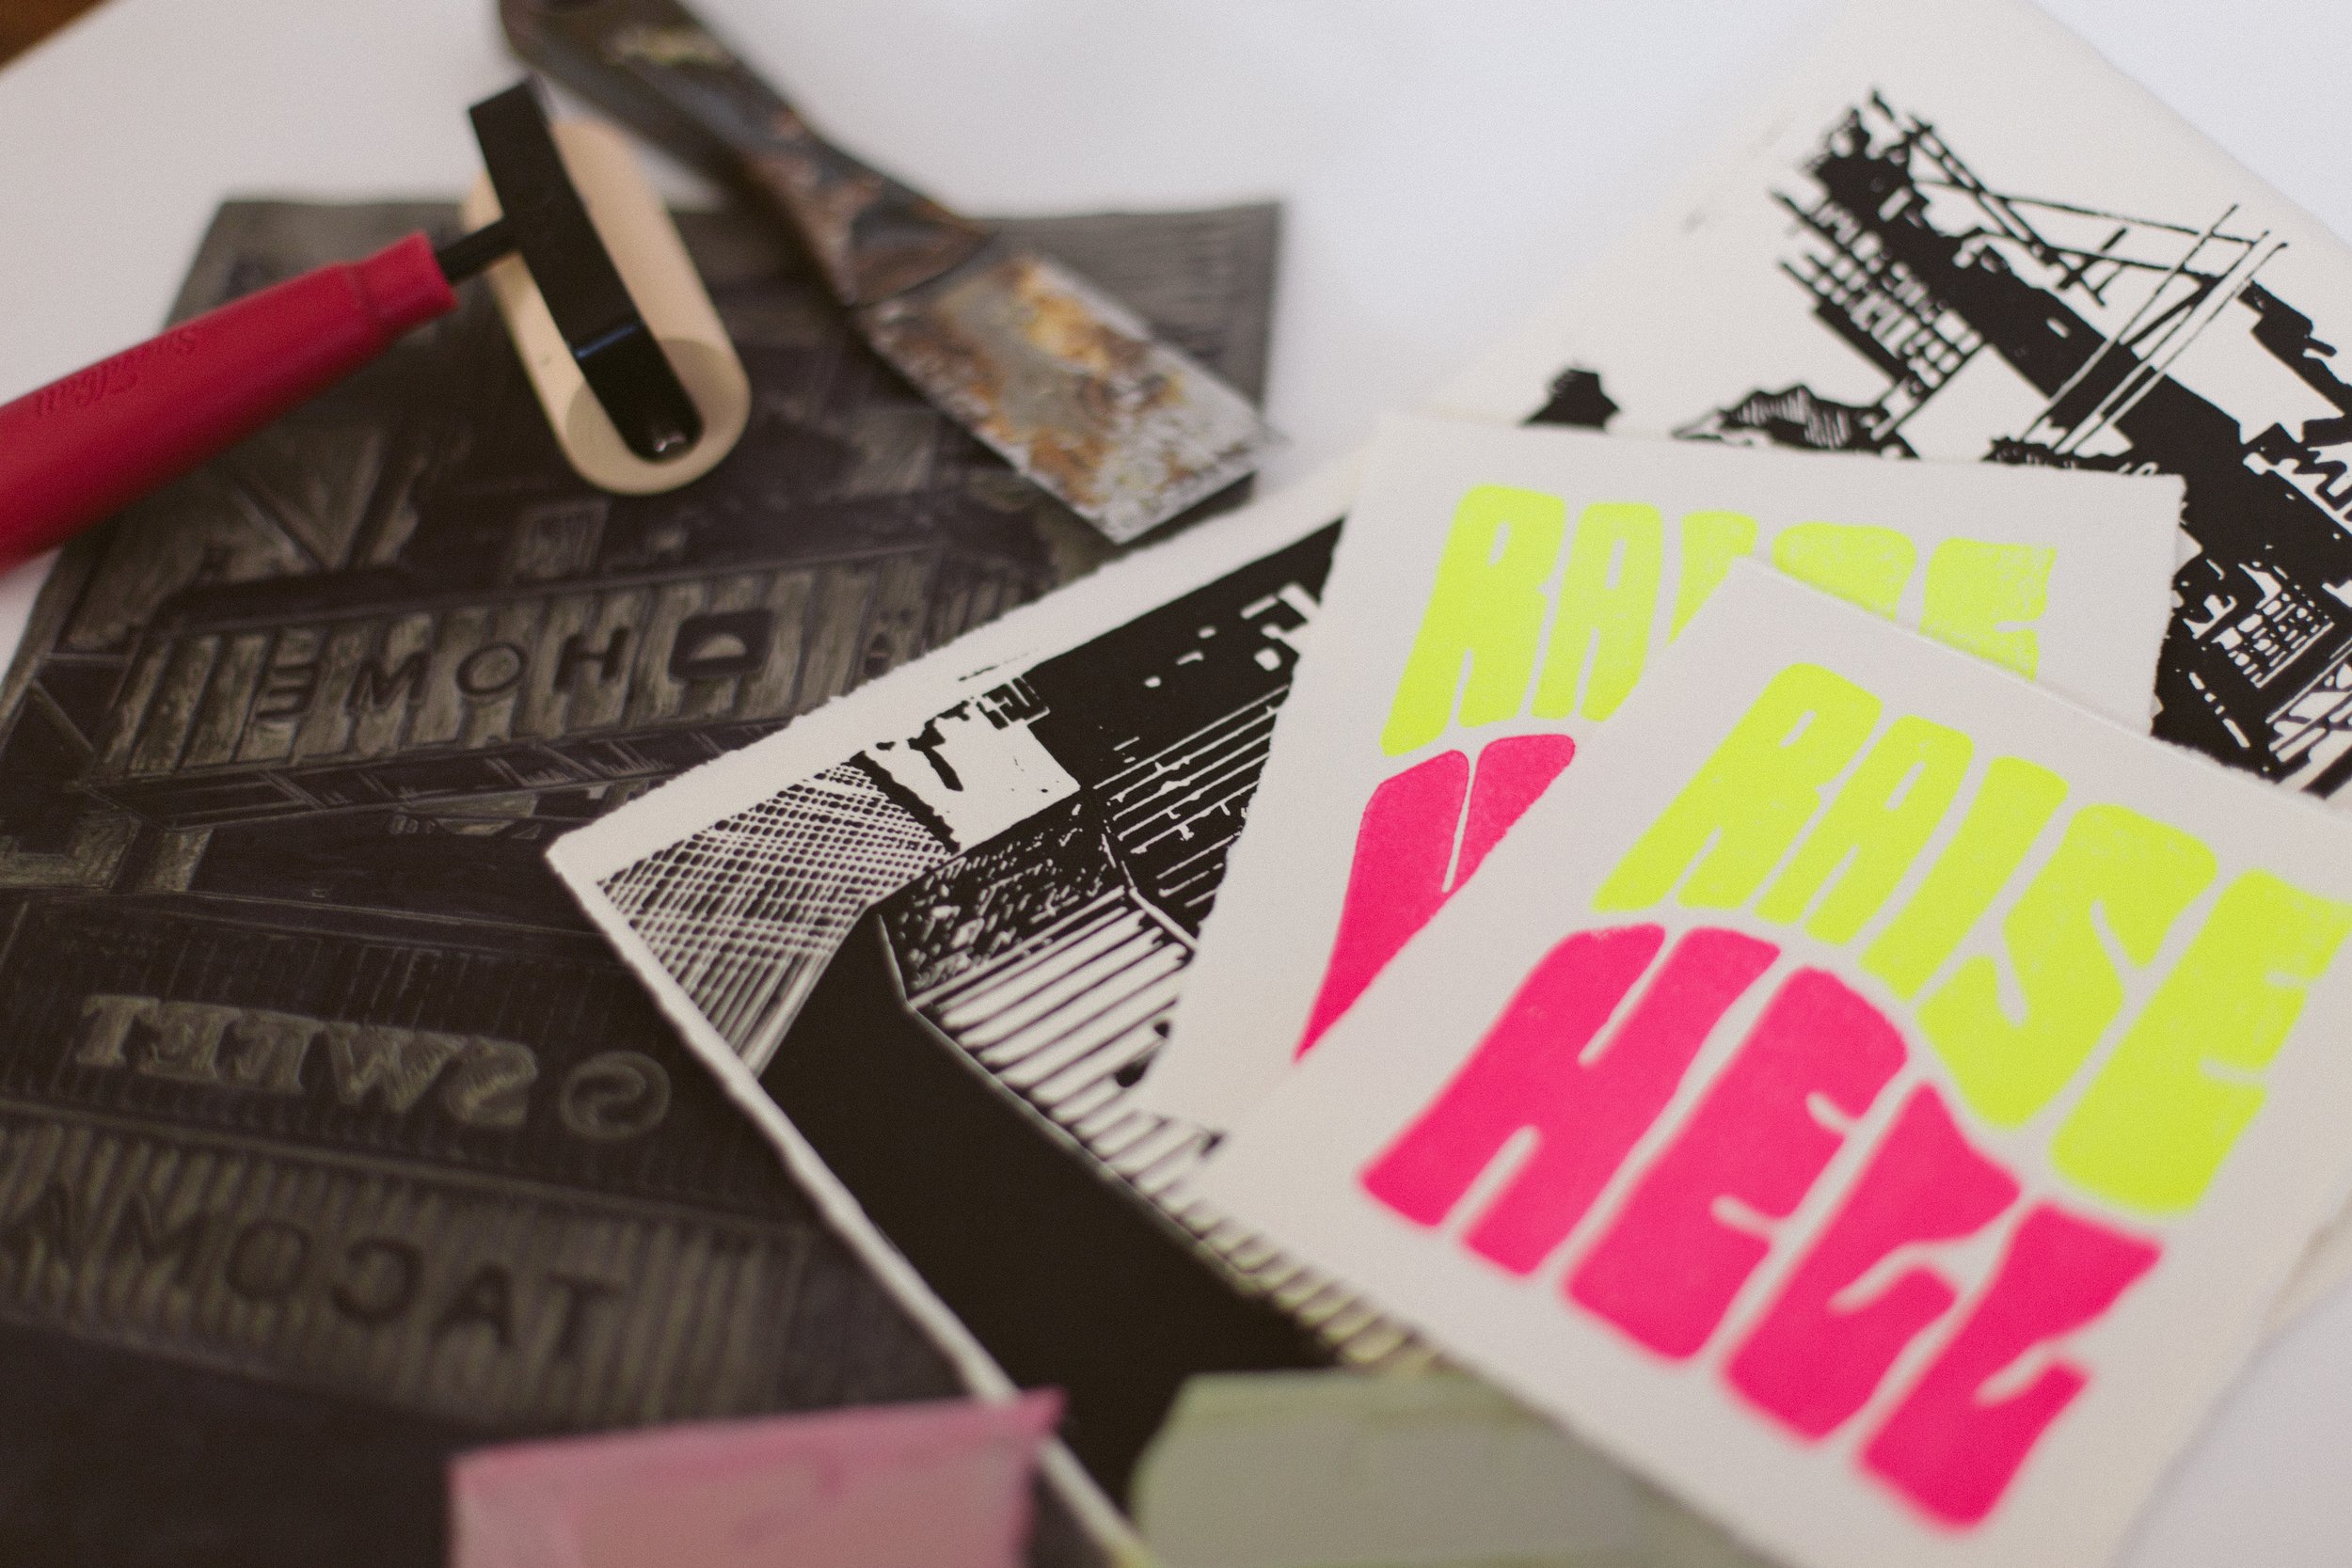
The goth punk DIYer merch drop!

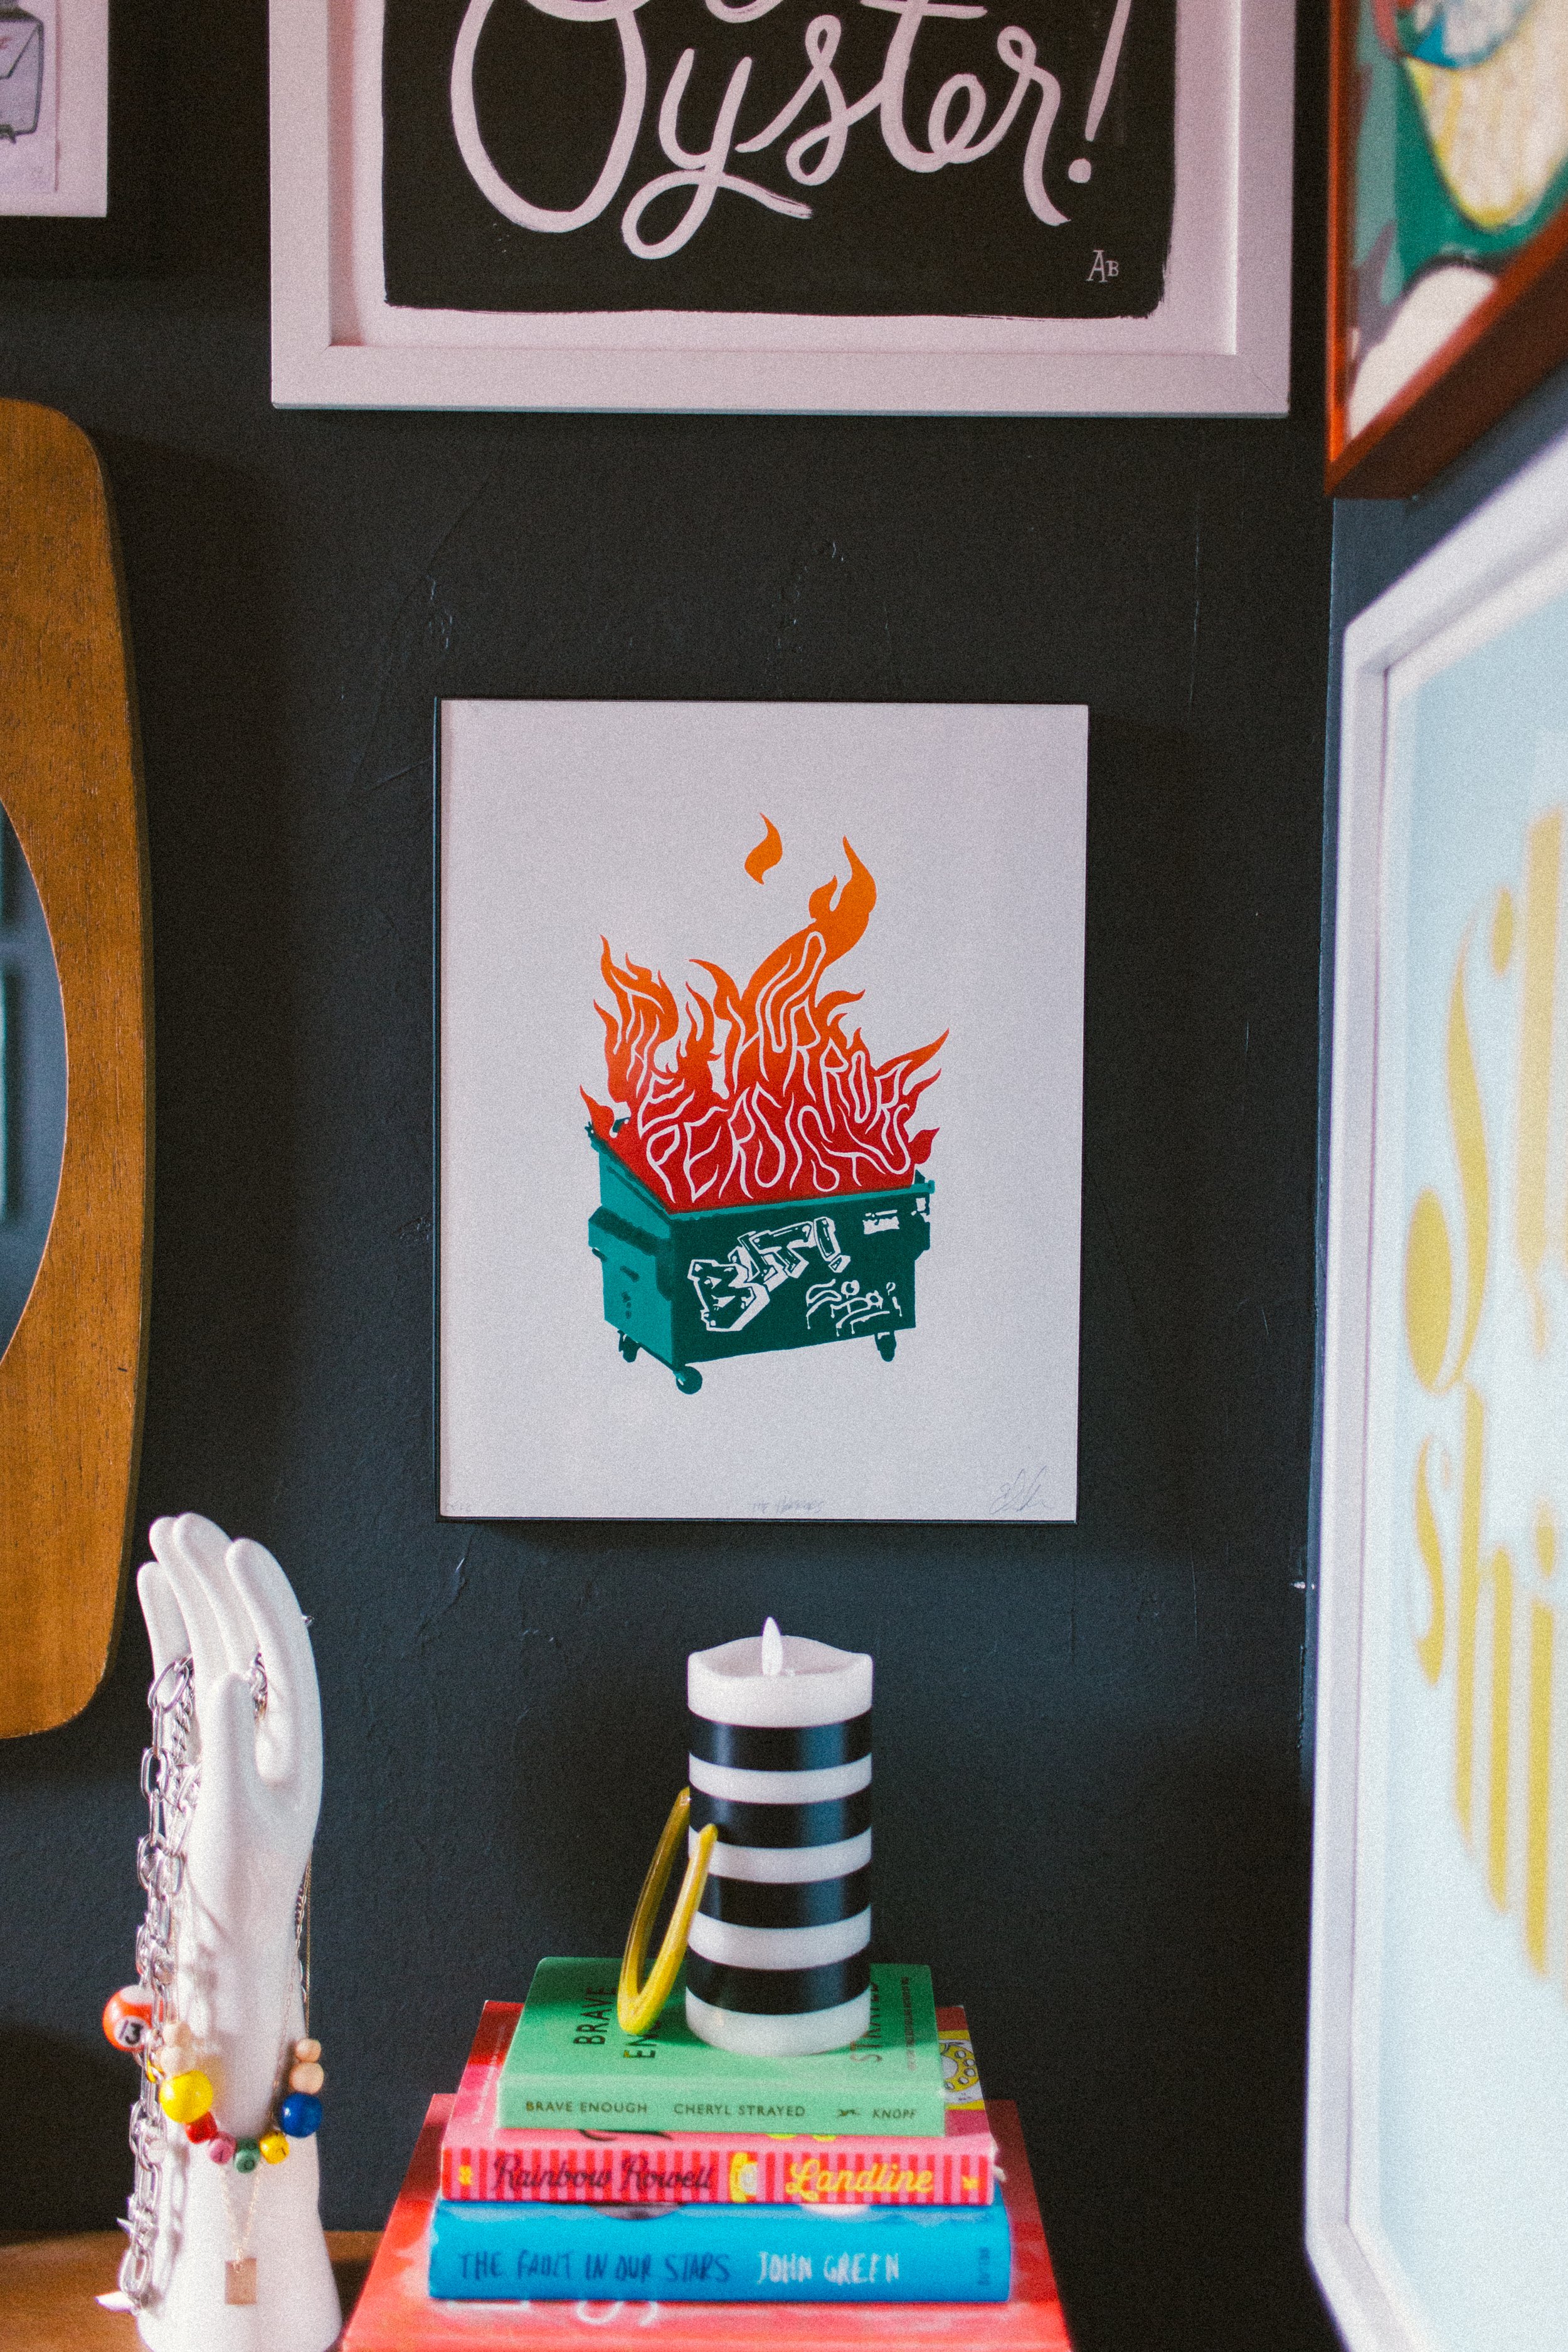
Look, I love a ✨ theme✨ okay? Case in point: last year’s DIY Summer Camp being vintage girl scout themed. For this merch drop I designed a full on goth/punk/tattoo inspired collection. Did I, mayhaps, create this entire collection just so I could have it for myself? Definitely maybe absolutely.
I think my favorites from this collection are the Handy AF beanie (I legit wear this one non-stop. It’s usurped the top spot in my beanie rotation), and the Black on Black #DIYthedamnthing cropped hoodie. I also grabbed the checker fanny pack and a button set so I could put my ✨pieces of flare✨ on the fanny pack strap.


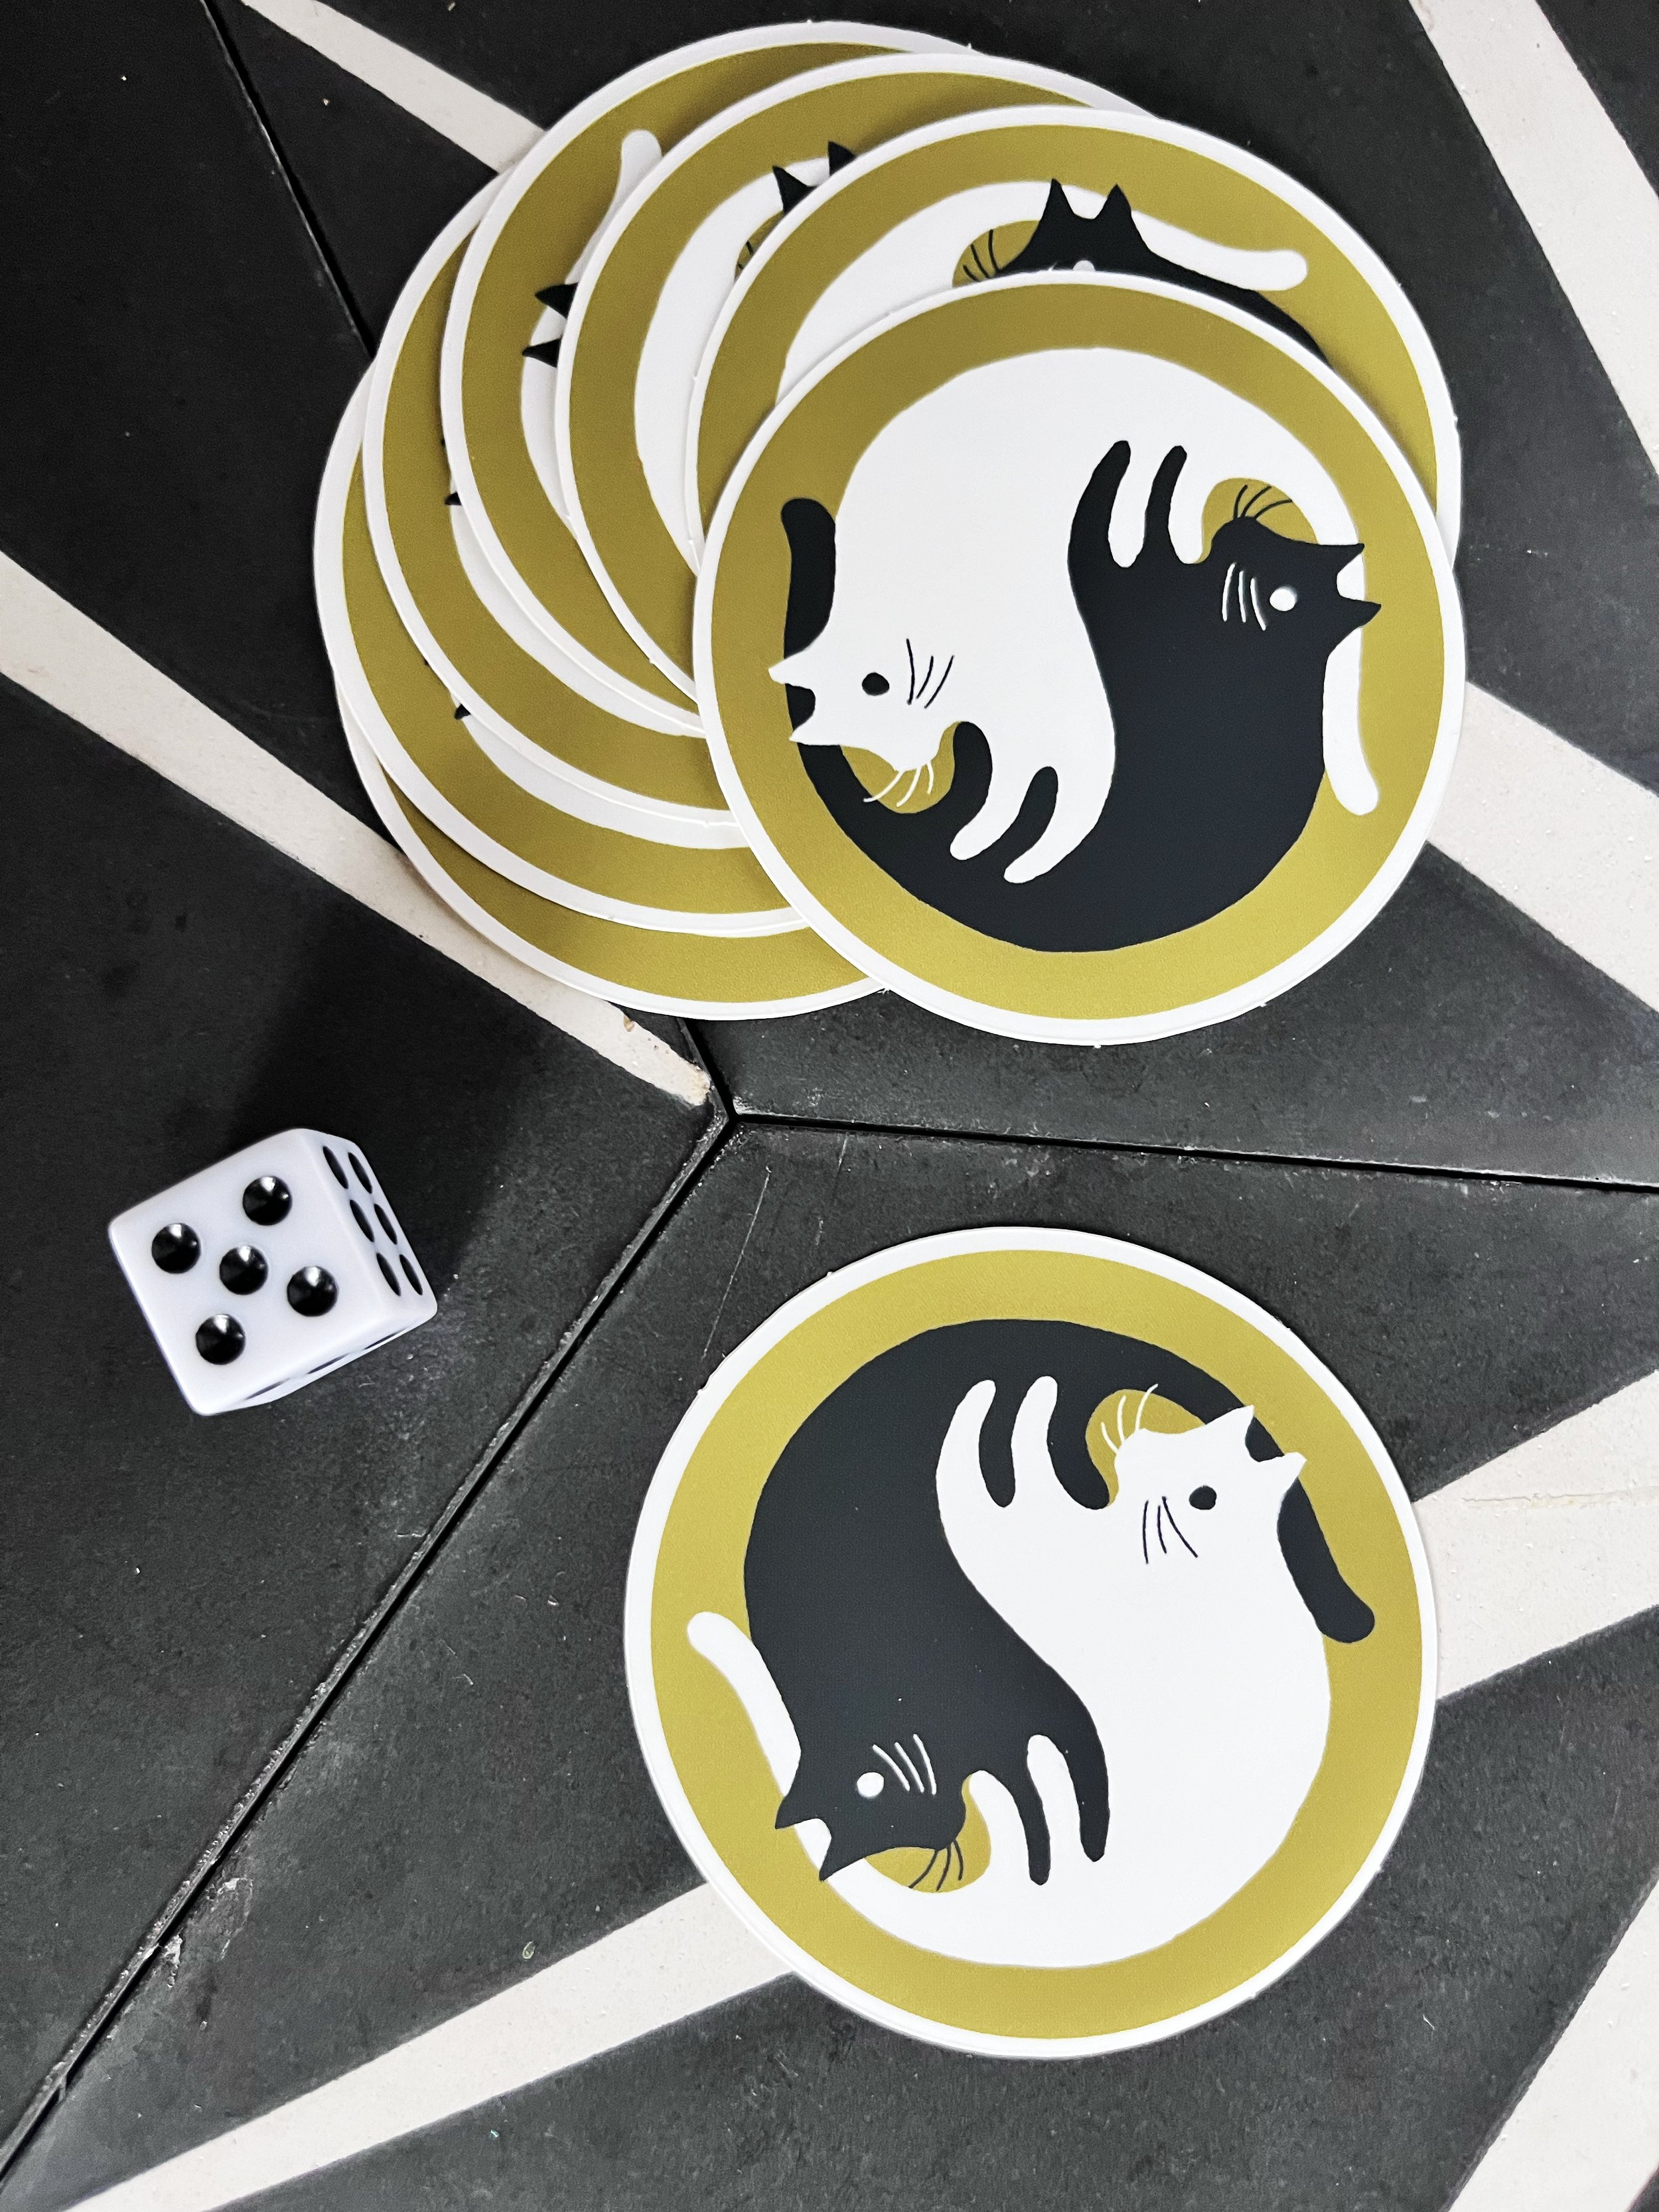

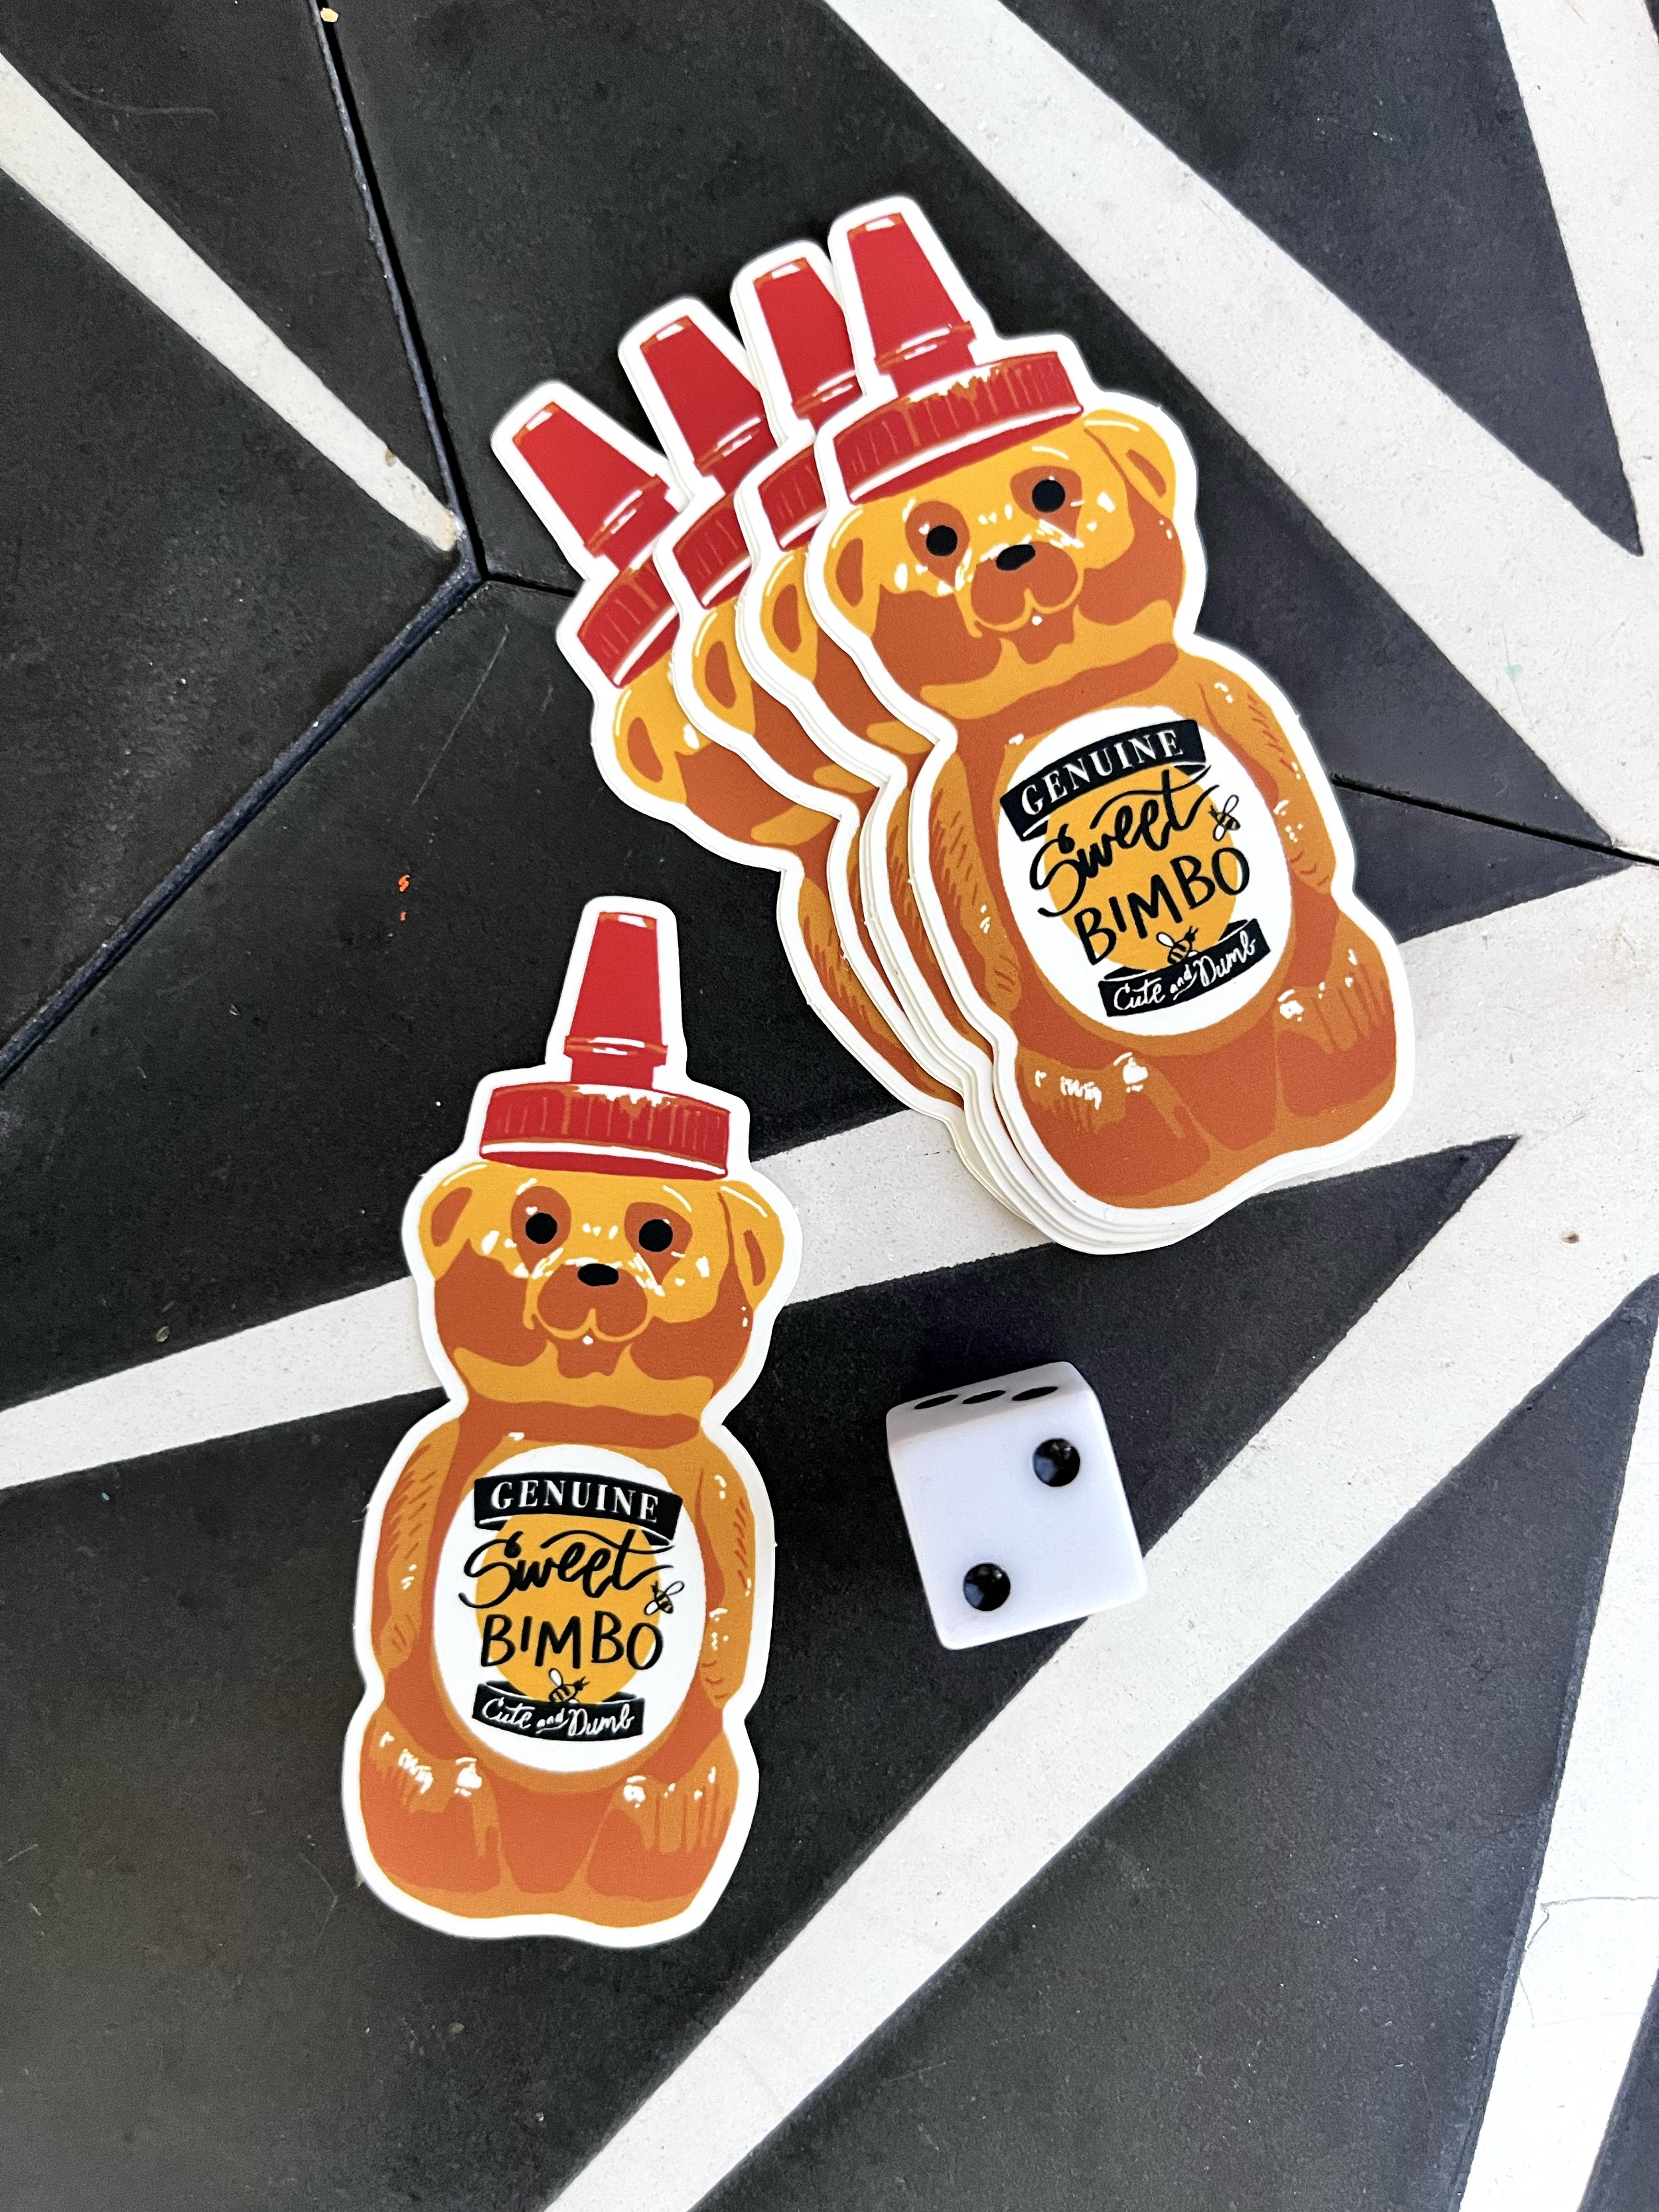

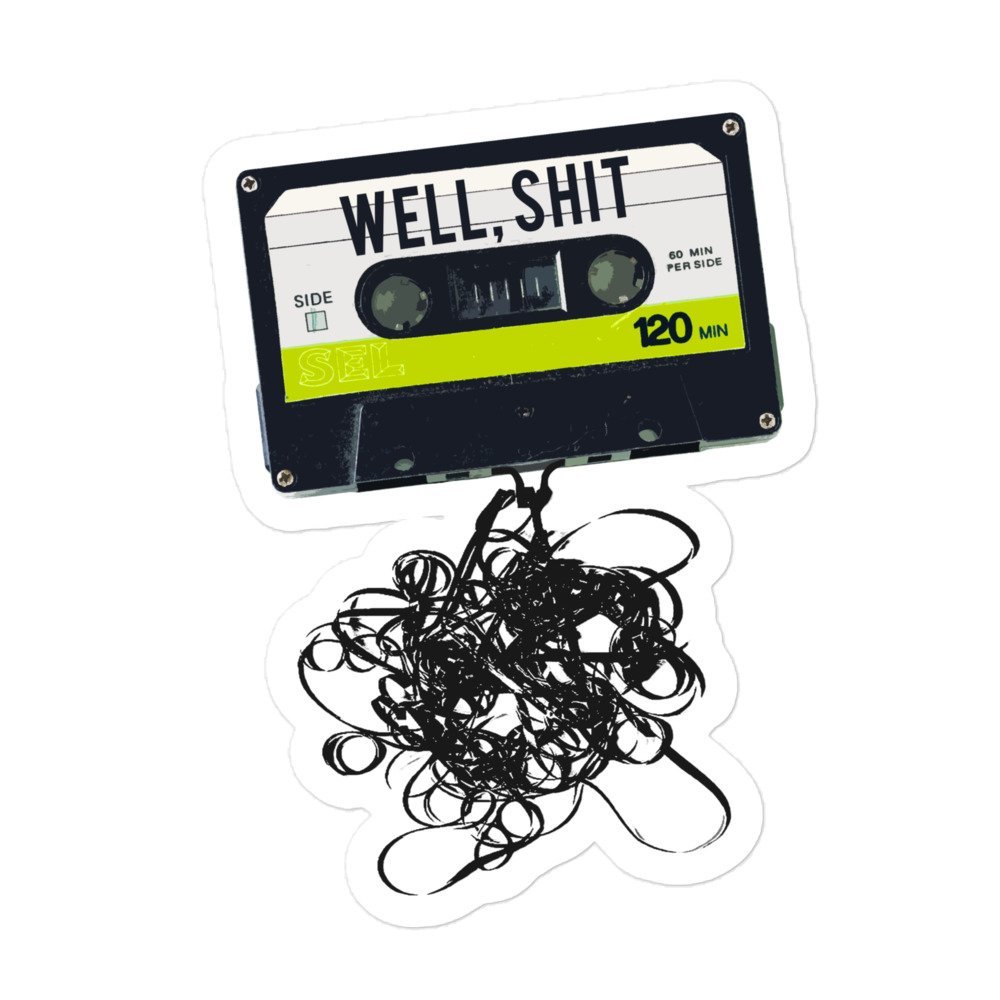
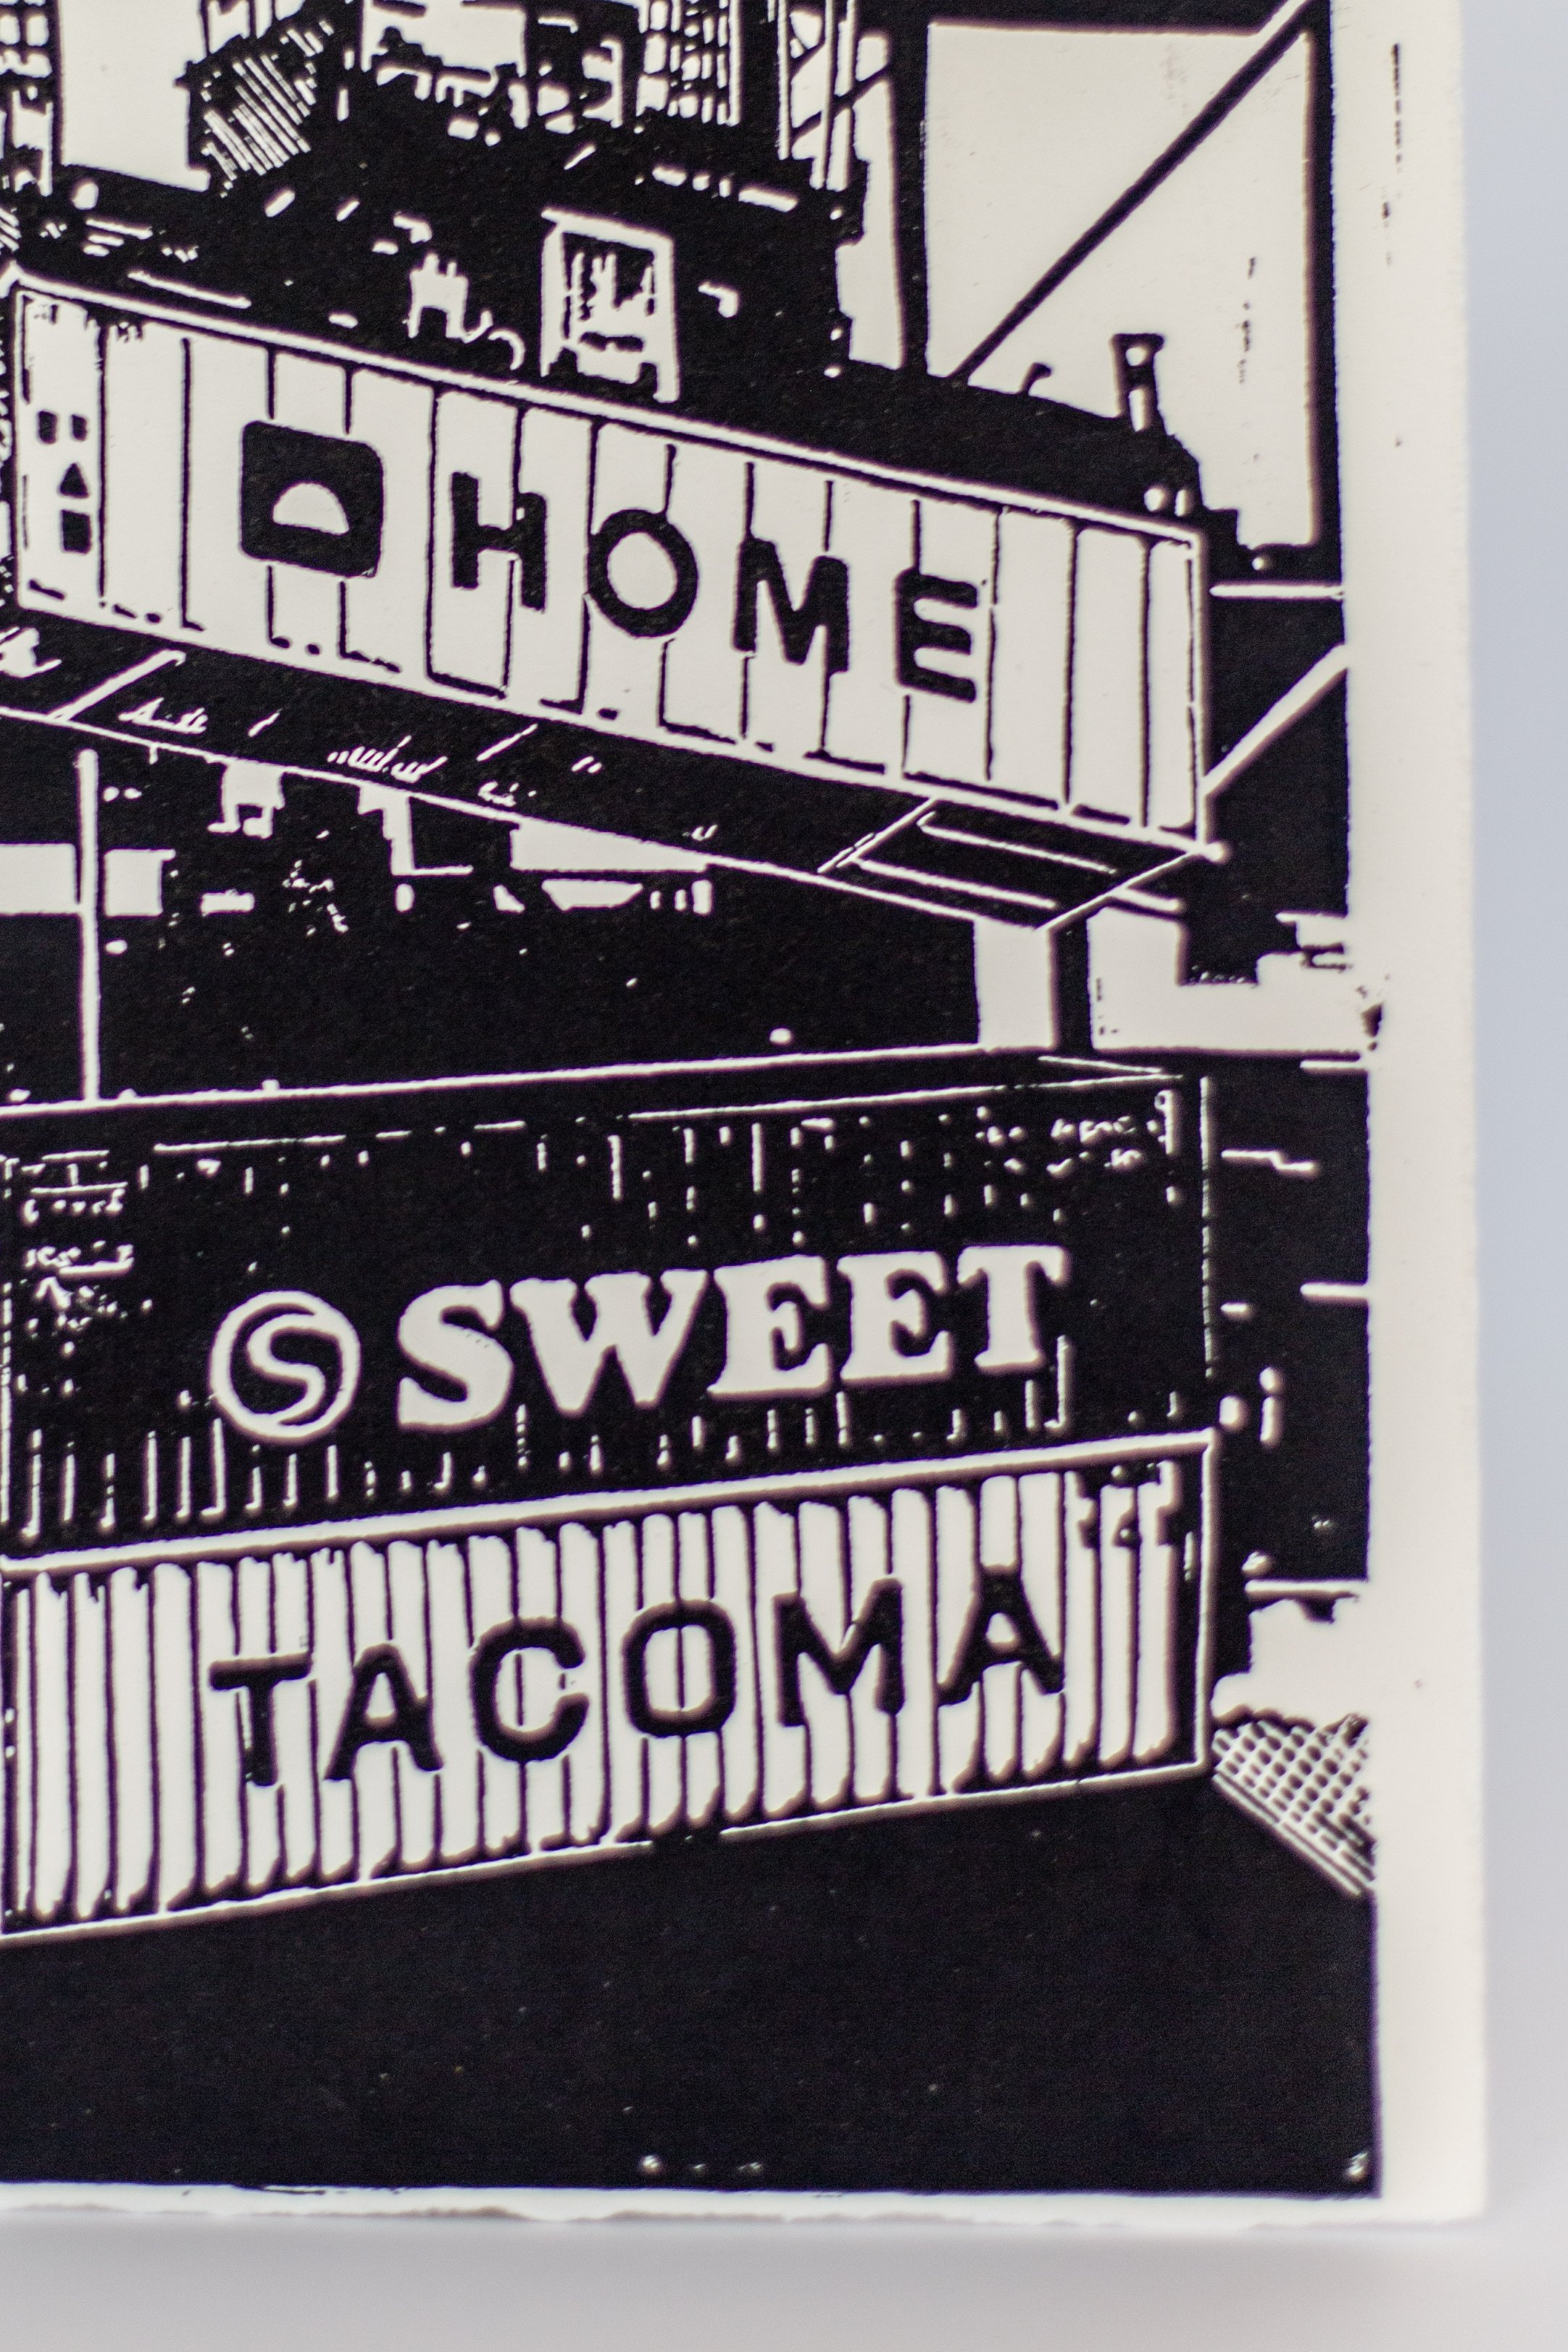
And of course, stickers are a fun addition to any order!
The holographic Handy AF sticker might be my fave, but it’s a tough choice between that and the DIY Pinup girl. Pretty much all the new t-shirt designs are also available in sticker form (or even as mugs!), and Foreman Kiska got to be immortalized in her own sticker!
Romanticizing my life

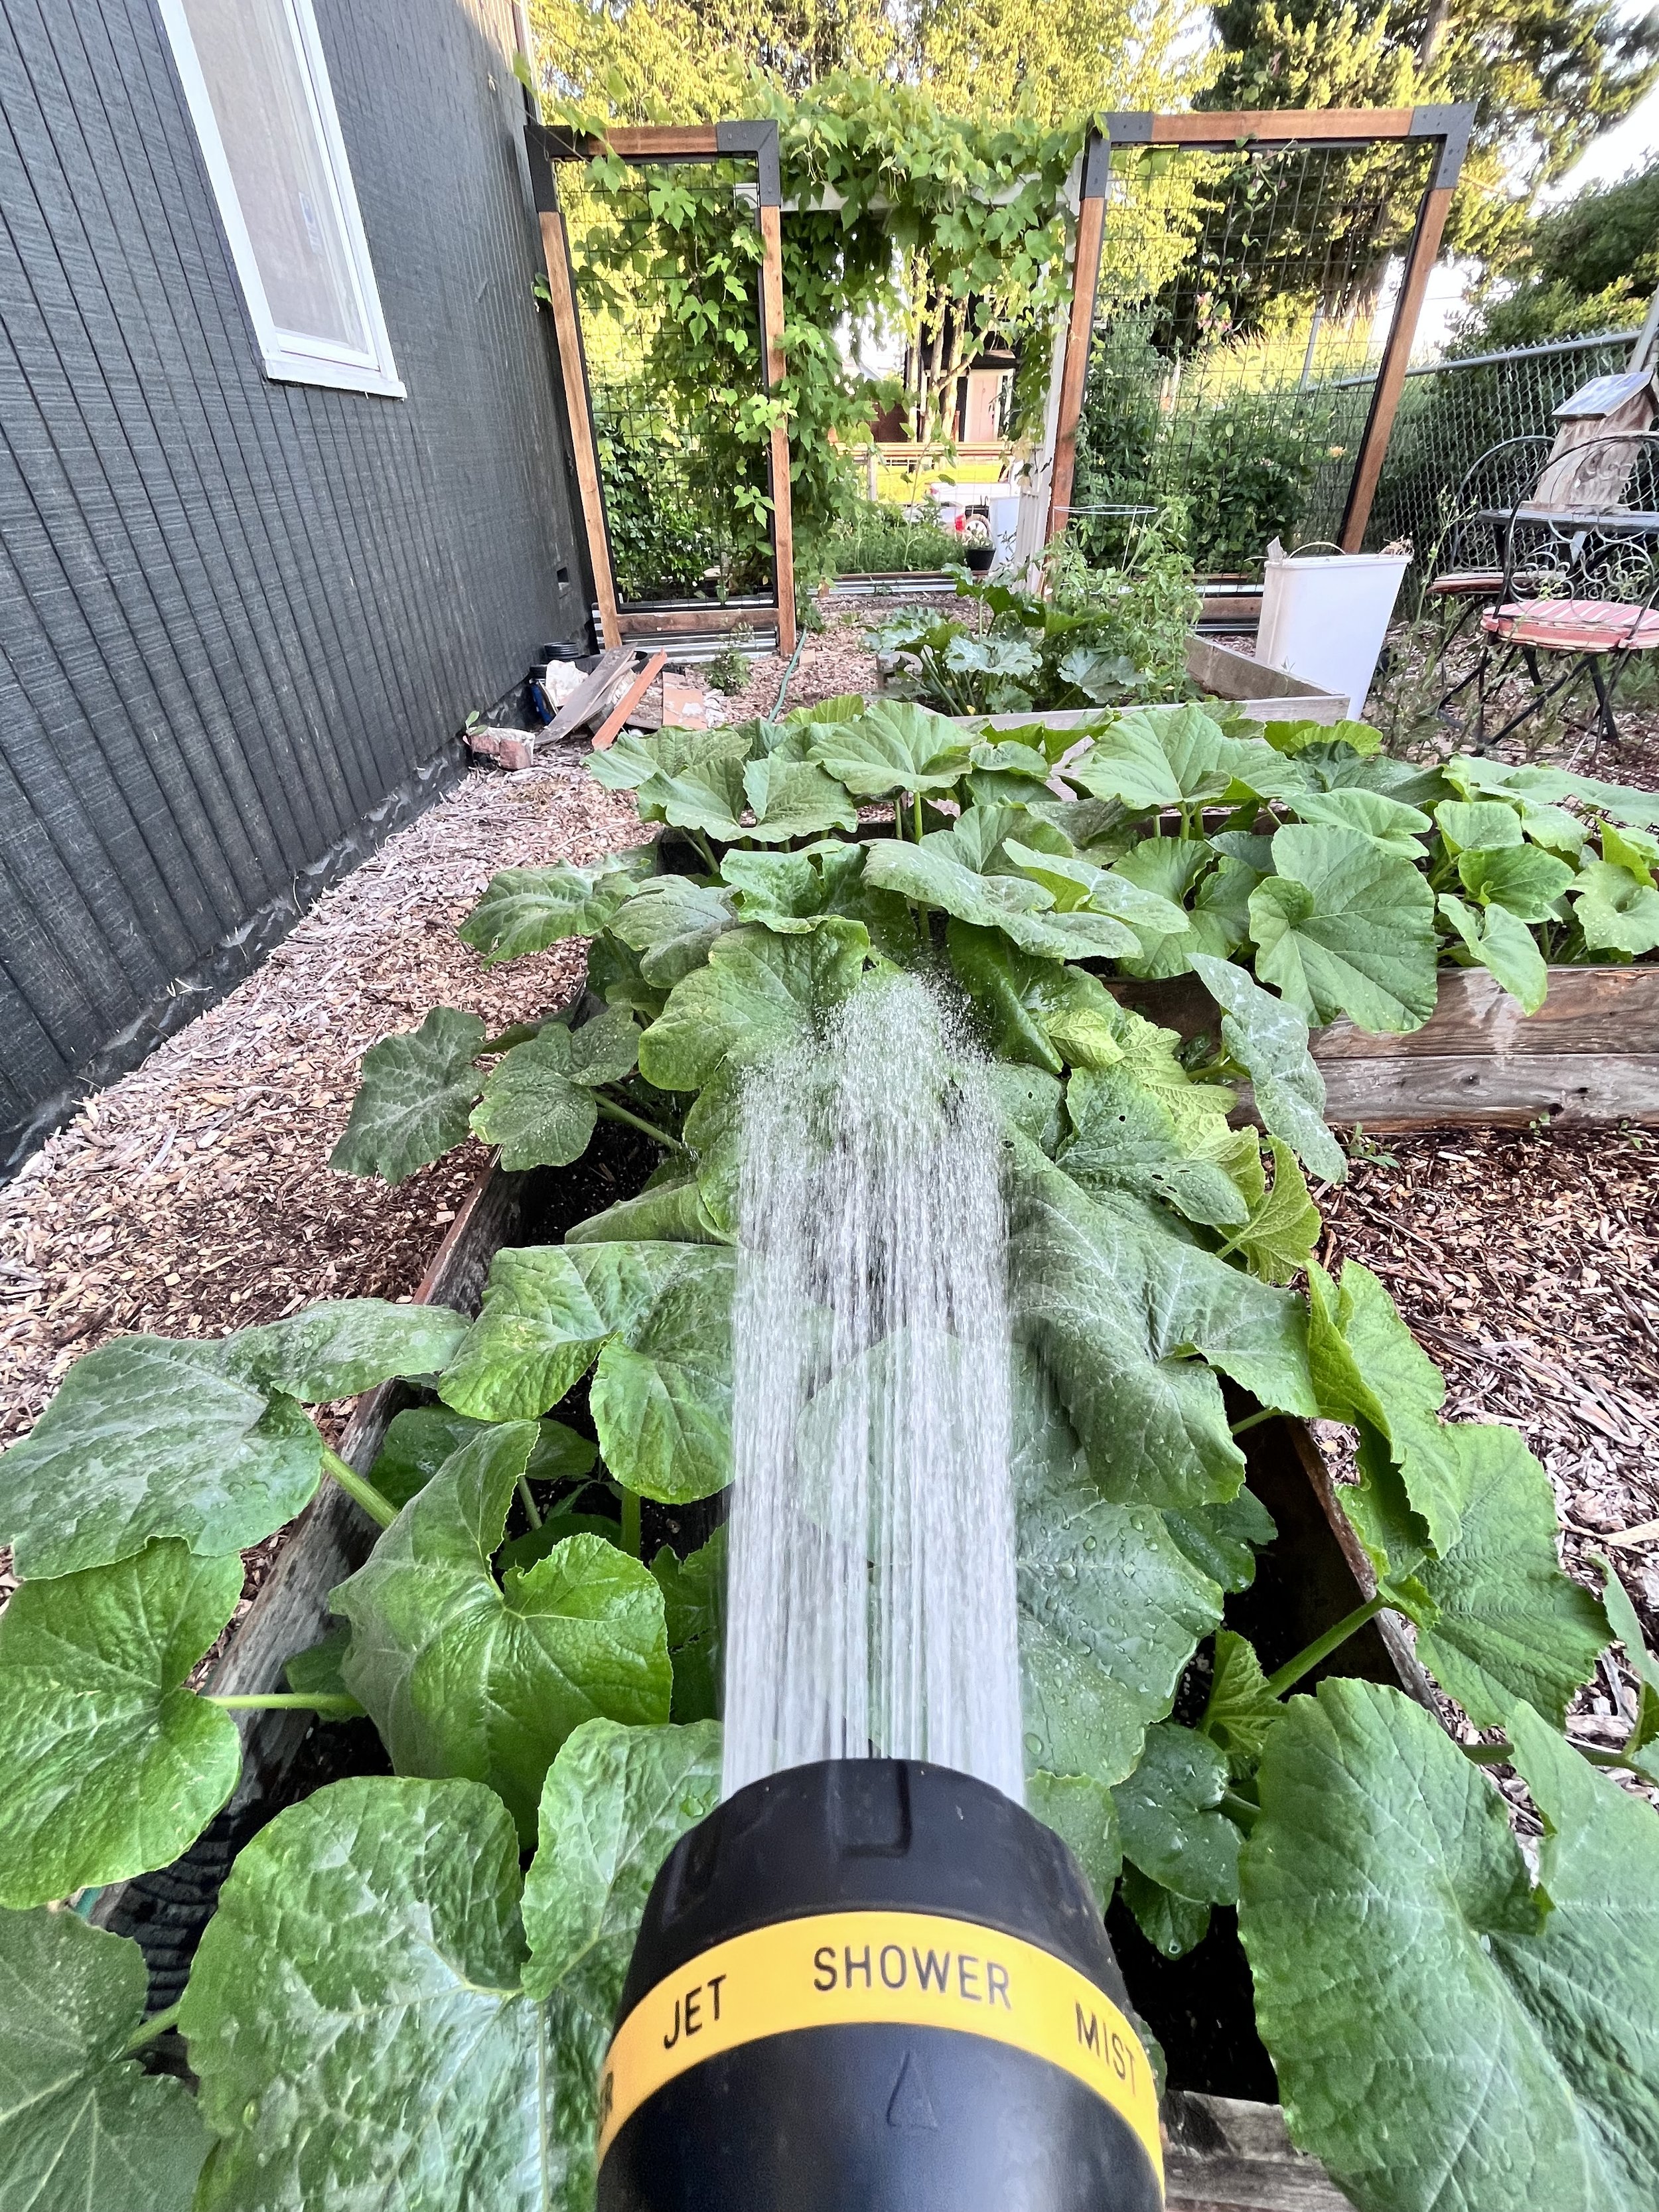
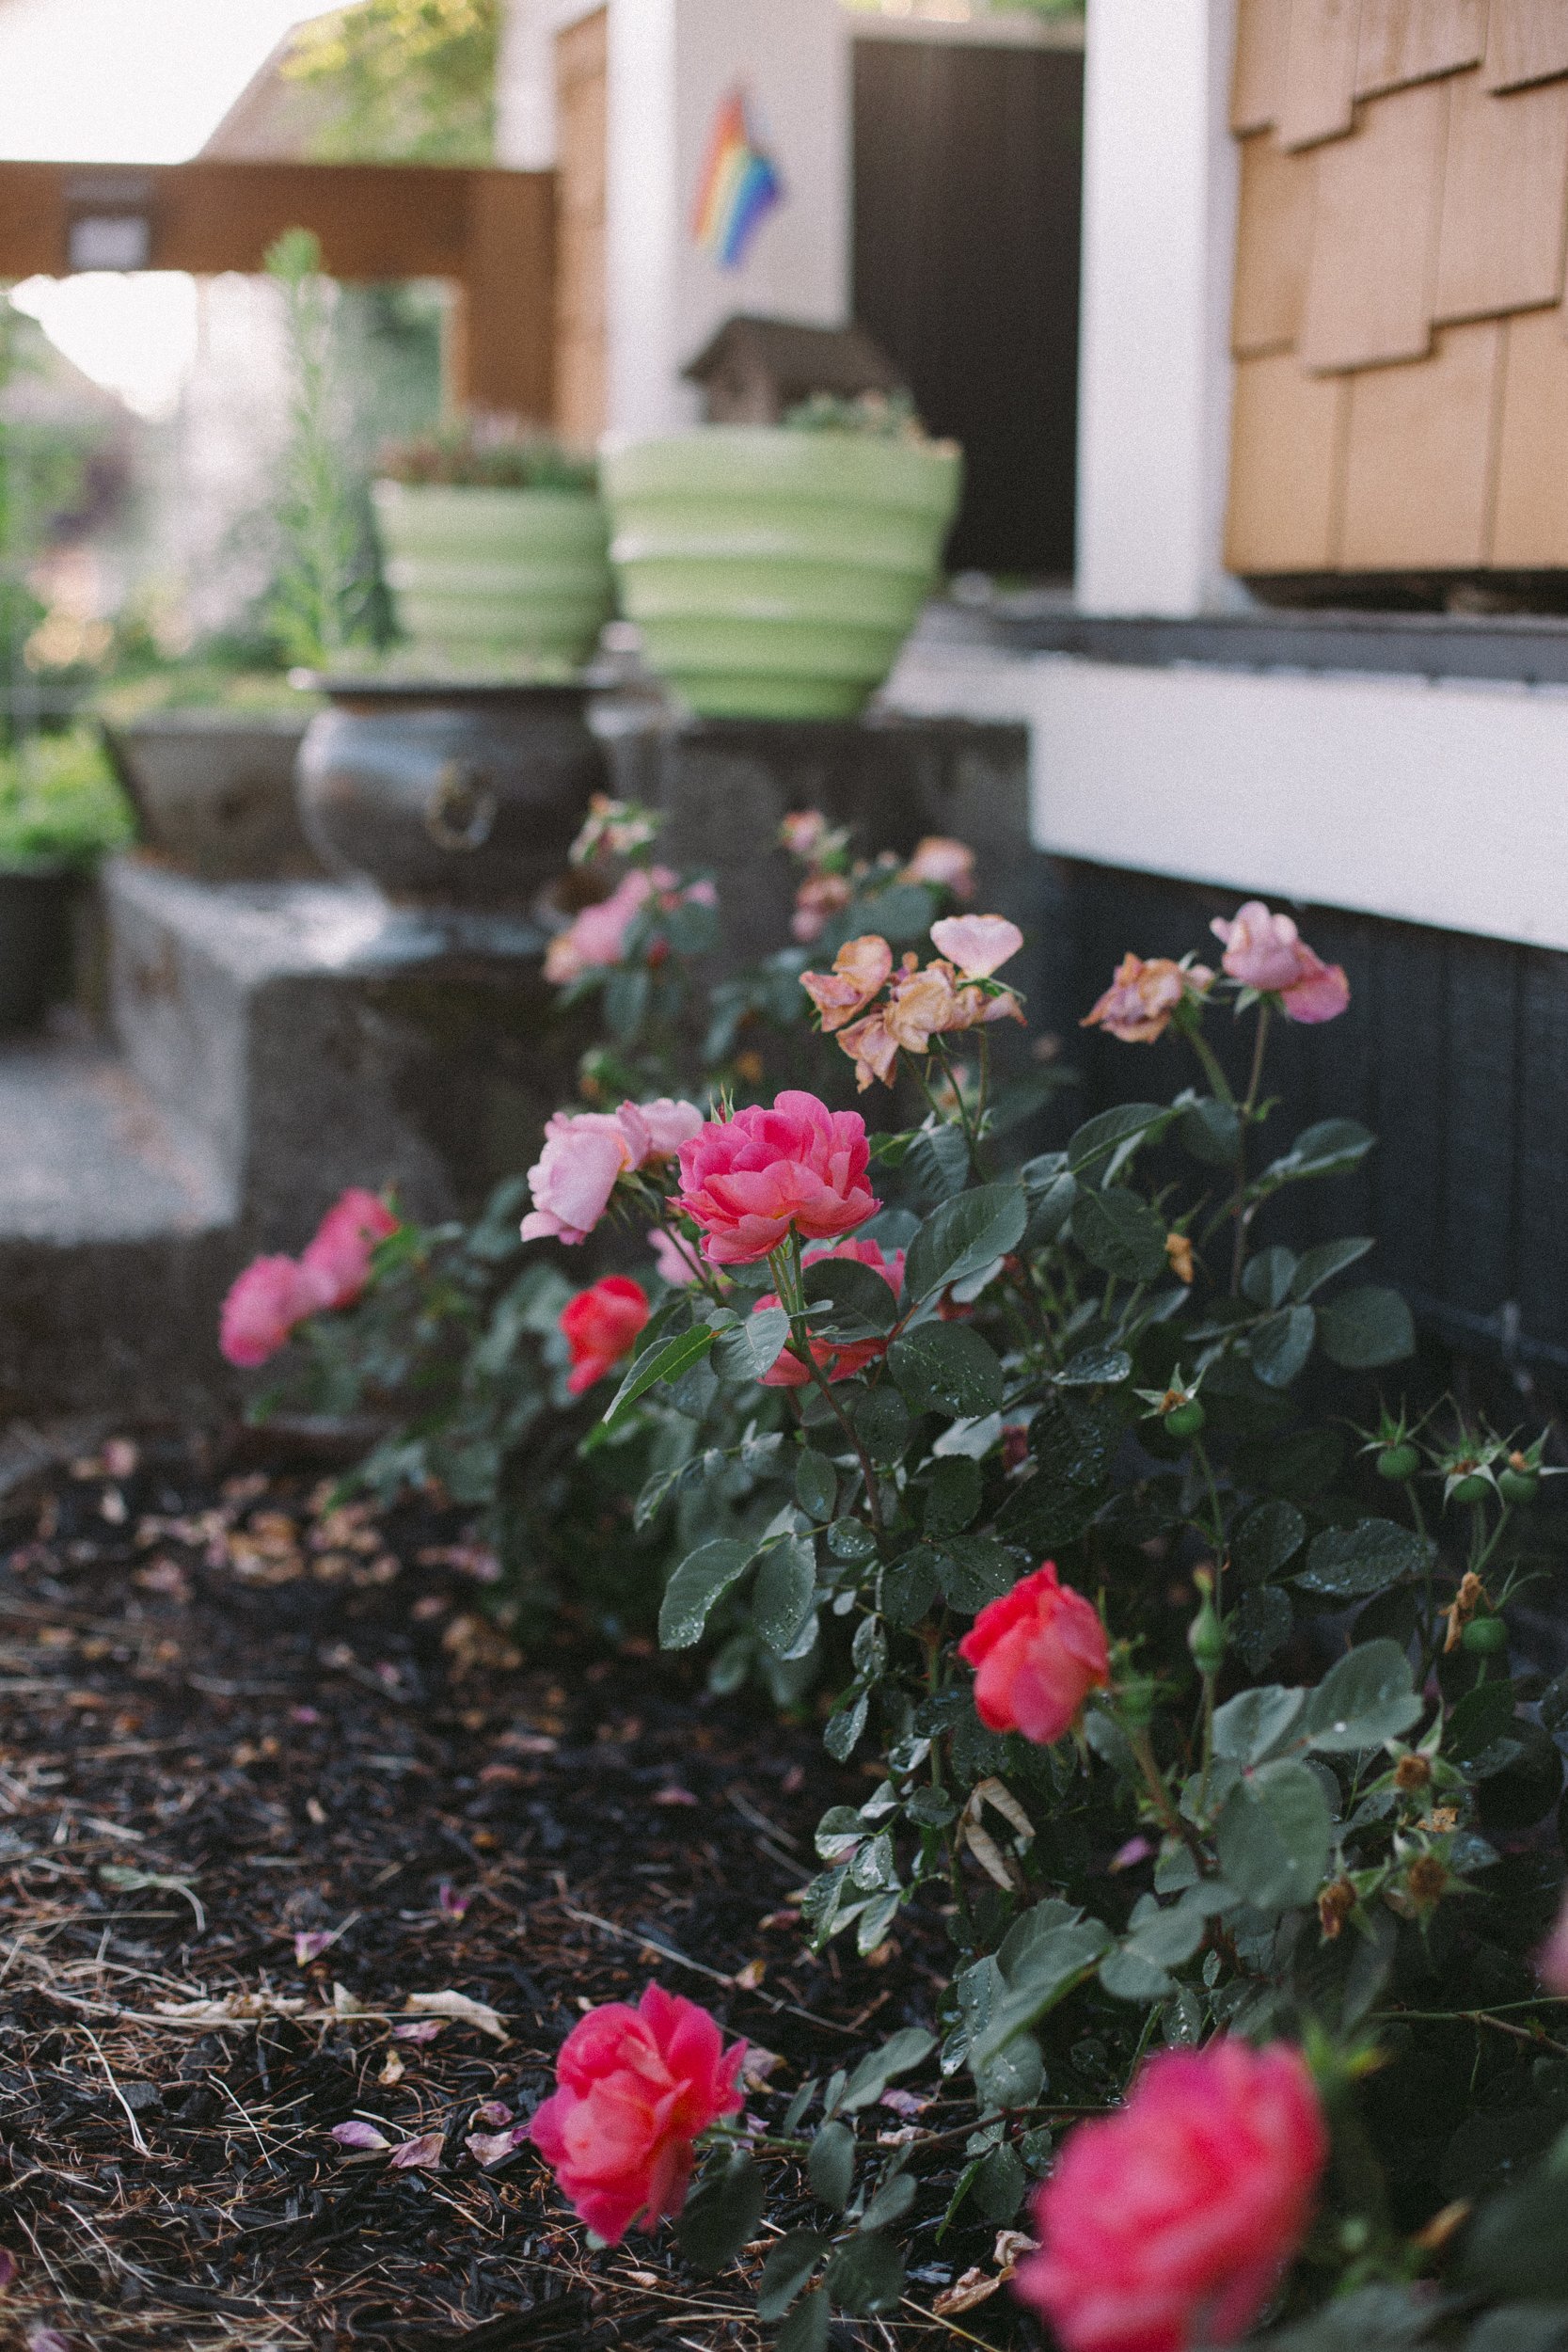
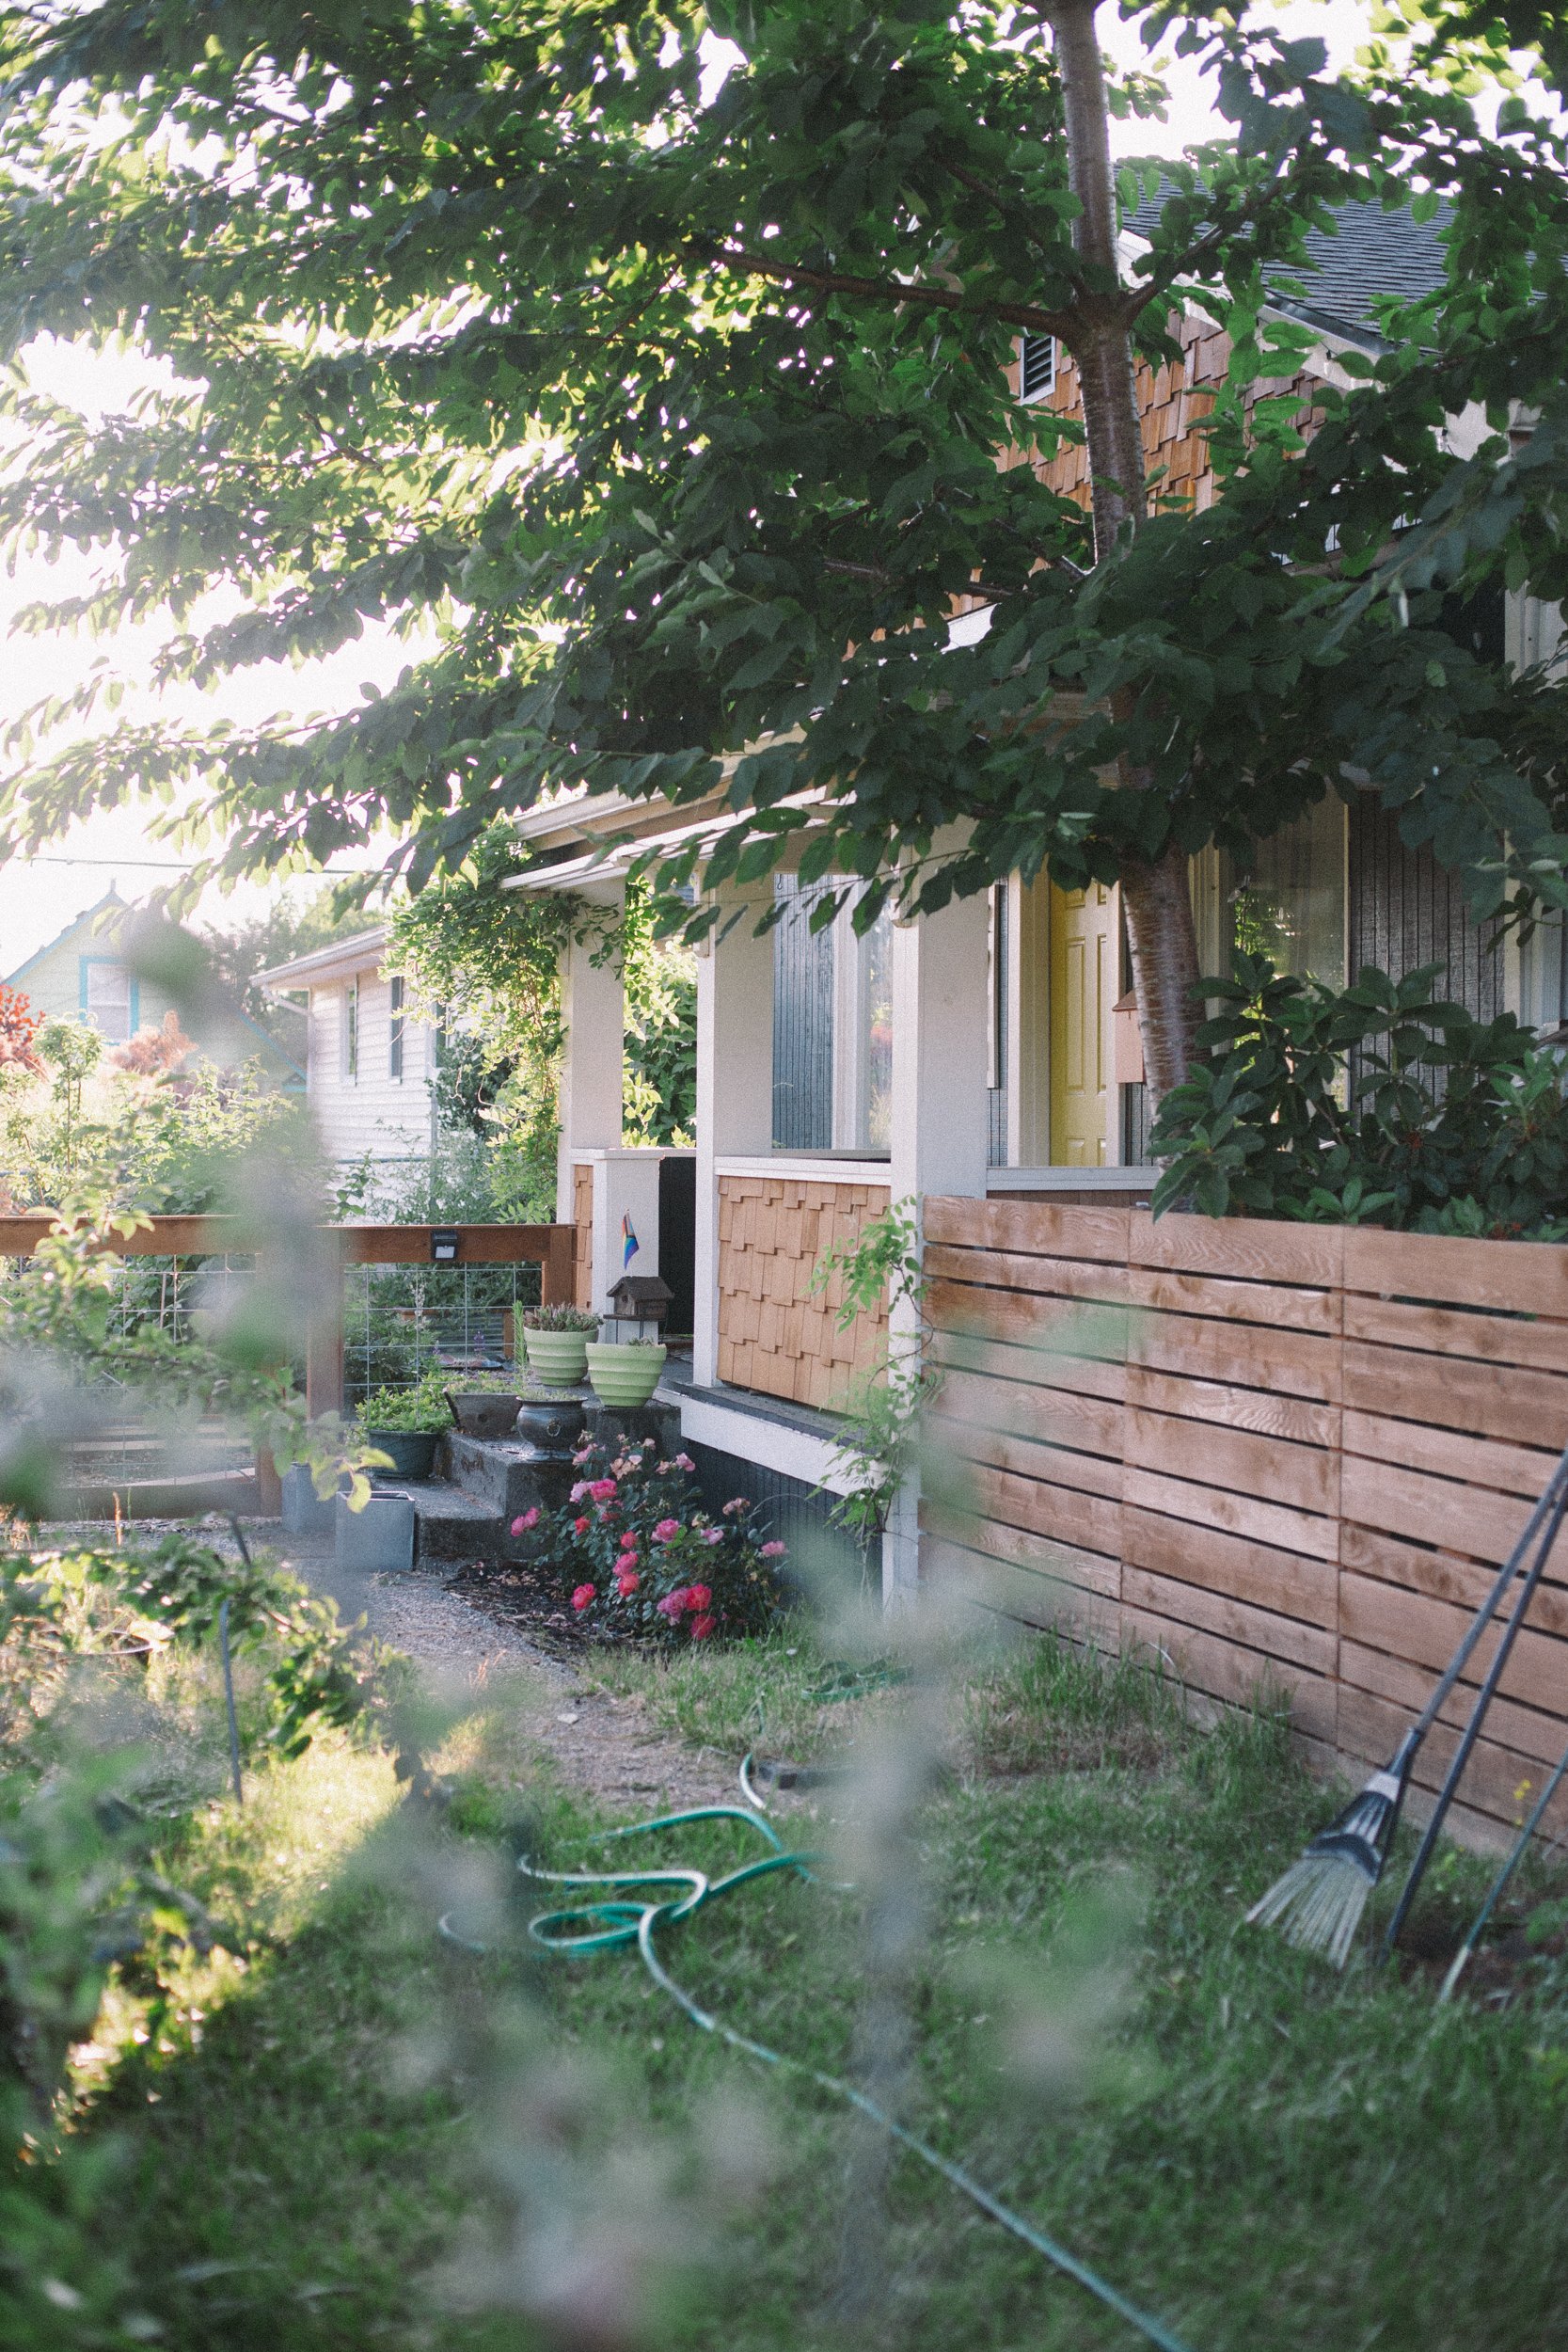
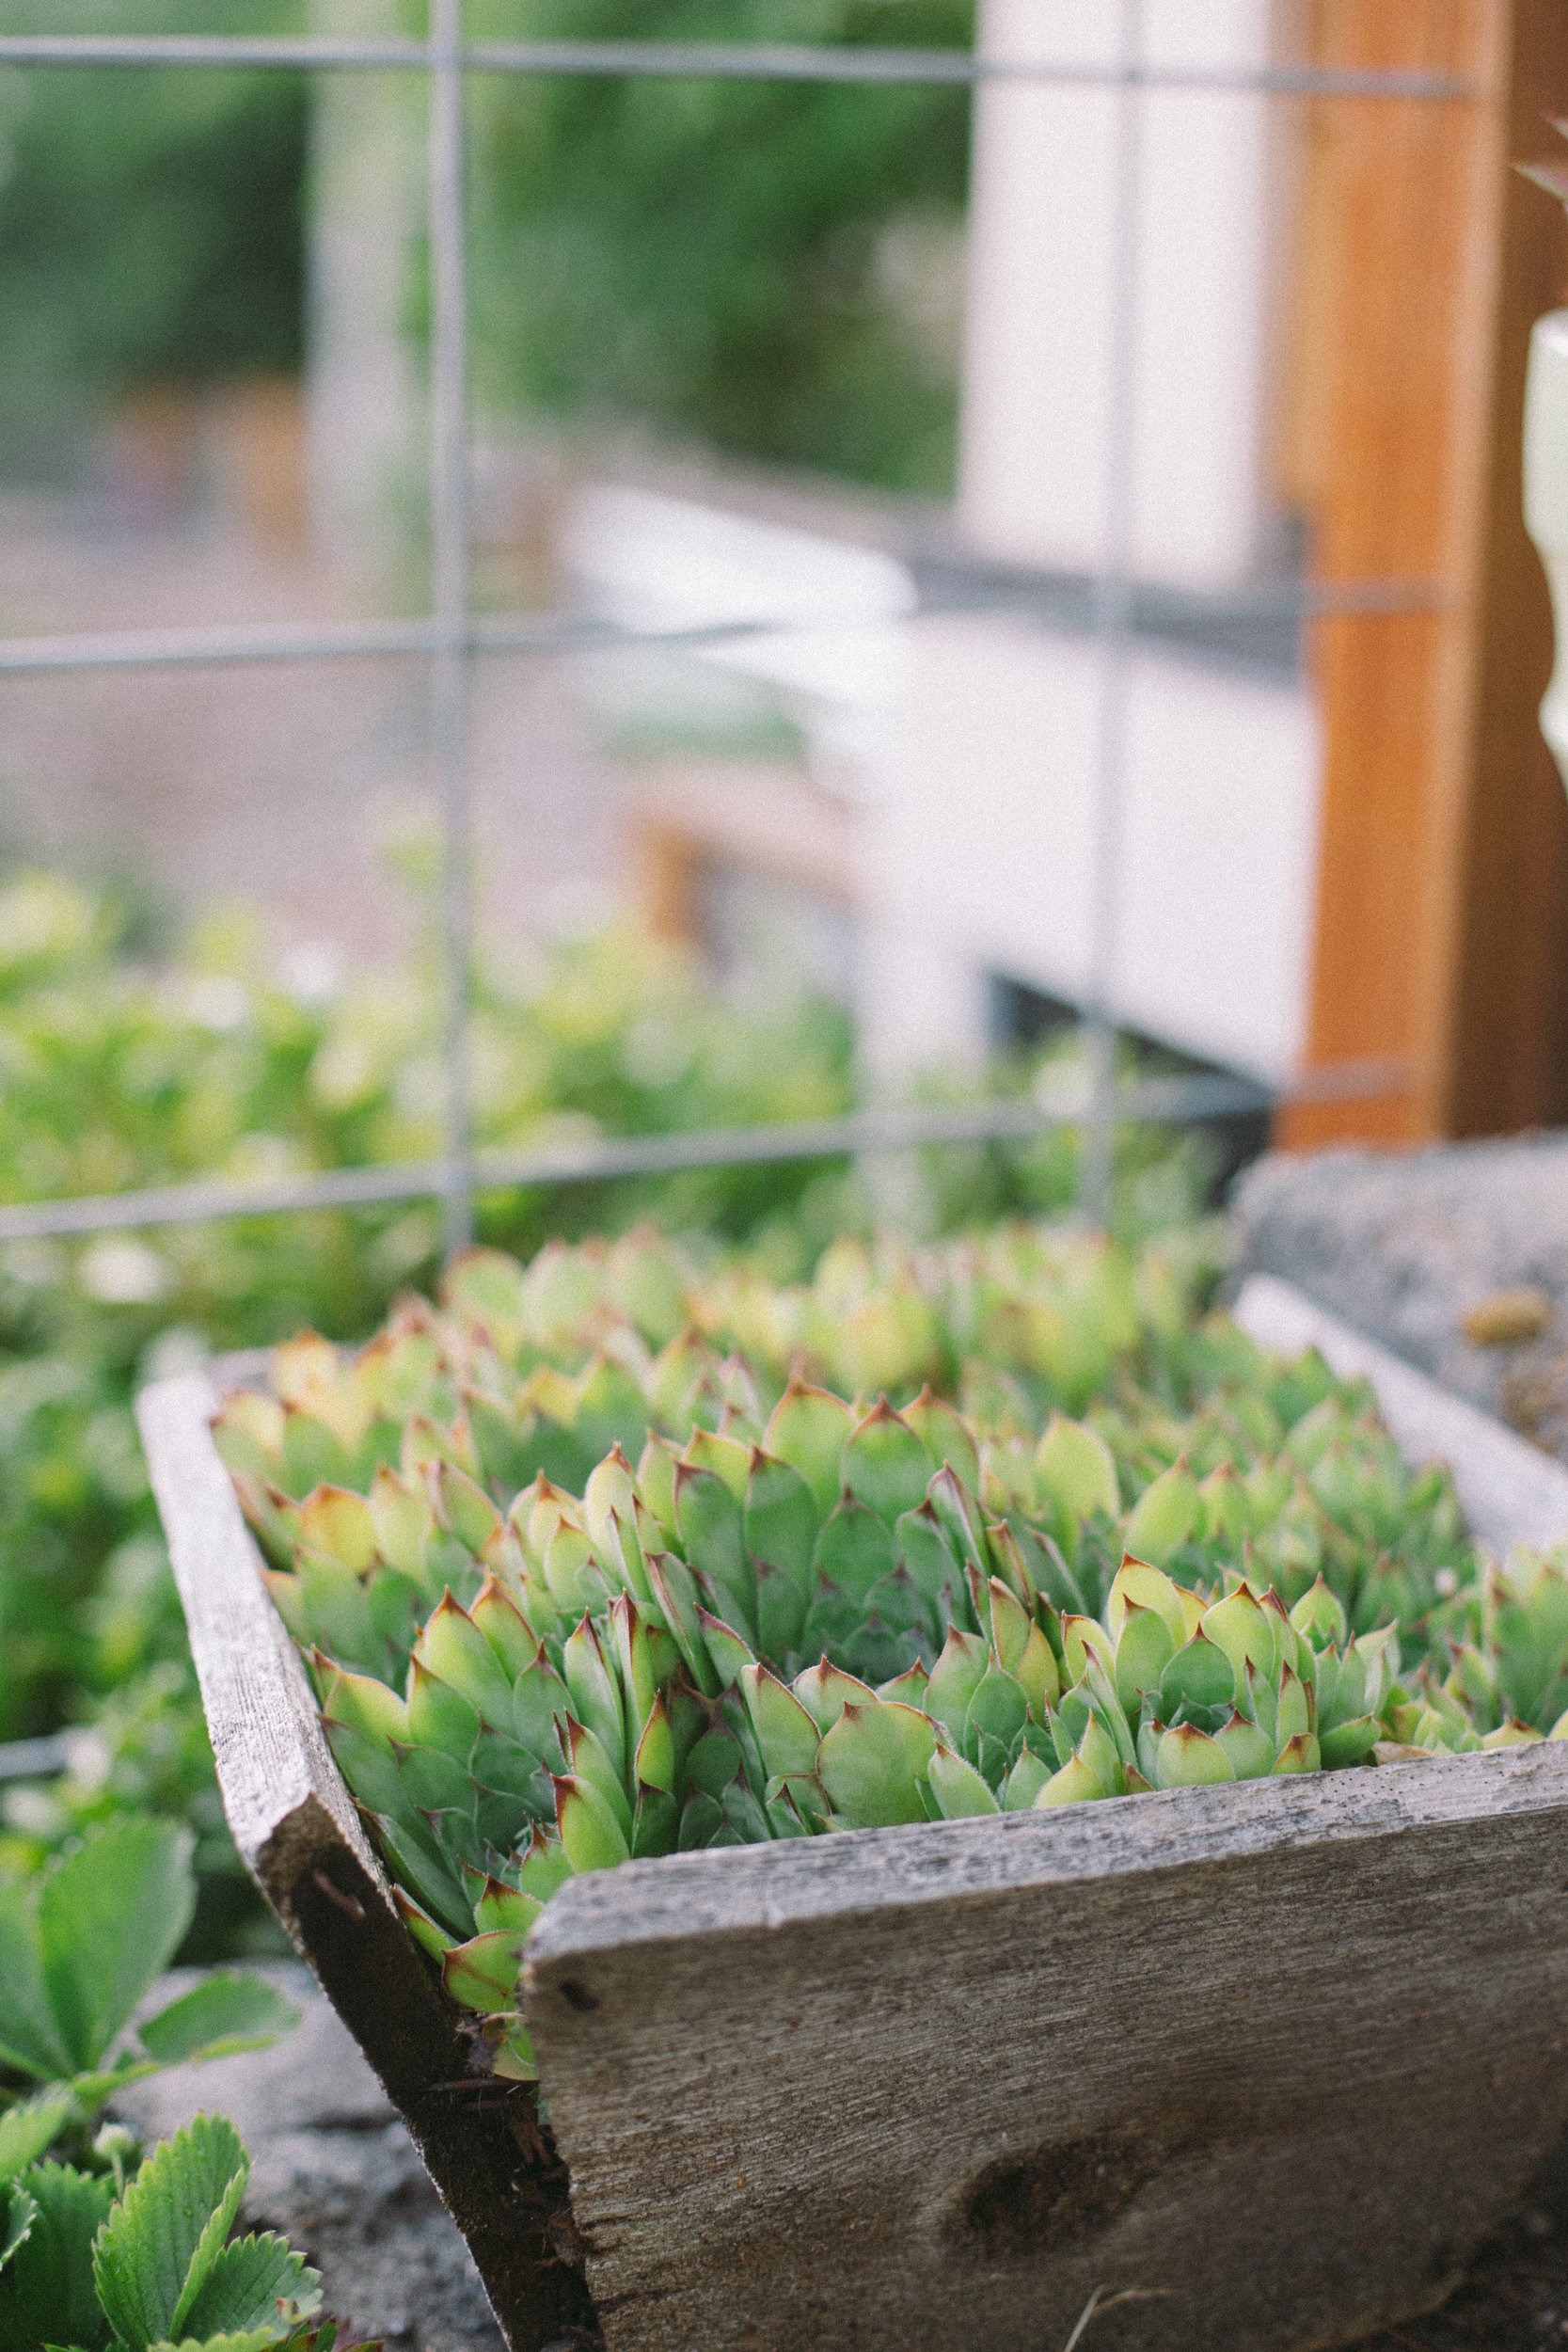
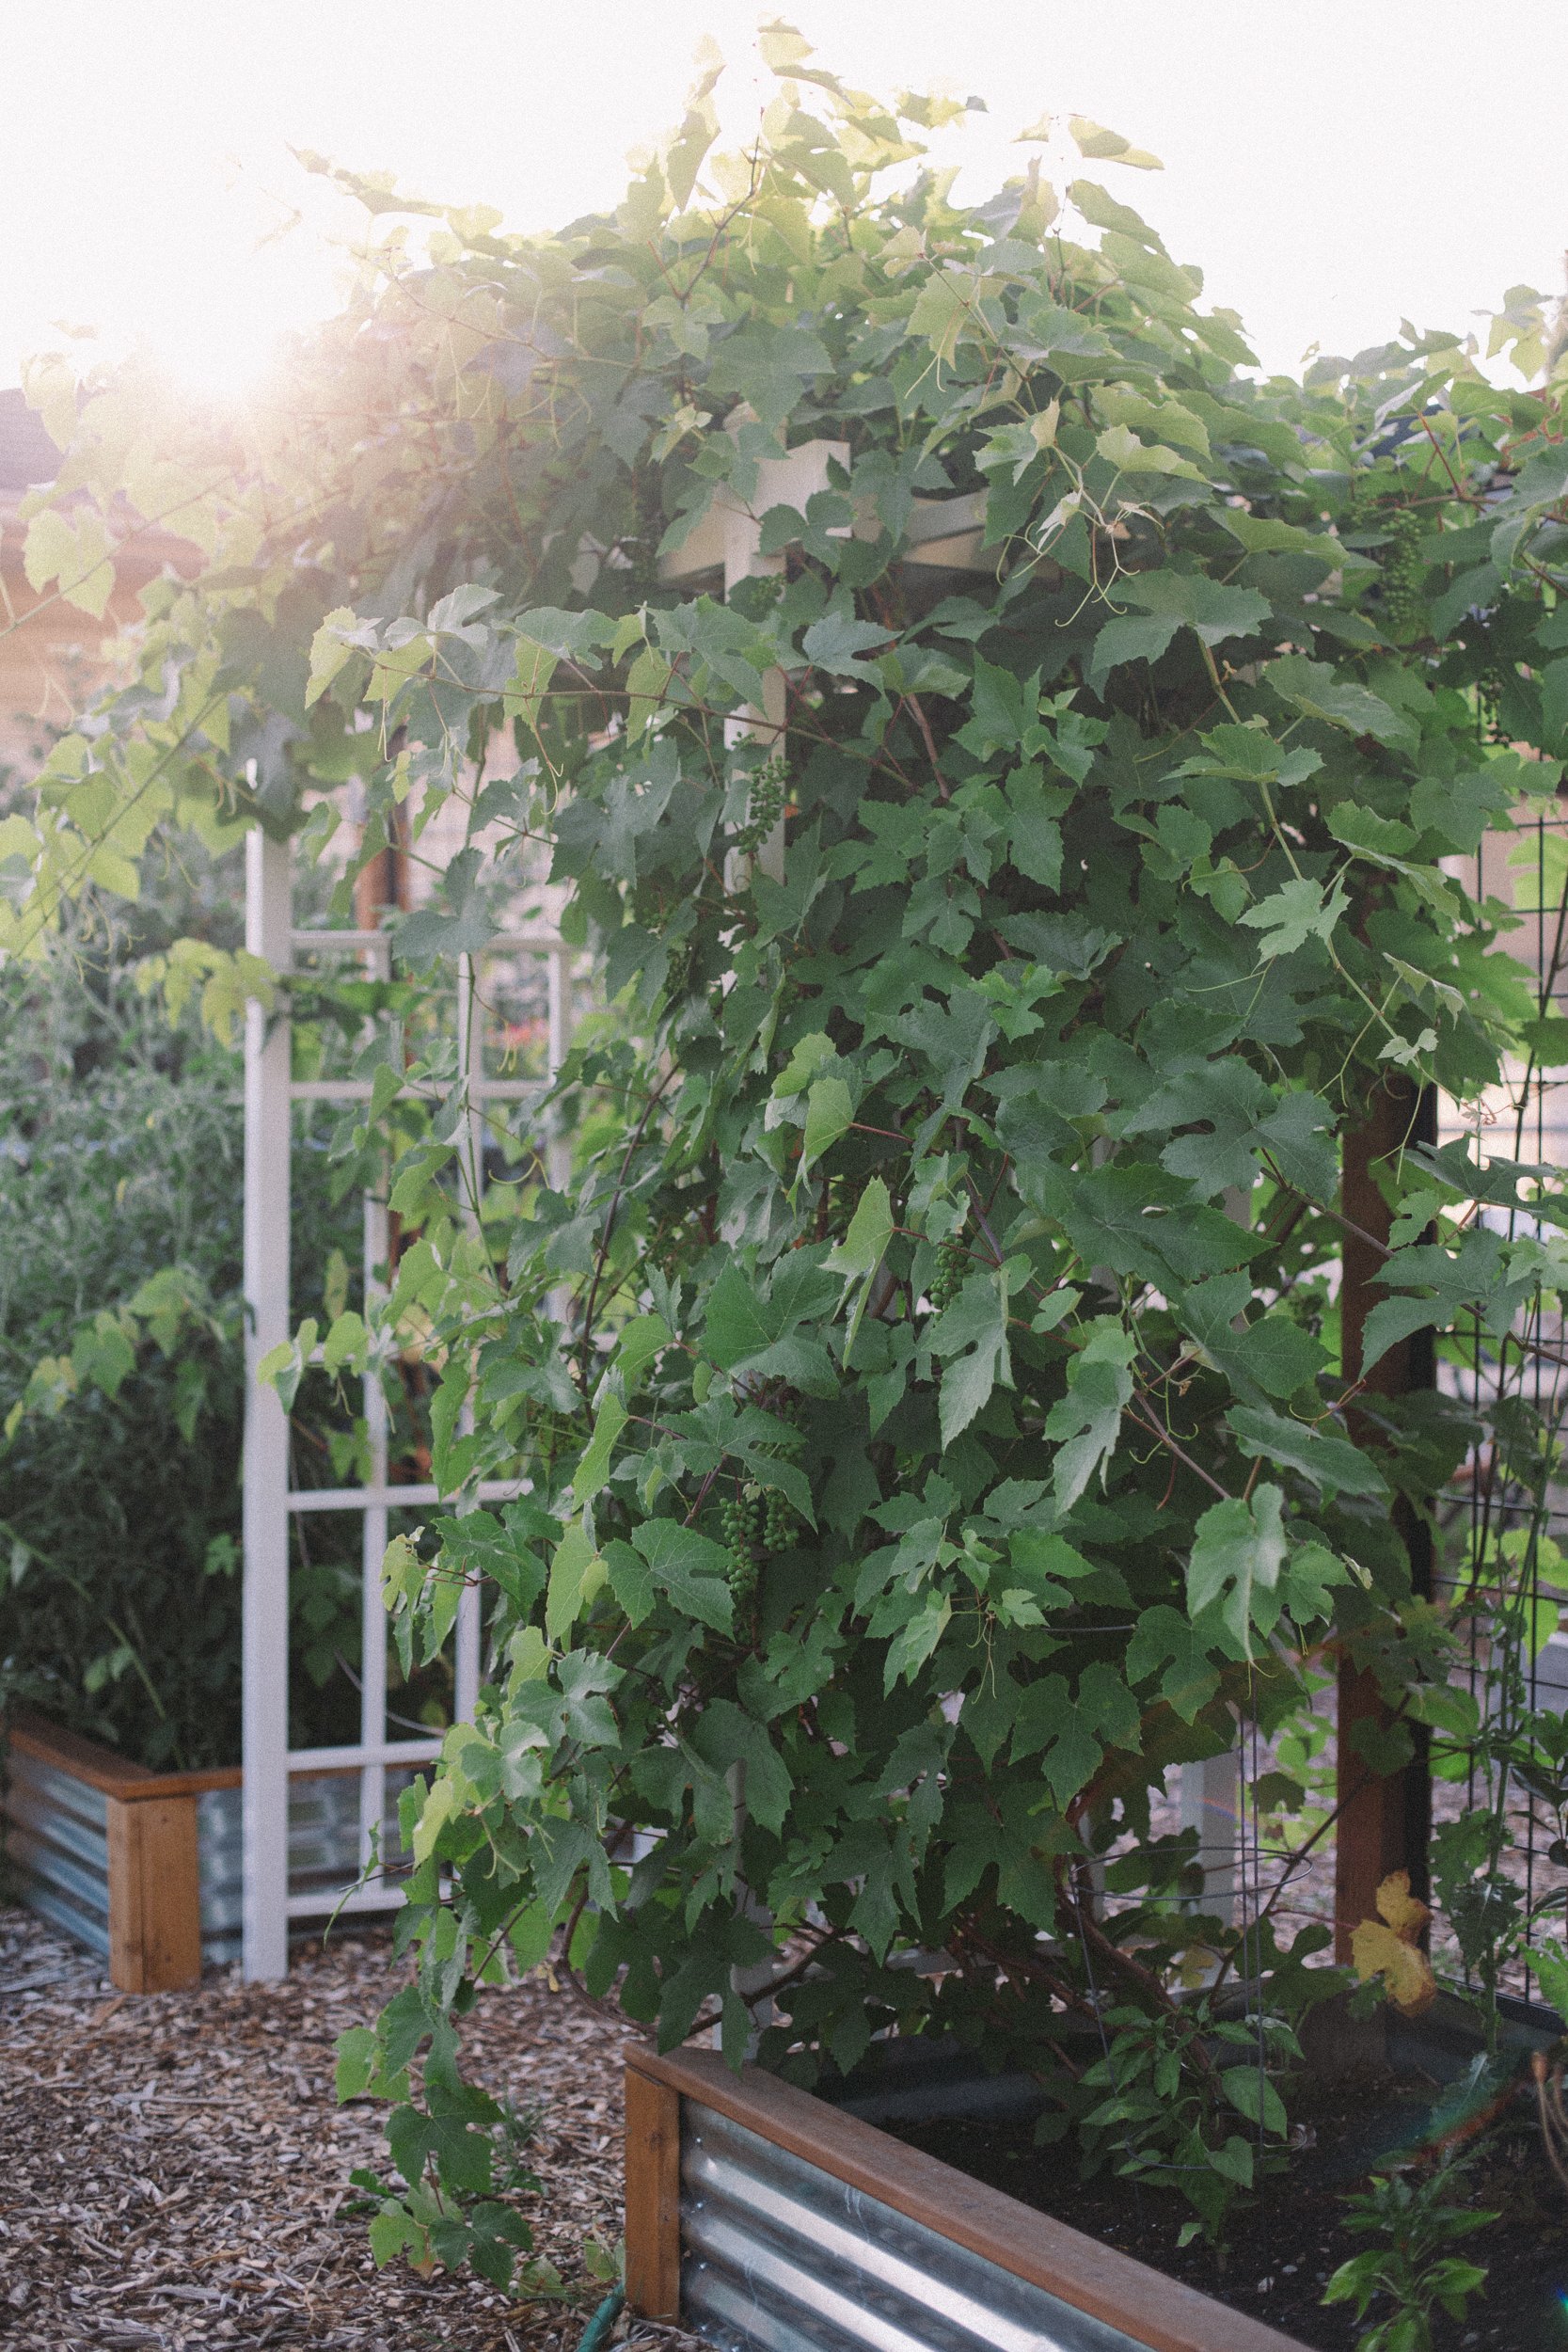
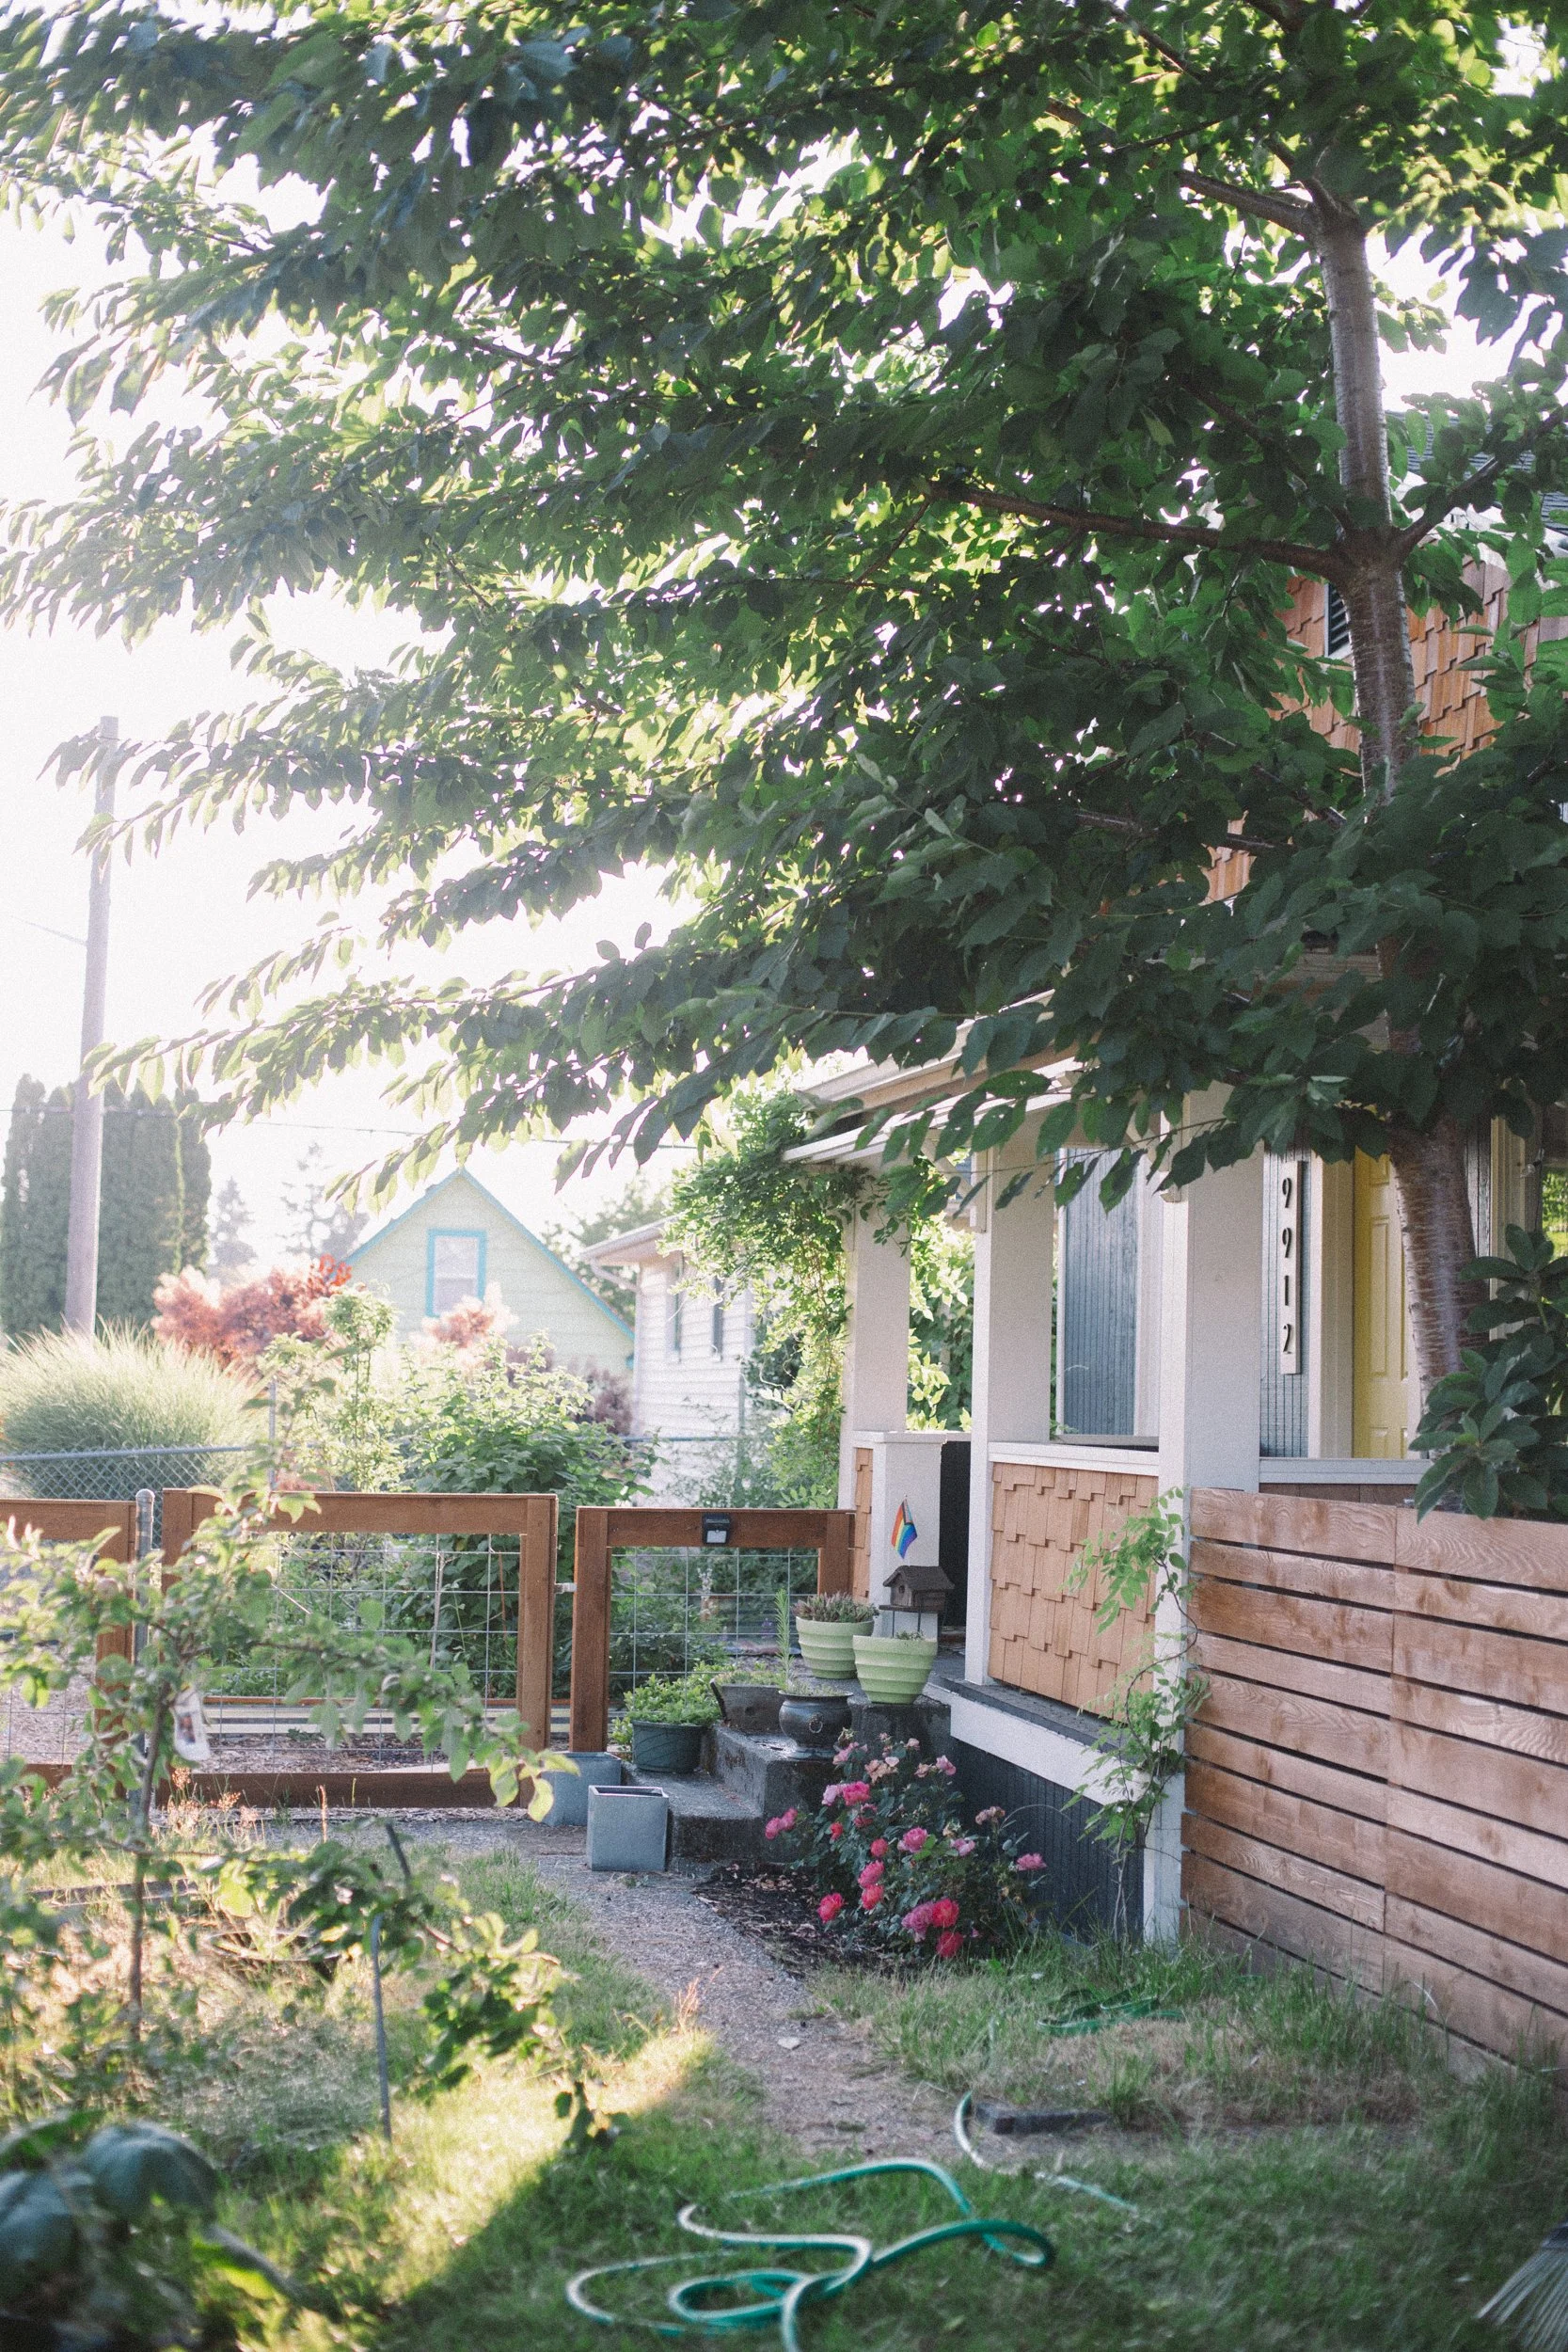
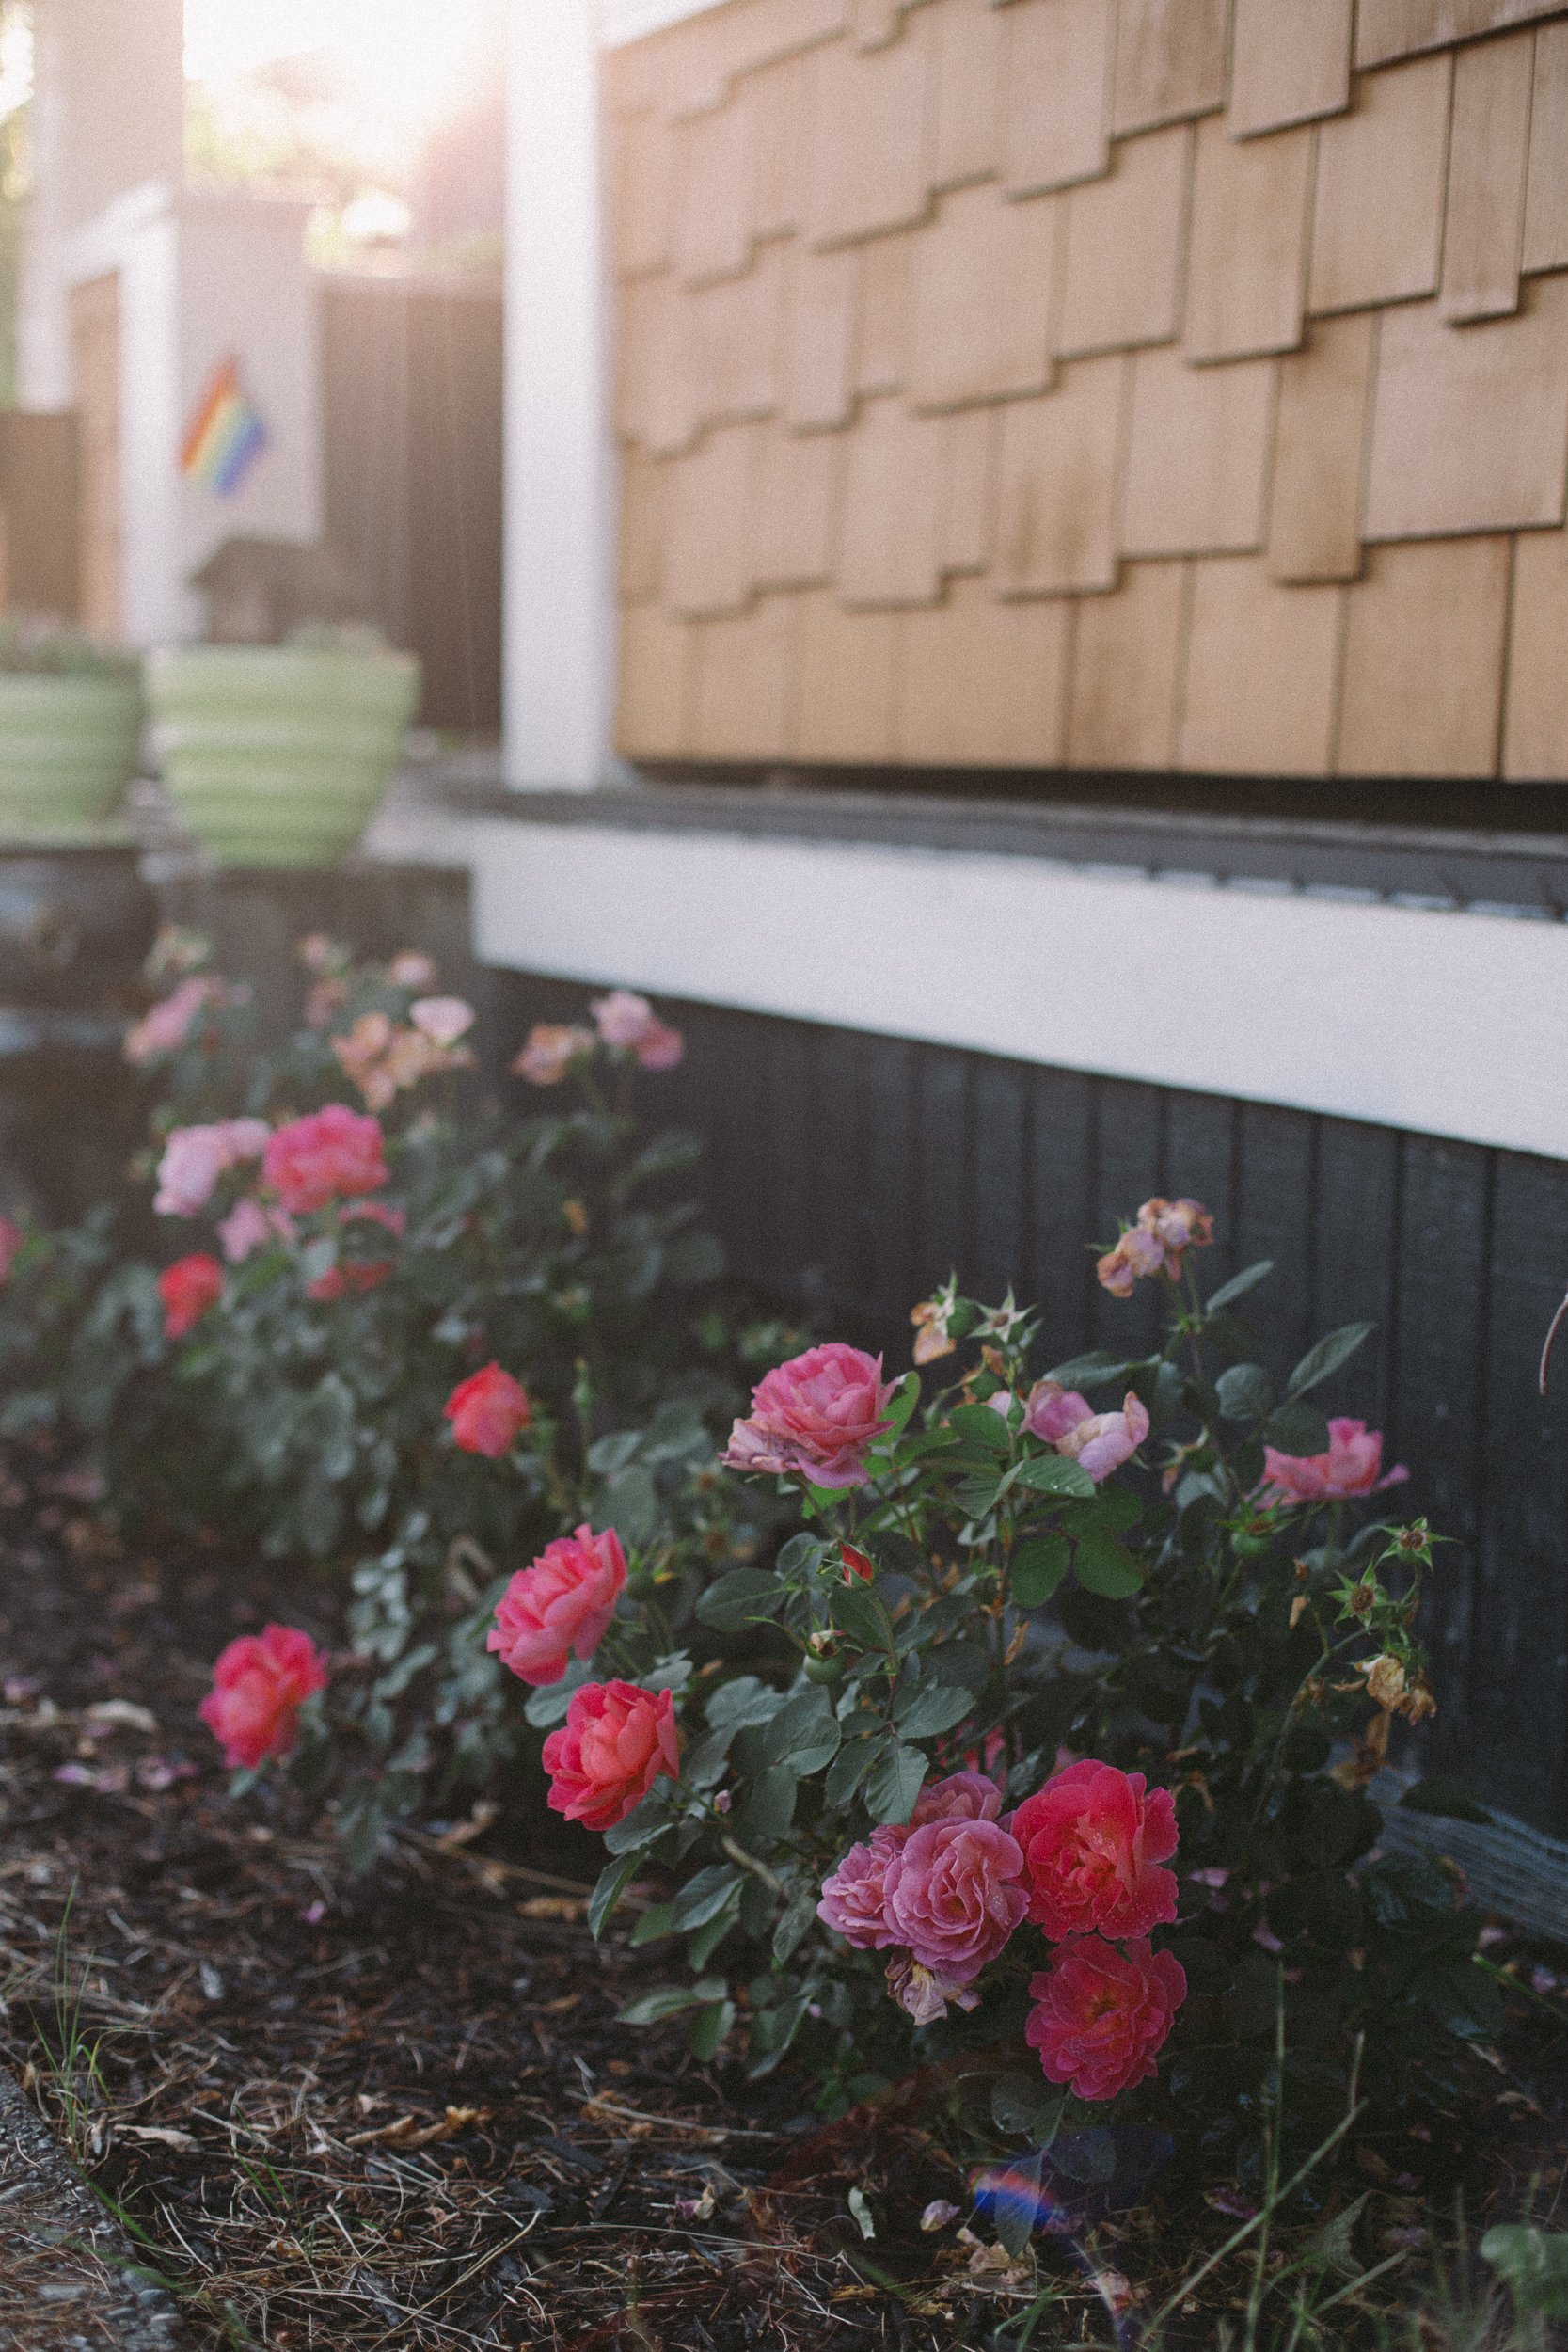
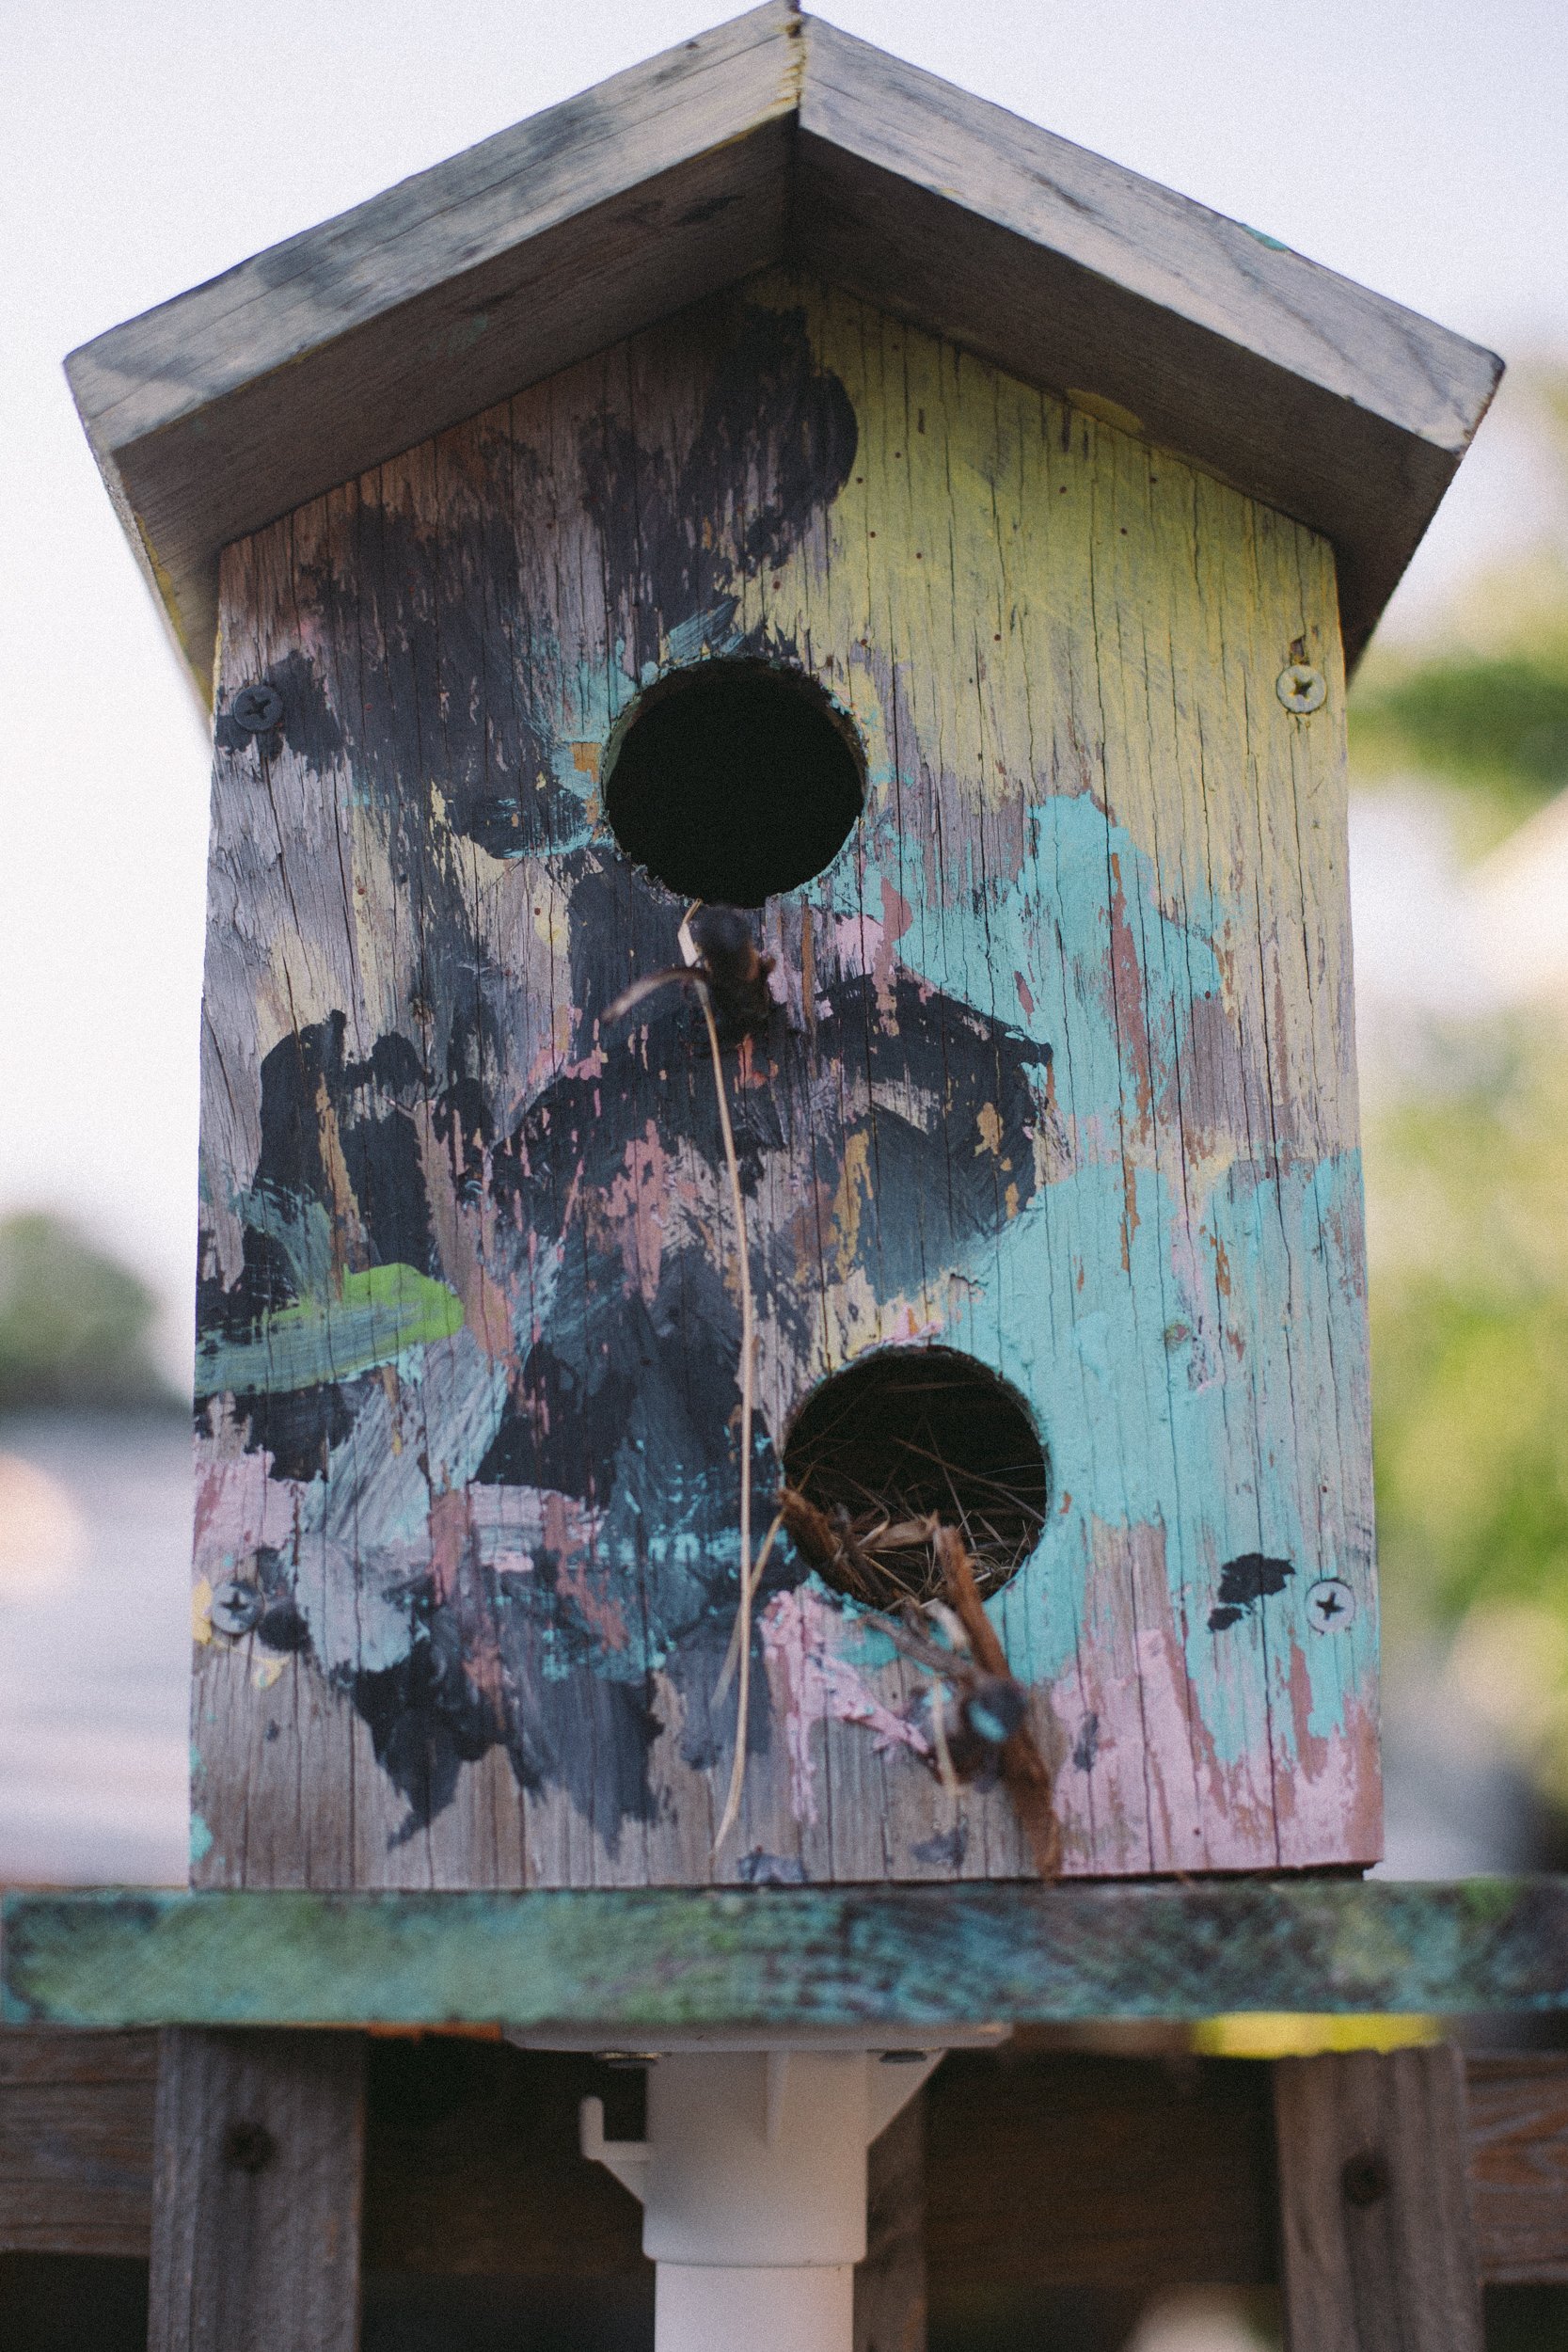
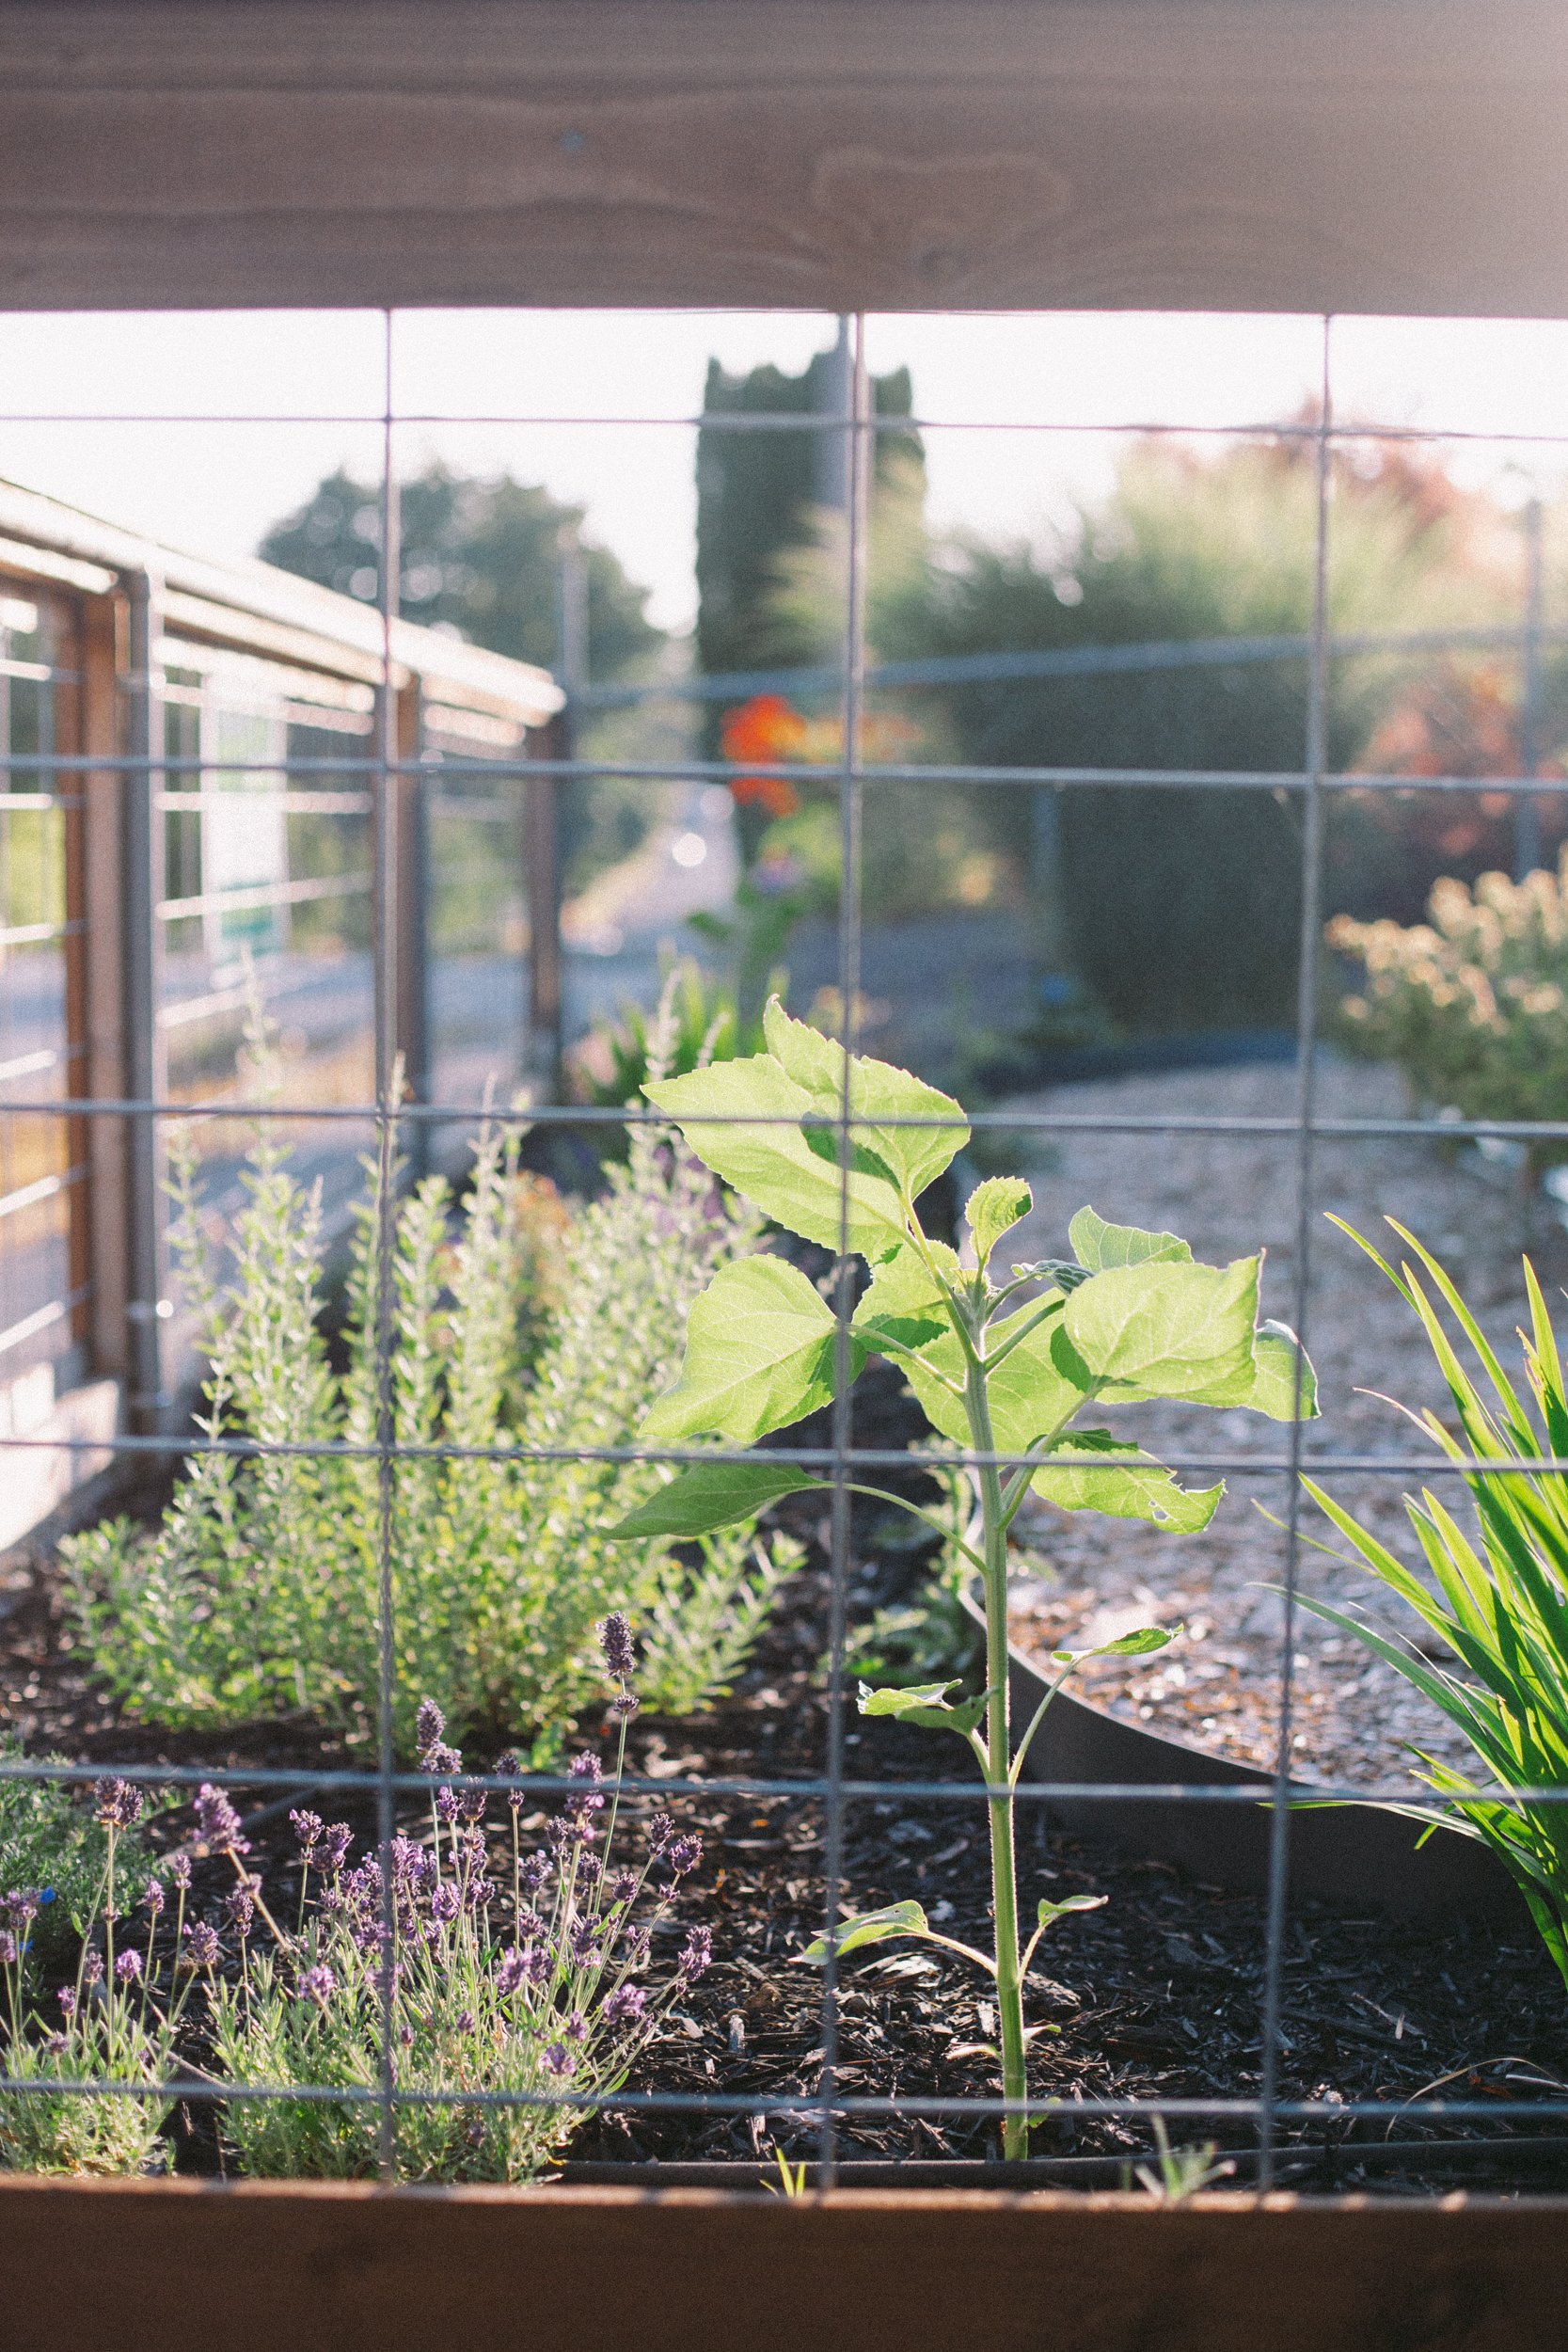
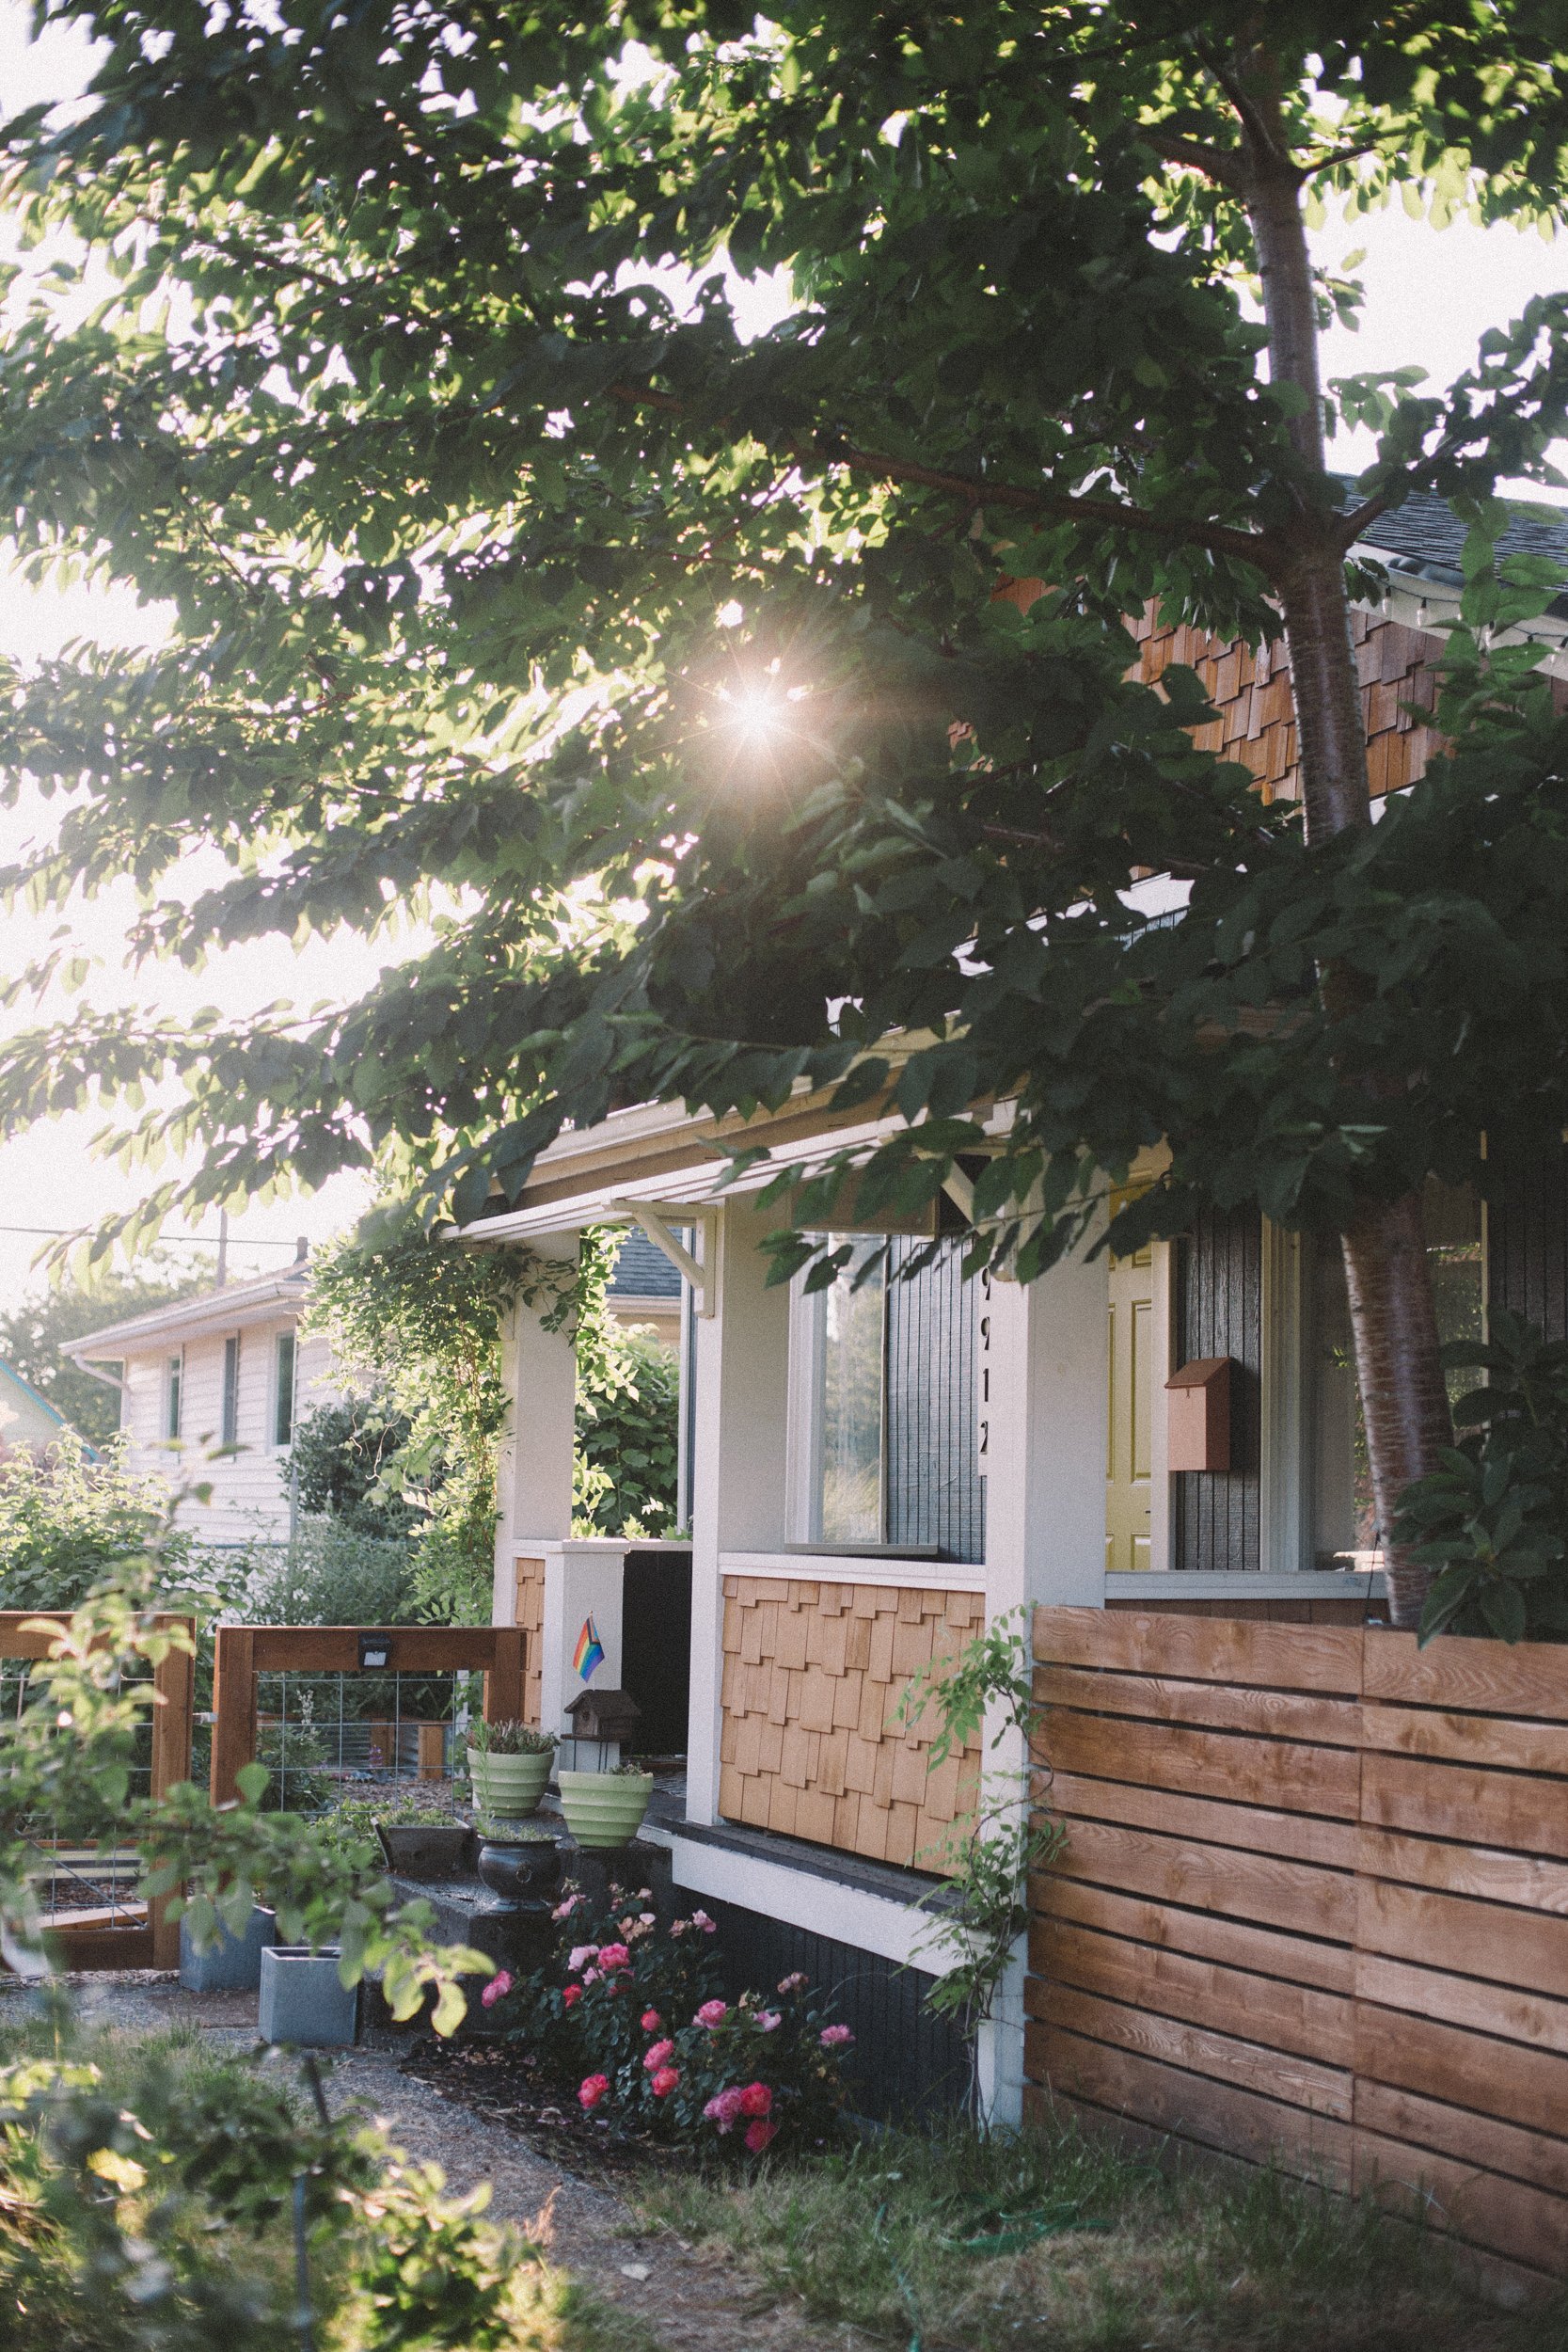
I was watering the garden last night and the light was lighting, so I ran inside and grabbed my DSLR because for whatever reason phones are just trash at capturing the milky warm glow of evening. With content creation shifting to prioritize short form video, I so rarely capture life in still images these days. There’s a frenetic energy surrounding short form video creation. Clips are short to keep our short attention spans engaged, and even the audio is sometimes sped up so make sure everything fits into a minute long video. It’s left me feeling pretty exhausted and I’ve been wanting to embrace a slower pace of things this summer.
As I took these photos I realized I very rarely slow down to take photos any more. During my fashion blogging days, I was in the habit of taking photos nearly every day of my outfit. I was constantly thinking of beautiful locations to shoot in, taking photos of snippits of life, and each blog post was filled with written reflections. Now the writing I do is voiceover scripts for Reels, and short Instagram captions. Anyone who has been blogging since before 2010 has lamented the loss of long-form static media, and I’ve certainly made my complaints over the years as we’ve become beholden to algorithms to show our content to our audiences.
But this summer I’m disengaging. For my mental health and my creativity. I don’t believe artists (or humans in general) are designed to create at such a pace, and with algorithms and insights top of mind at all times. As I took these photos I felt like I was romanticizing my own life and TBH, I think I’m going to spend the rest of summer doing just that.
I feel like a bit of a remodel witch, spinning twine into gold with this house. Reno-Alchemy. Sometimes you can feel a little crazy when you can see something that doesn’t exist yet, but there’s nothing like the feeling of that vision finally existing in real life. I think stuff like this is why I have no interest in building a new house from scratch. The transformation dopamine is just too addicting.

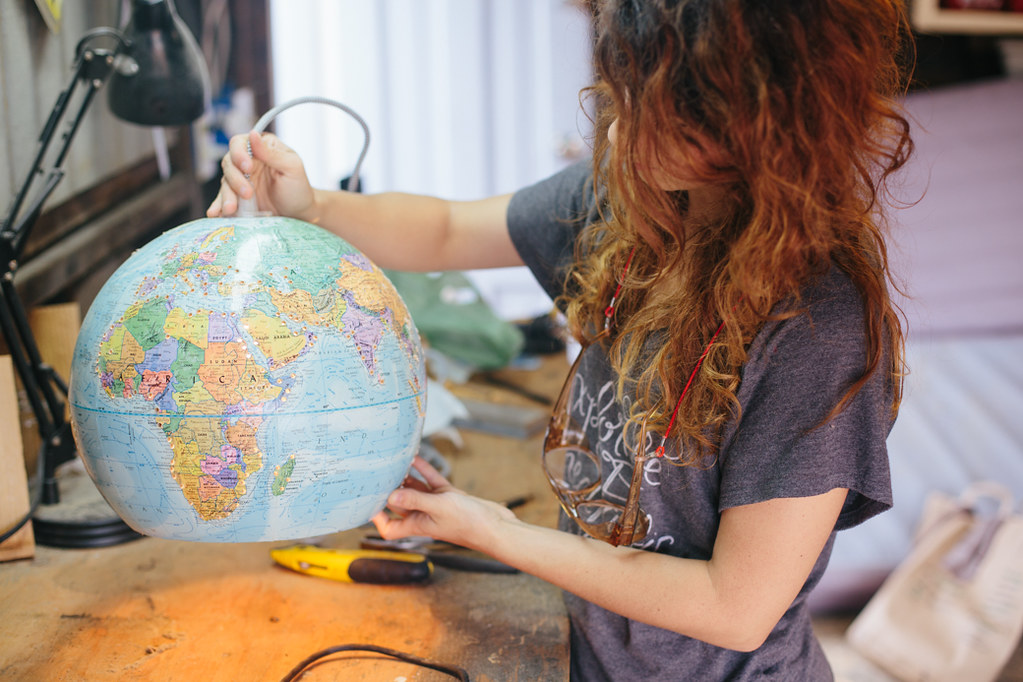
diy globe hanging light
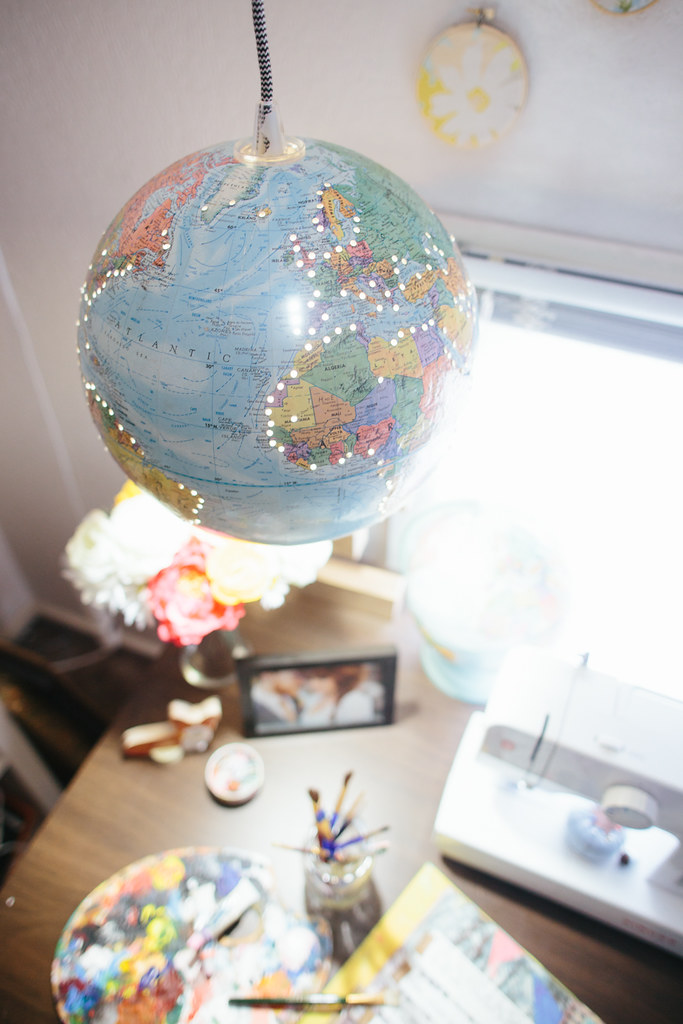

have a pretty big globe collection in my house and the one the started it all had broken off its brackets last year and looked a bit sad. I thought it could use some new life so I turned it into a pendant lamp! I get all my globes from thrift stores and pretty much every time I see one I get it. Almost every room in our house has a little collection of globes now.
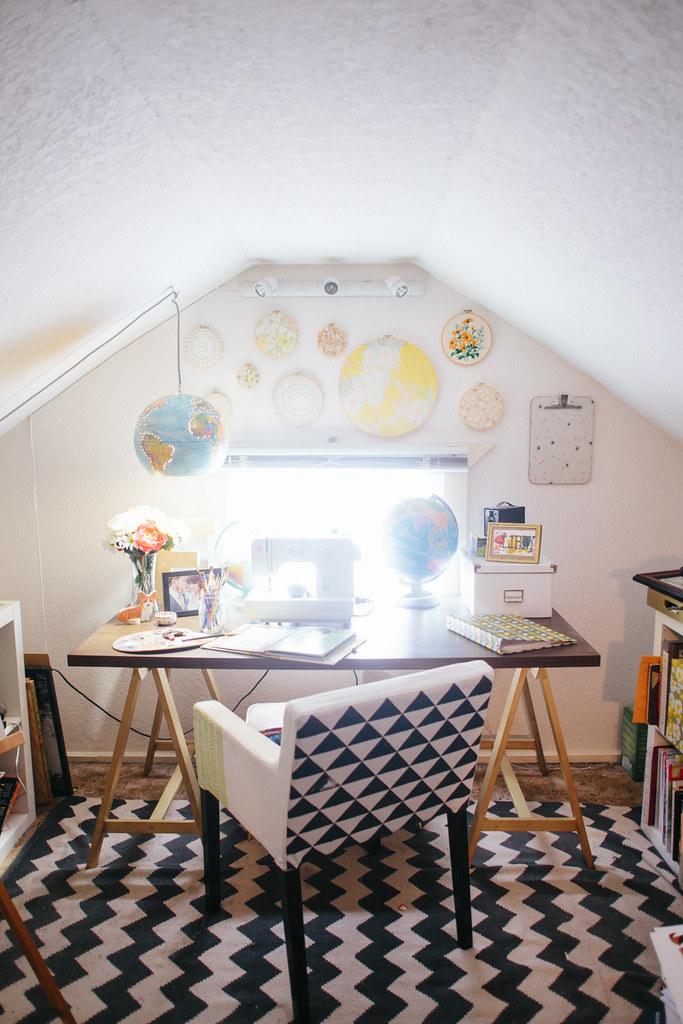
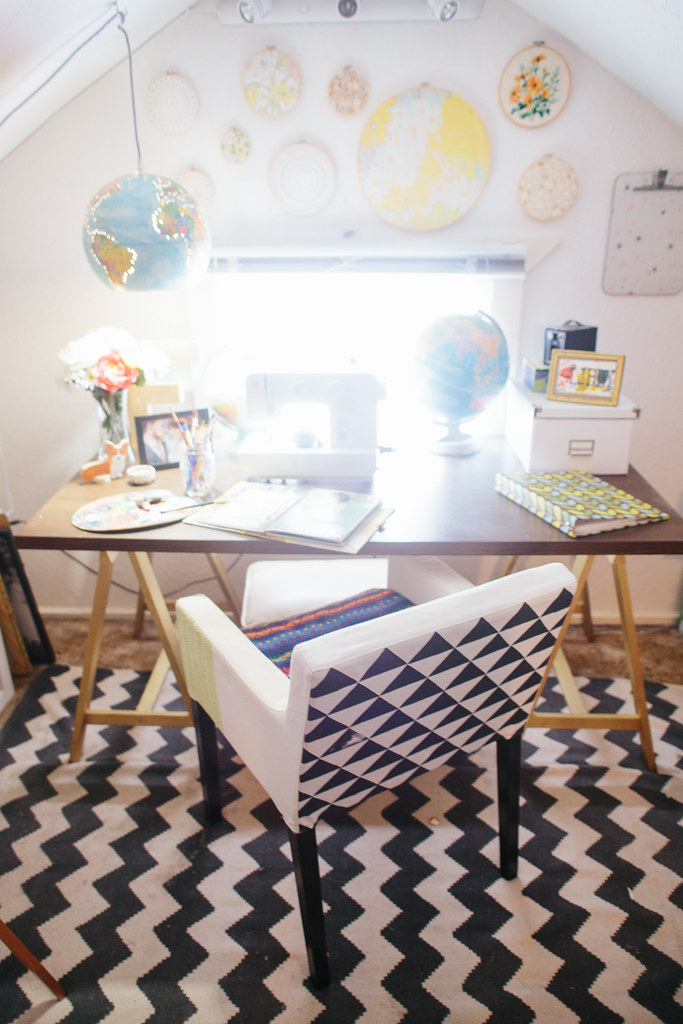
My studio space is one of the few rooms in the house that I haven't really started working on. It's sort of the catch-all because nobody ever sees it. You have to go though our bedroom, upstairs, through our closet and then to the studio, so it's mainly just a place where I throw stuff to "organize later" (read: never). What you don't see in these photos is the giant pile of mess just out of frame, but I promise it's there and it's scary. I need to rip the ugly brown carpet out of the entire upstairs, so part of me doesn't want to bother cleaning it up because I'll have to take everything out of there to remove the carpet and put in new flooring anyway. You can kind of see the carpet around the edges of the zig-zag rug. It's bad. I actually realized that I ripped the exact same carpet out of the Brave when I re-did her floors in May. The Brave looks so much fancier without that old brown carpet (it wasn't even the original green carpet, bleh), so I can't wait to get new floors in this attic space.
When we looked at this house before buying it, I was entranced by this upstairs space. I immediately claimed it as my studio. I recently looked at a few homes for sale with my parents and in every single one I was enamored with the very top floor with slanted ceilings. Maybe it reminds me of a treehouse or something, being on the very top floor, but I love me some attic spaces. I'd love to put a dormer in to expand the space and bring in more light. The room is pretty dark with just the one window on the end, especially in the winter, so it'd be nice to get a little more space and natural light.
What You'll Need:
rotary tool with cutting bit and/or utility knife
drill (or rotary tool w/ drill bit)
hanging light cord (Ikea has the Hemma cord or here's one on Amazon.)
light bulb
safety glasses
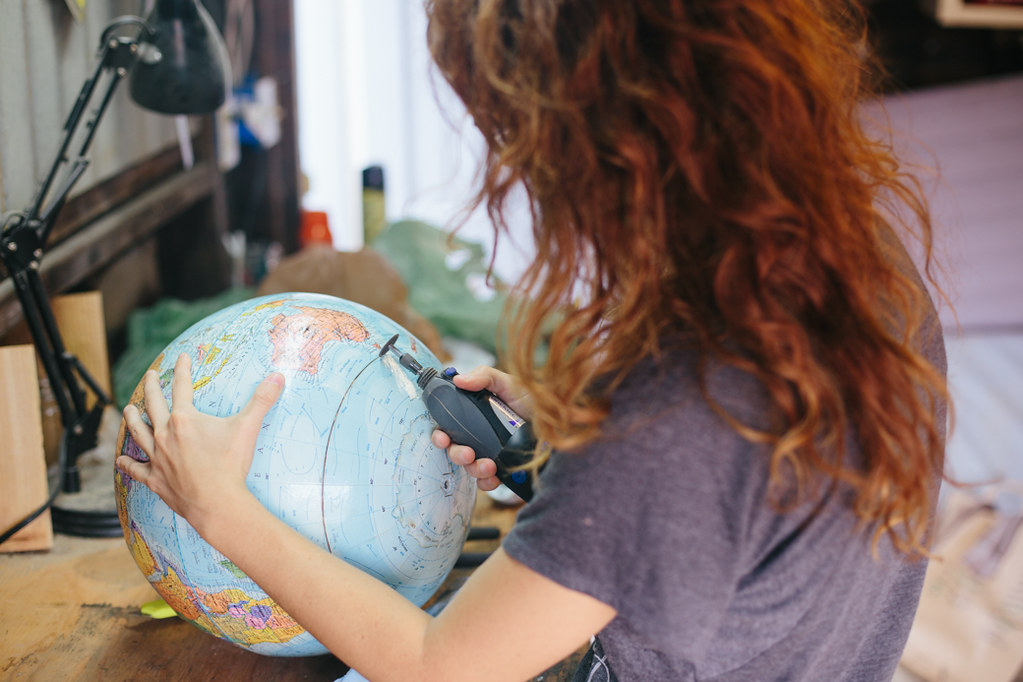
First, remove the globe from its stand. Depending on the kind of globe you have it might be a bit difficult, mine was kind of a pain.
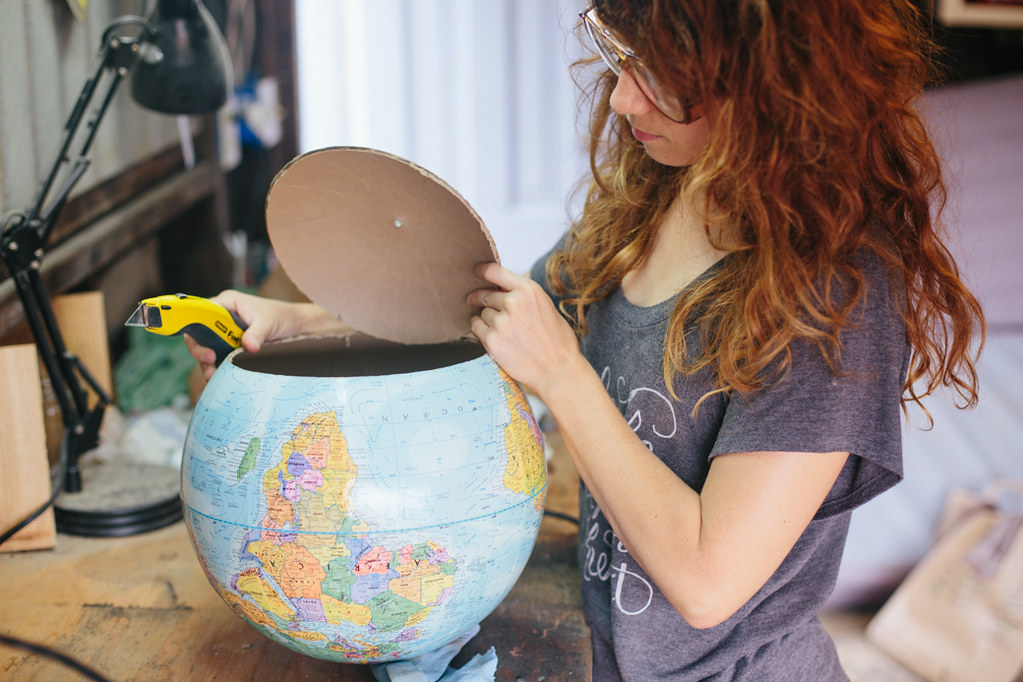
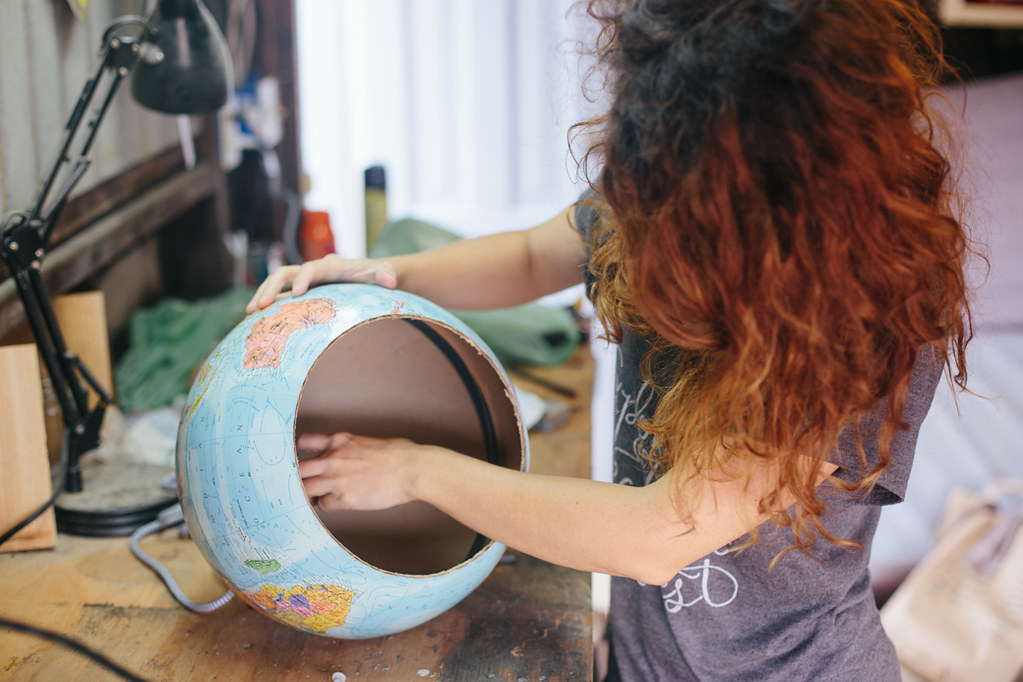
Since your globe has latitude lines on it, you can use that as a line to follow when cutting your hole in the bottom. I used 45º S for mine, but you can pick any, depending on how large you want the opening to be.
Using your rotary tool with a cutting wheel bit, or just using an x-acto knife, cut along the line to make the hole in the bottom of your light. Make sure you use goggles if you're using a dremel because it'll fling particles up at your face. I did most of mine with a rotary tool and then used an x-acto to cut any pieces that were left holding the bottom on.

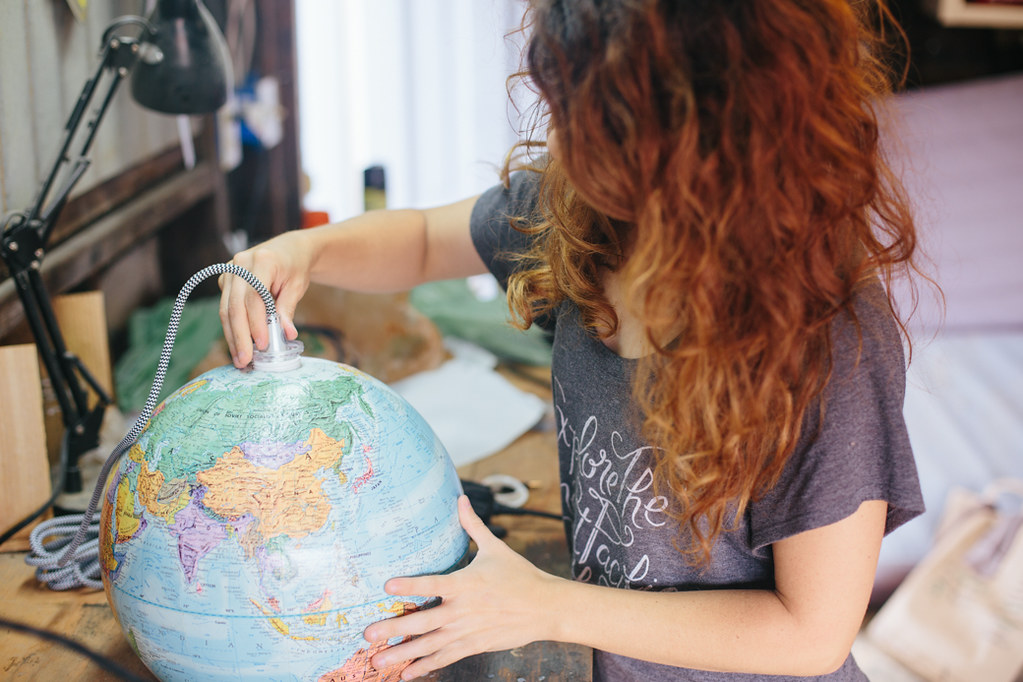
Take your lamp cord and put it at the north pole where it'll hang from and trace the circumference. Cut your hole along this line.
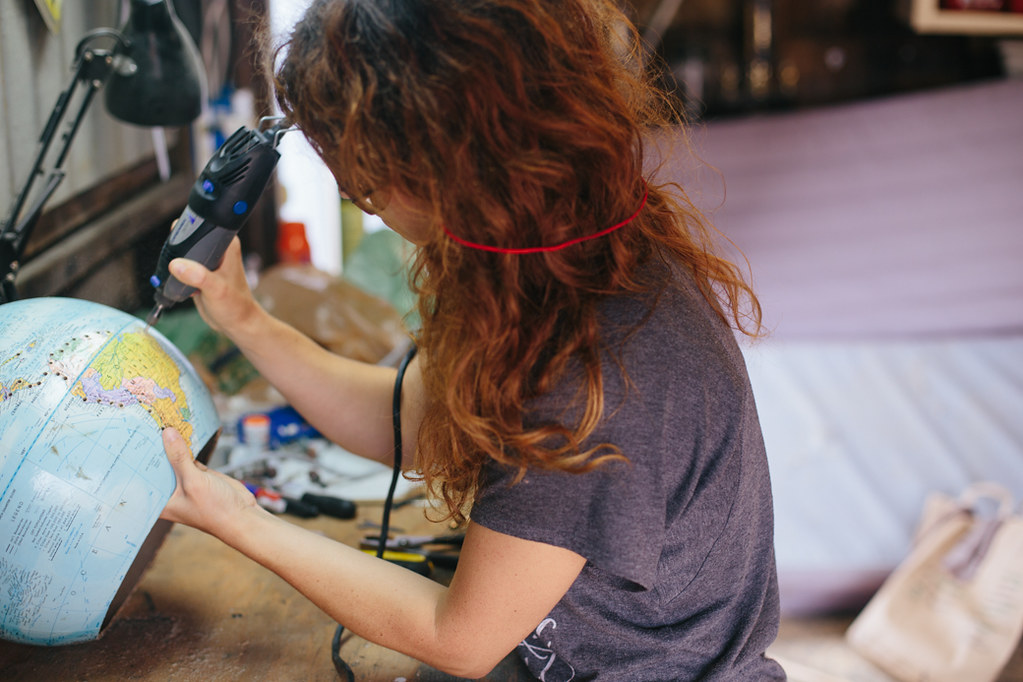
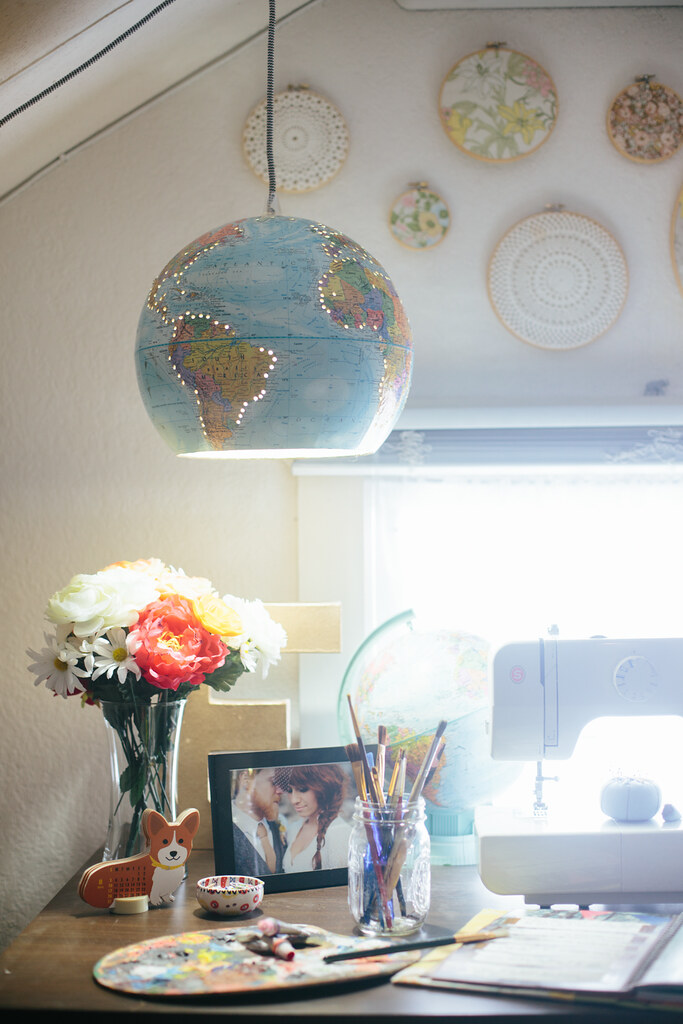
If you'd like light to show through little holes on in the side of the globe, use a drill or your rotary tool with a drill bit and drill little holes! I drilled holes along the edges of the continents for mine. A fun version of this lamp could be painting the globe black and then drilling star constellations in the sides!
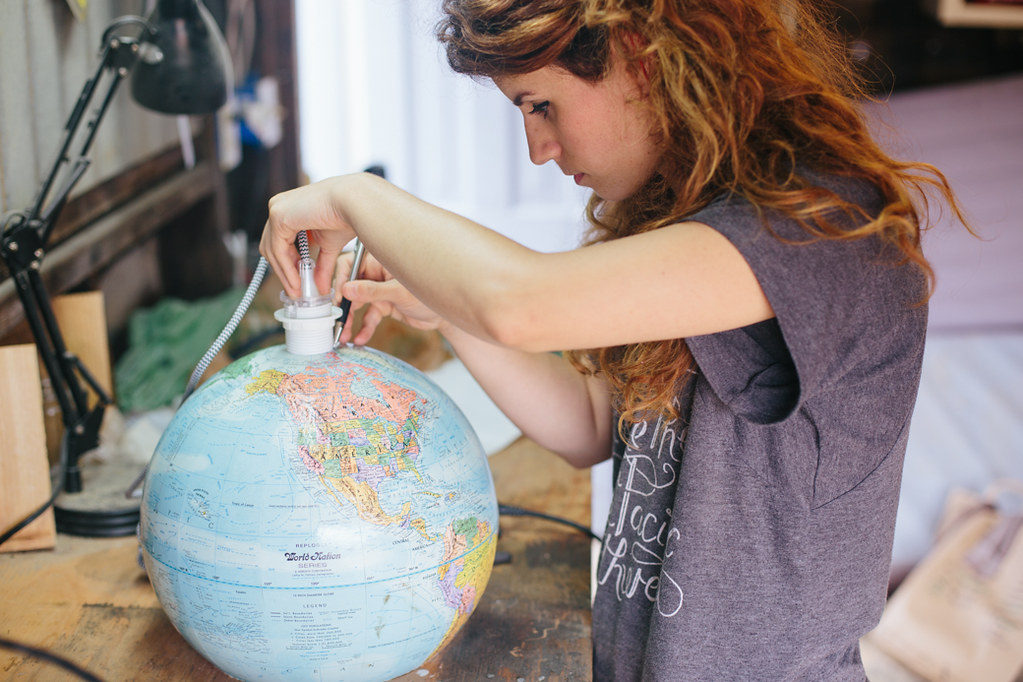
Once your holes are all drilled, unscrew the piece from the light cord that secures the shade and then push the threaded end of the cord through the hole you made at the top of the globe. Screw that piece back on the threads from the inside of the globe to secure the globe shade to the cord.
Plug her in and find a place to hang it! Hanging lamp cords usually comes with little hooks and cord holders to help hang it, but if you get another kind of cord, you'll need some hooks to hang it up. I love this light hanging above my studio desk, it gets to hang out with the other globes that have parked themselves on the desk.

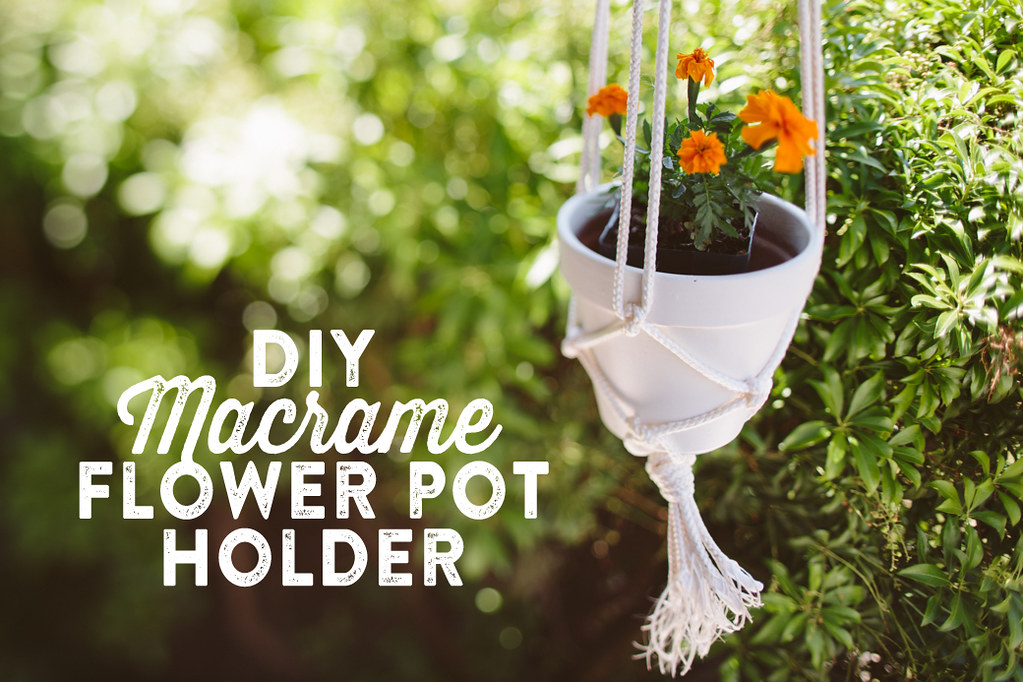
easy DIY macrame pot holders
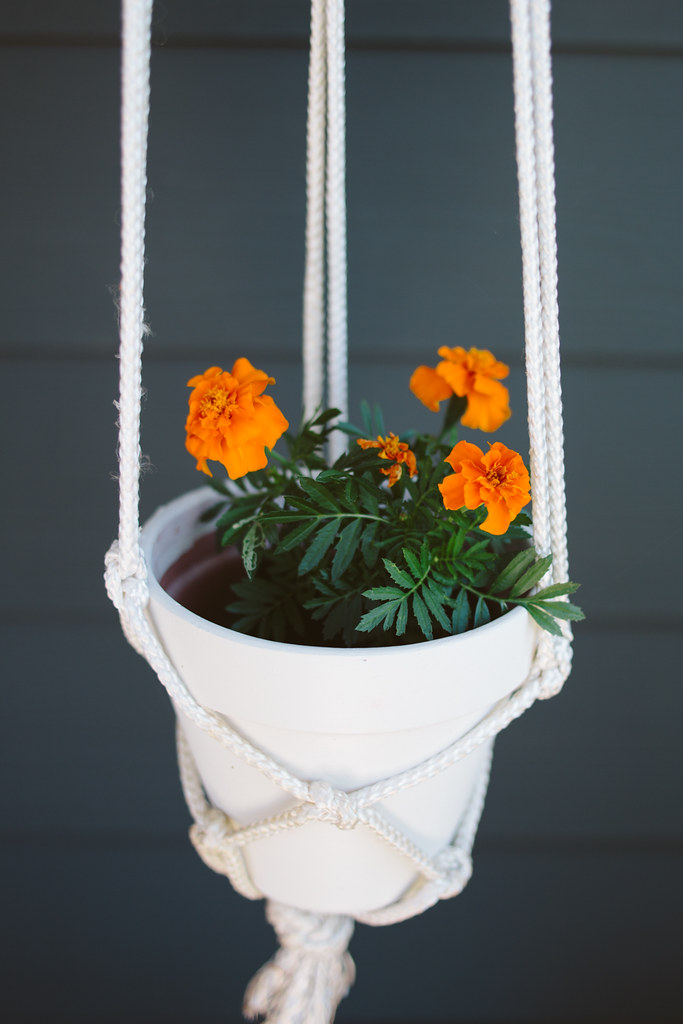

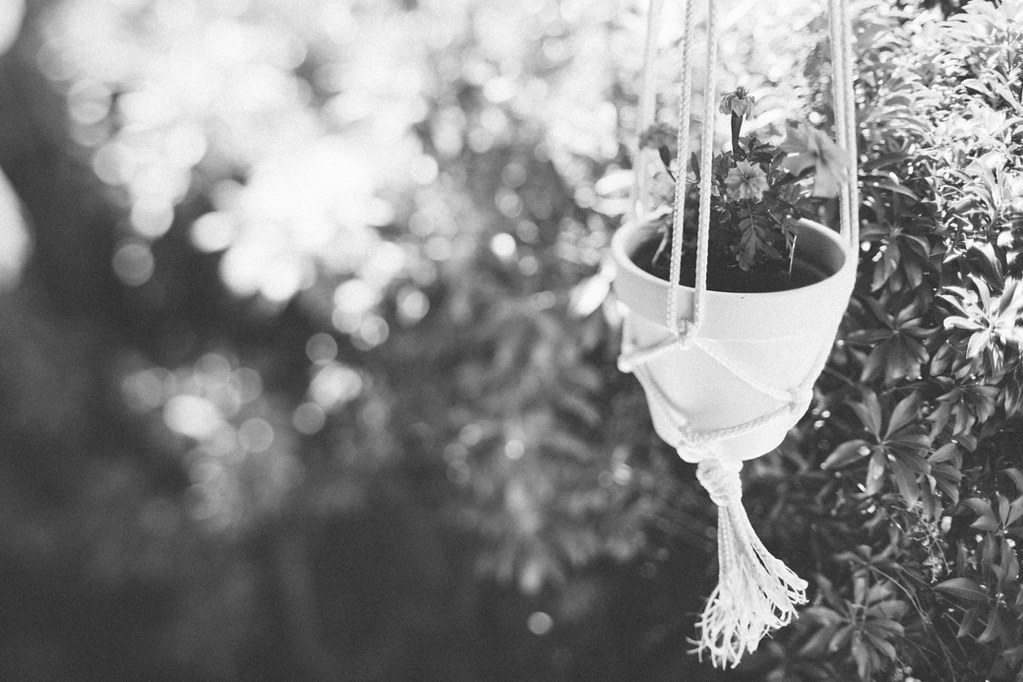
his is actually a DIY I did last summer, but never ended up posting! I wanted to liven up my front porch, so I made these super easy hanging pot holders and planted some little marigolds. All you need is some rope and pots!
During Christmas I put faux Poinsettias in the pots, but I noticed that the red dye in the faux flowers bled all over the pots and rope. Luckily the dye washed away in the rain after a couple months, but if you live in a place that's rainy and want to put faux flowers in your pots outside, take note. Real Poinsettias are too large for these pots so I'll have to figure something else out next winter.
This is a really quick project, depending on how many you're making. I have six hanging from my front porch and it took me a couple afternoons, mostly because I ran out of rope and had to go buy more. I'd say each one only took 10-15 minutes.
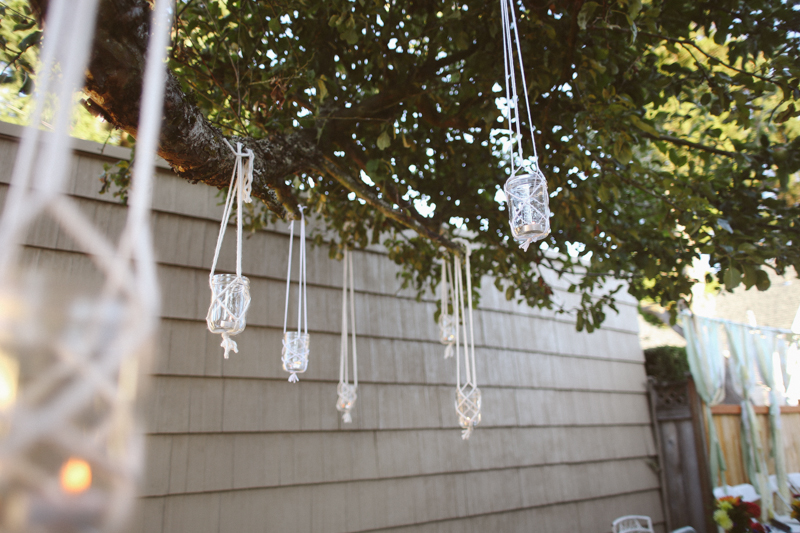
You'll need six lengths of rope (or yarn, I made some hanging candles in mason jars using this same tutorial using yarn.). I'd recommend cutting the rope longer than you think you might need it, it's better to have extra than not enough. I used white rope and a simple terra cotta pot which I panted white with exterior paint (since my pots would be outside in the rainy northwest weather). The amount of rope you need will depend on how long you want your macrame holders to be. Mine hang about 3 feet down and I believe I made the ropes about 5 feet each.
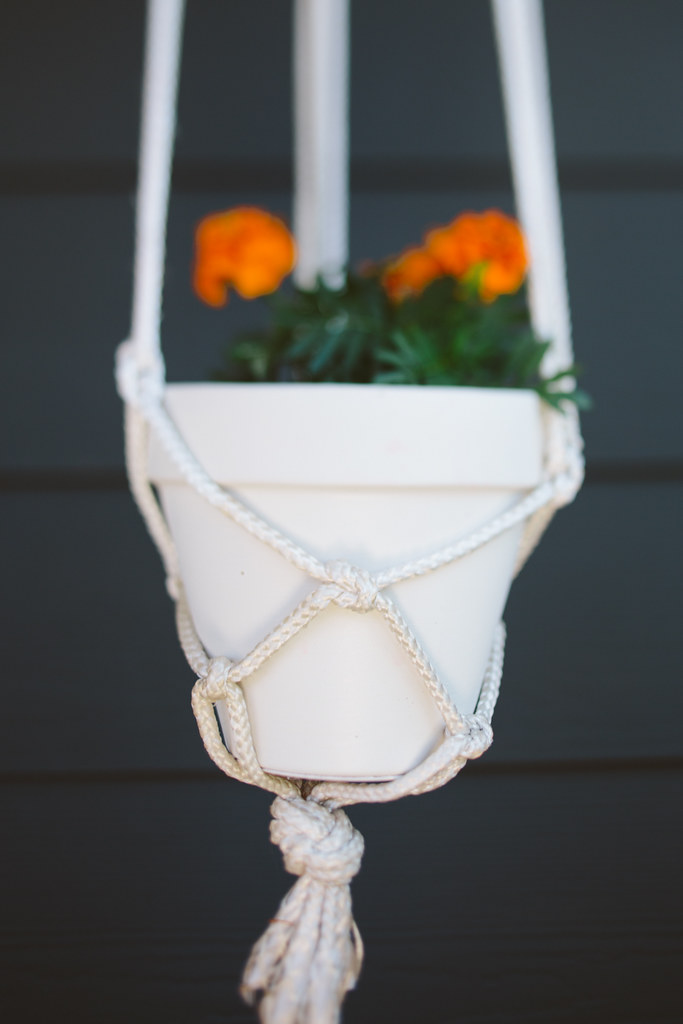
Tie the ropes in a knot leaving a bit of extra (you can always cut it off later). Separate the three pairs of rope so they're easy to see. Tie the adjacent pairs together with a square knot. This will be the base of your pot holder, so where you tie them will depend on how big the base of your pot is. Try to aim for tying this first knot at the length of the radius of the base, or a bit longer. Go around and tie all three pairs.


Now that all three are tied together, separate the free ends. Tie these new adjacent strings together for your "level 2" knots. Make sure all your knots are the same distances, so each level is at the same point, otherwise it'll get lopsided. If you're not sure if your knots are in the right place to create the right size space for your pot, have your pot on hand and you can slip it in there while you're making it to see if your knots are going to fit the pot. Knot each adjacent pair.
You can keep knotting as high as you like, but I found that three levels of knots works good for a small pot. Slip your pot in there to see how it fits and if it looks good, you're done! Knot the top of the strings so the pot hangs where you want and then screw a hook to the ceiling, or wherever you're hanging your pot from and hang it!


I was lazy with my pot holder and just let the ends fray, but if you wanted to make the ends cute you could leave them super long and put a wood bead on the end and knot it for a bit of embellishment. Or you could singe the ends of the rope/string so that they didn't fray.

Hi, I’m Liz
I'm an artist, writer, designer, DIY renovator, and … well basically I like to do all the things. If it’s creative I’m probably doing it. I’ve spent over 30 years voraciously pursuing a life steeped in creativity and I wholeheartedly believe creativity and joy are inextricably linked.
Read more…


Explore The Archive
- January 2025
- December 2024
- August 2024
- July 2024
- May 2024
- April 2024
- January 2024
- December 2023
- October 2023
- September 2023
- July 2023
- June 2023
- May 2023
- April 2023
- March 2023
- February 2023
- January 2023
- December 2022
- November 2022
- October 2022
- August 2022
- June 2022
- May 2022
- April 2022
- March 2022
- November 2021
- October 2021
- August 2021
- July 2021
- May 2021
- January 2021
- November 2020
- October 2020
- September 2020
- August 2020
- July 2020
- June 2020
- May 2020
- April 2020
- February 2020
- January 2020
- November 2019
- October 2019
- August 2019
- July 2019
- June 2019
- May 2019
- April 2019
- February 2019
- January 2019
- December 2018
- November 2018
- October 2018
- September 2018
- August 2018
- July 2018
- June 2018
- May 2018
- April 2018
- February 2018
- January 2018
- November 2017
- September 2017
- August 2017
- July 2017
- June 2017
- May 2017
- April 2017
- March 2017
- February 2017
- January 2017
- December 2016
- November 2016
- October 2016
- September 2016
- August 2016
- June 2016
- May 2016
- April 2016
- March 2016
- February 2016
- January 2016
- December 2015
- November 2015
- October 2015
- September 2015
- August 2015
- July 2015
- June 2015
- May 2015
- April 2015
- March 2015
- February 2015
- January 2015
- December 2014
- November 2014
- October 2014
- September 2014
- August 2014
- July 2014
- June 2014
- May 2014
- April 2014
- March 2014
- February 2014
- January 2014
- December 2013
- November 2013
- October 2013
- September 2013
- August 2013
- July 2013
- June 2013
- May 2013
- April 2013
- March 2013
- February 2013
- January 2013
- December 2012
- November 2012
- October 2012
- September 2012
- August 2012
- July 2012
- June 2012
- May 2012
- April 2012
- March 2012
- February 2012
- January 2012
- December 2011
- November 2011
- October 2011
- September 2011
- August 2011
- July 2011
- June 2011
- May 2011
- April 2011
- March 2011
- February 2011
- January 2011
- December 2010
- November 2010
- October 2010
- September 2010
- August 2010
- July 2010
- June 2010
- May 2010
- April 2010
- March 2010
- February 2010
- January 2010
- December 2009
- November 2009
- October 2009
- September 2009
- August 2009
- July 2009
- June 2009
- May 2009
- April 2009
- March 2009
- February 2009
- January 2009
- December 2008
- November 2008
- October 2008
- September 2008
- August 2008
- July 2008

VISIT THE SHOP


PRIVACY POLICY & DISCLOSURE
We are a participant in the Amazon Services LLC Associates Program, an affiliate advertising program designed to provide a means for us to earn fees by linking to Amazon.com and affiliated sites.