Home Sweet Tacoma Light trail
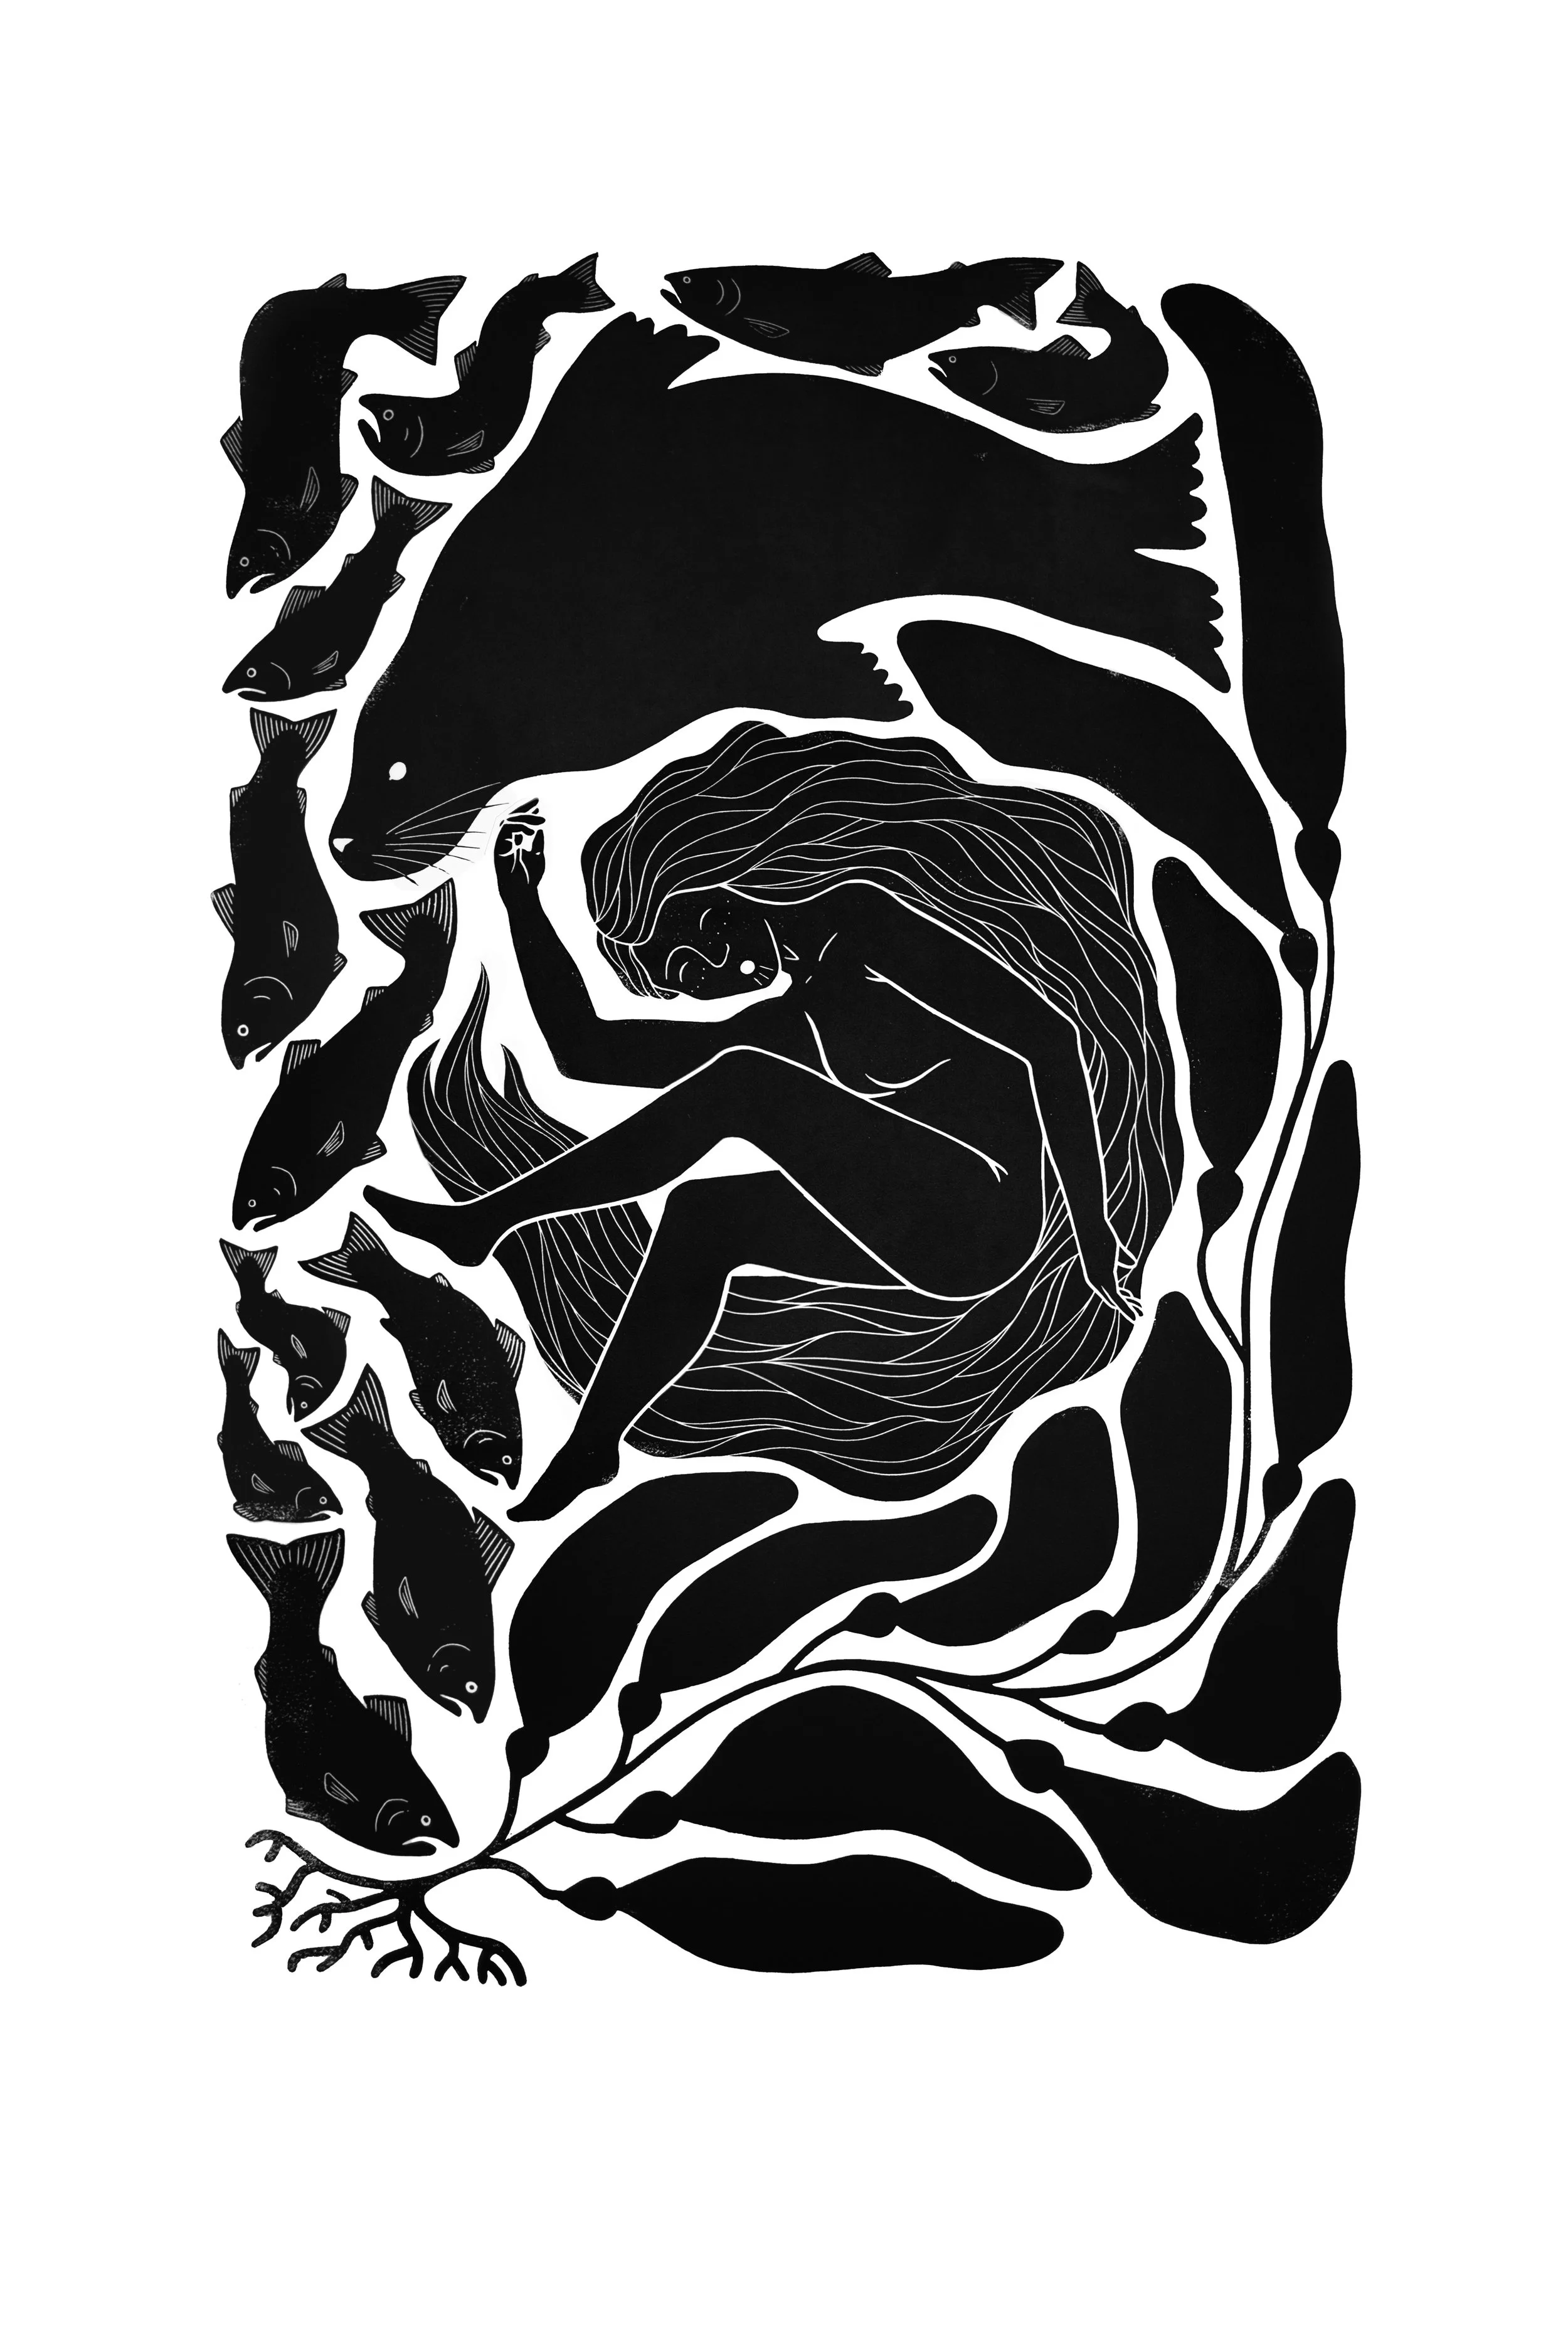
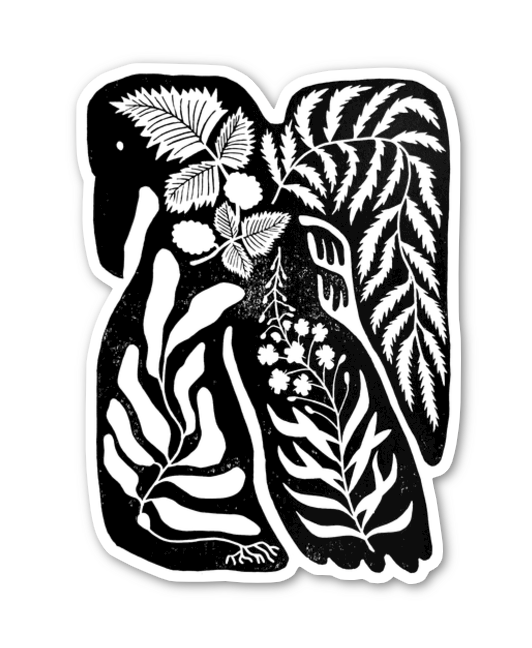
This piece came to be as a fun intersection of my two favorite art events that I participated in— Wayzgoose and the McKinley Hill public art training cohort. Shortly after our final public art training cohort session we were emailed the link to apply for Tacoma Light Trail’s public art call. I had previously seen the call but I didn’t have any ideas for light art and I wasn’t a light artist, nor had I ever made any light-based artwork so I brushed it off as something that wasn’t a priority. But the email, fresh on the heels of a public art training that had me feeling really pumped for making public art, I decided to noodle a little more intently on a light art concept. I knew this Wayzgoose piece had been a pretty big hit, so instead of reinventing the wheel, I decided to reimagine it as light art. As a printmaker I love how printing requires you to think about layers and how many colors you’re going to print and in what order you’re going to print them. So this piece is essentially breaking a print apart into its layers, and then using light to illuminate it all from behind. I love how this piece shifts as you walk past and your perspective changes and the layers eventually align perfectly.
The black layers of the original Home Sweet Tacoma print I had printed on acrylic plexi from a sign shop, then I got two blank sheets of plexi for the color layers. I tried a few methods of doing the color, starting with acrylic paint, which wasn’t translucent enough and produced too much brushstroke texture, and alcohol ink which was too transparent and not bold enough. Eventually I decided on colored tissue paper applied with Mod Podge, and I love how it actually looks pretty similar to how relief printed ink looks on paper. Everything is illuminated from behind with 100ft of LED strip lights. Designing and executing this piece stretched my creative brain in new and fun ways and it’s always a pleasure to have my art out and about in Tacoma!
The Tacoma Light Trail art pieces will be all over Tacoma for the duration of January, and there are some great live events that are part of the Light Trail as well, so head over to their website to check out the map of light art as well as dates for events!
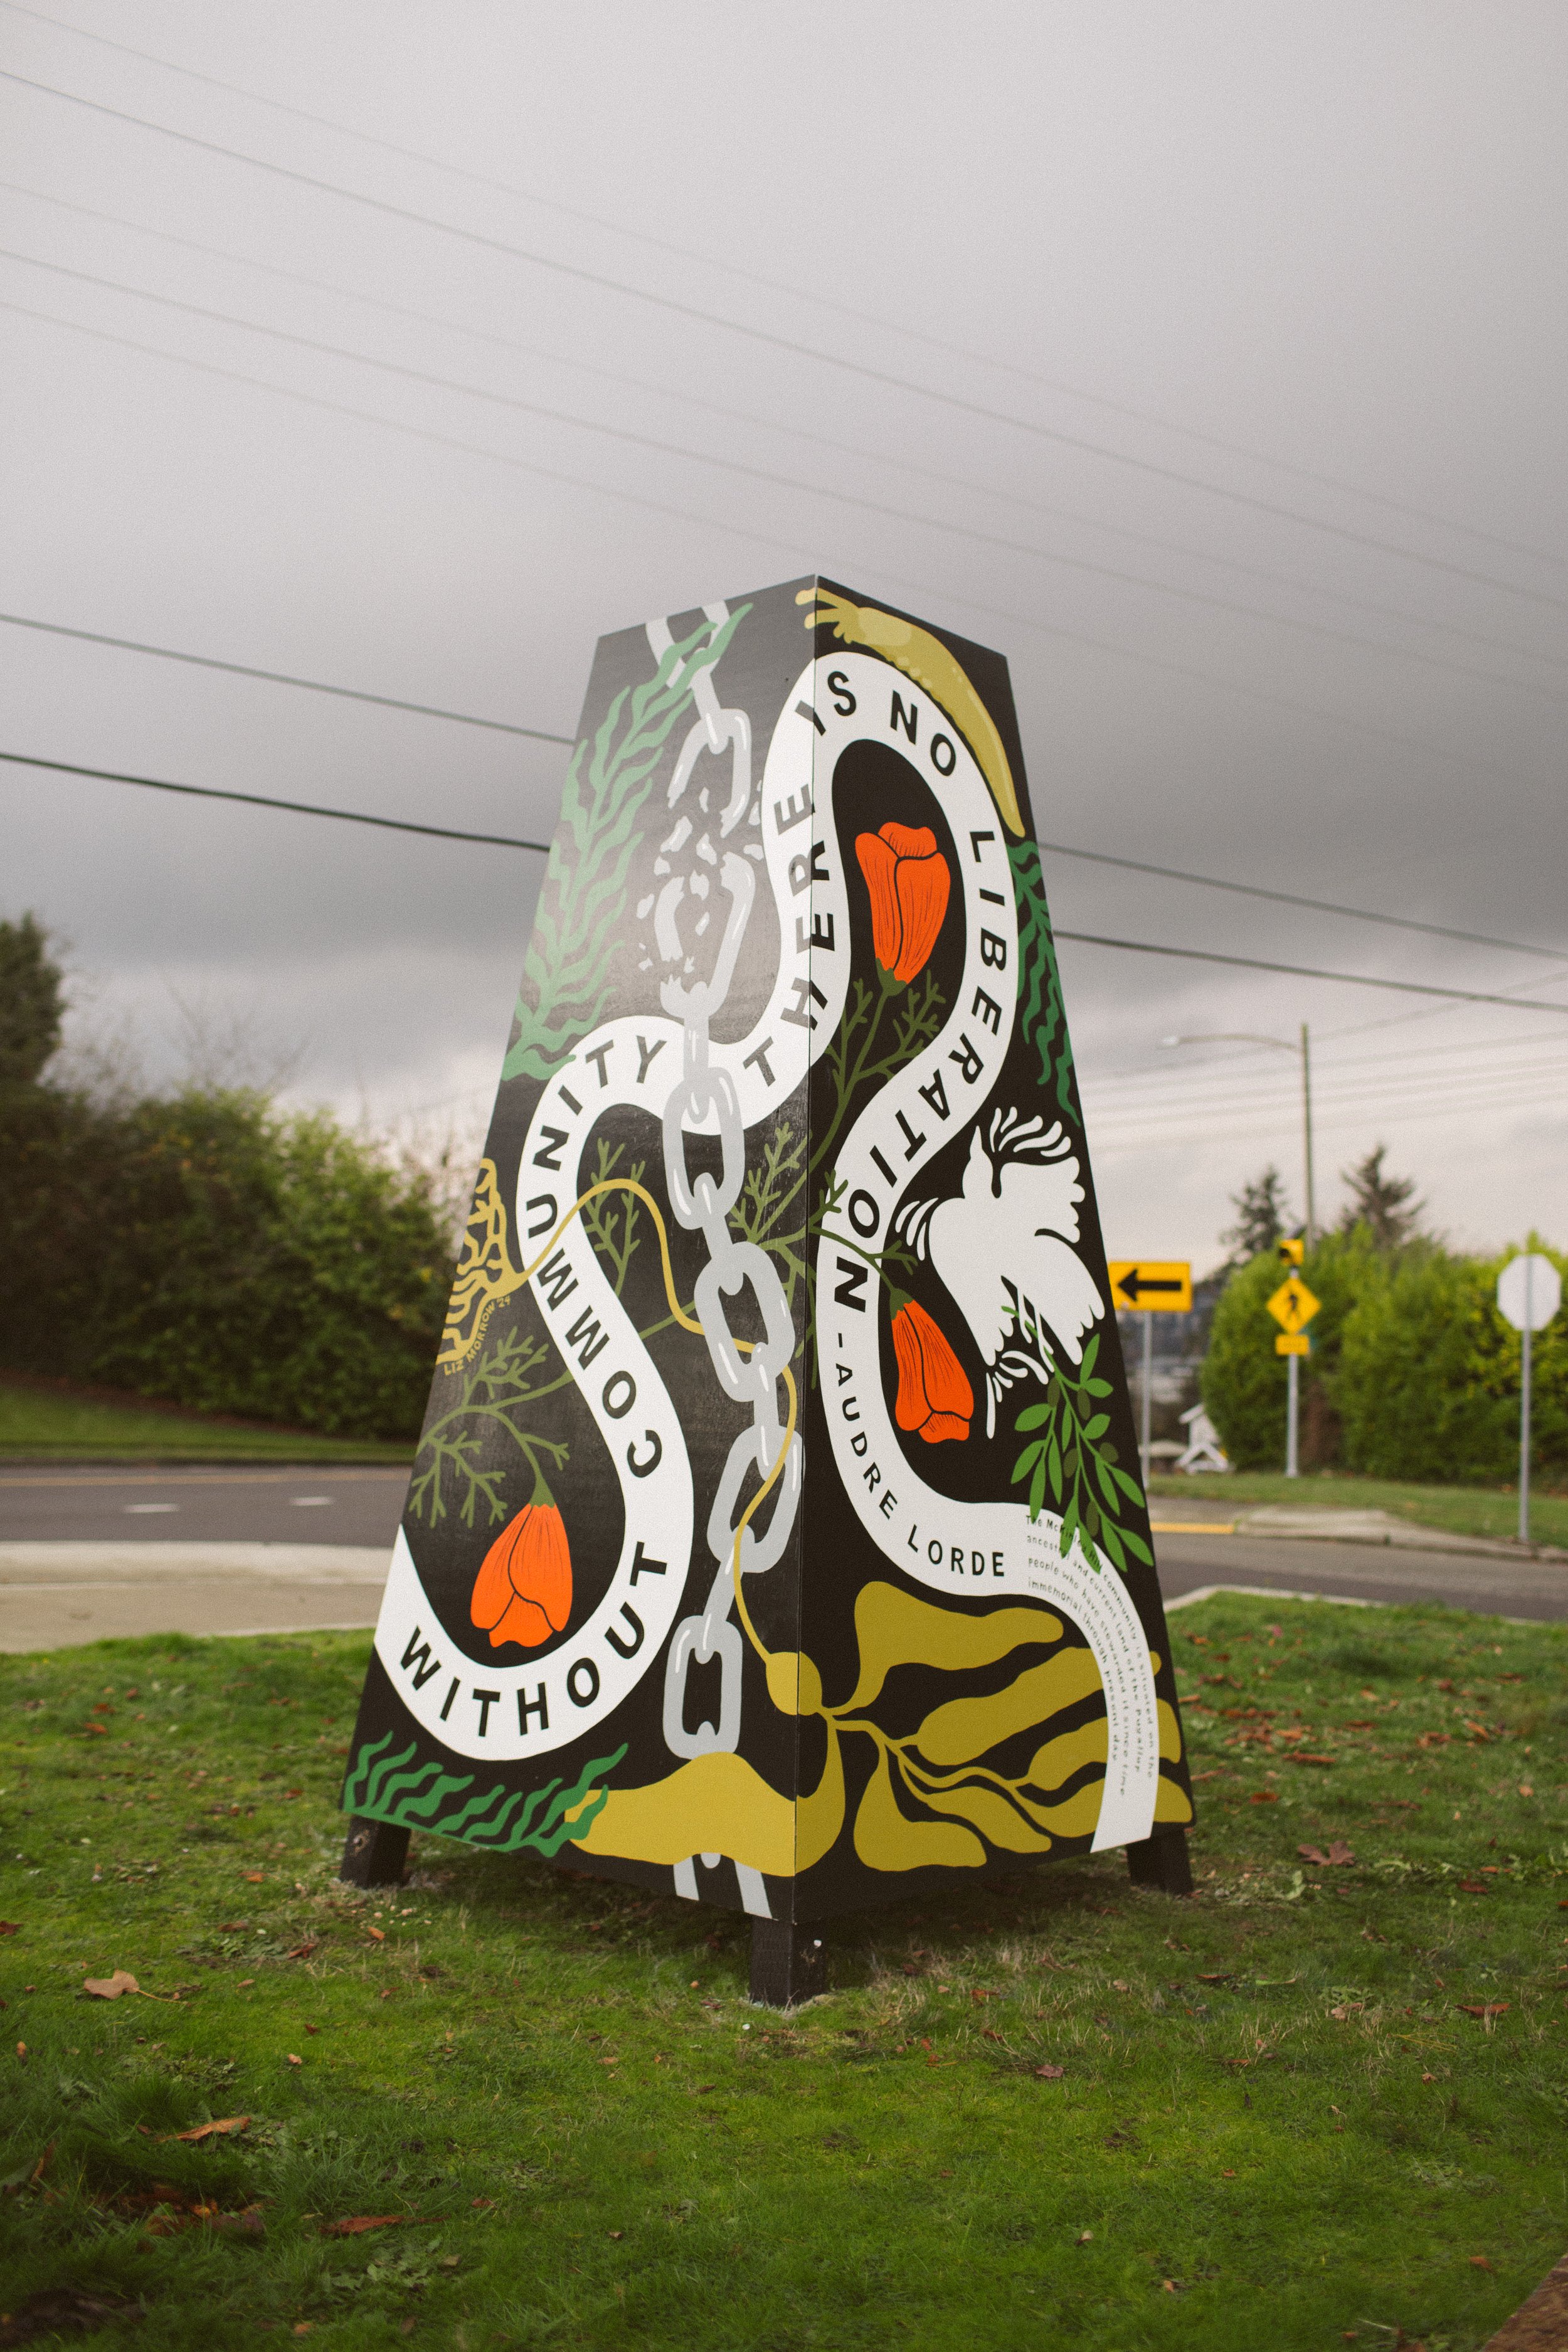
“Welcome to Mckinley Hill” sculpture
Back at the beginning of the summer I applied to be a part of Spaceworks’ McKinley Hill public art training cohort. One of my goals this year was to start working towards doing more public art, and I’d gone to a couple trainings earlier in the year through both the library and ArtsWa, but this was a really comprehensive training that gave cohort members the opportunity to submit proposals for public art in McKinley hill and get feedback on the proposals, and learn in a hands-on way while also learning directly from artists actively working in public art. I was thrilled when I got into the cohort and we spent hours in the neighborhood, listening to public artists, community members, and walking the streets of McKinley Hill to get an idea for temporary public artworks we might want to propose. Cohort members had the exclusive opportunity to submit proposals for five temporary public art pieces, plus one permanent public art installation.
When I saw the spot at the top of the hill coming into McKinley from the dome and heard about the long term goal for the neighborhood to have permanent gateway sculptures at the north and south end of the business district creating a touchpoint for those traveling to welcome them to the neighborhood, I knew I wanted to propose a temporary welcome sculpture. It was the perfect spot for a welcome sculpture, being revealed as people drive around the sweeping corner up the hill from the dome district, as well as right beside bus stops on both sides of the street for folks coming into and leaving the neighborhood via mass transit. I initially planned on pitching two temporary art pieces— a welcome sculpture, and then a street mural in the right of way in the middle of the business district, but when I was planning the sculpture I realized I wanted to merge the two ideas and have one side of the sculpture incorporate the mural.
During our cohort training we heard from the neighborhood’s council member as well as community members and it was apparent how deeply the community cared for the neighborhood and how hard they had worked to build it up and invest in making it a thriving and safe place for those who call the area home. The Audre Lorde quote felt like the perfect encapsulation of the spirit of the neighborhood that I witnessed, and I intentionally chose specific imagery that symbolize the work that has been put into this neighborhood.
Kelp: Powerful growth that has a strong anchor in place.
Banana Slug: Slow and steady forward movement.
Ferns: Nature’s fractals showing how small changes compound into larger ones.
Poppies: Remembrance for community members lost, and hope for the future.
Dove + Olive Branch: Peace.
Broken Chain: structural oppression broken through community support.
This sculpture will live here for about six months, and will then be uninstalled (perhaps we’ll find another home for it if it’s still in good condition!). If you want to go take a look, it’s about a block north of Dusty’s Hideaway!
Huge thank you to my parents, my partner Dan, and our friend Calvin for teaming up with me to get this behemoth installed! And thank you to Jasmine and Spaceworks for allowing me this opportunity, and Rebecca at the City of Tacoma for supporting me through this process! None of this would’ve come to life without the support from these awesome people.
My DIY plywood market booth build
In the past year I’ve divested from the influencer game and started making art again, and a part of that process involved rethinking my business model. Since I’m not riding that corporate sponsorship money gravy train anymore (lol… TBH I never really was in the first place), I wanted to really slowly and intentionally think about how to make money in this late stage capitalist hellscape that felt aligned with my values, and also didn’t lead to burnout. As I started selling my prints, I knew I wanted to do markets and pop up shops, but I also didn’t want to dive in headfirst, guns a-blazin’ like I usually do. So I’ve been moving slower, thinking about what markets I’d want to do, and how frequently I think I could manage doing a market booth— as well as sussing out which markets/events felt like they’d give me the most bang for my buck. Setting up a booth and manning it for several hours can be exhausting, especially as an introvert.
All of that thinking and planning is finally coming to fruition this month as I’ve got my first pop-up shop on July 20th at Hive Co., then another on August 2nd at the Mom’s Night Out market. I’m super excited. Hive is actually in the same space where I held my DIY Awards Bash in 2023, so I’m super familiar with the space, love the owner Michele, and there are going to be a bunch of other really cool vendors there as well. The Mom’s Night Out market is at another favorite local business— The CoLab, which is actually where one of my first murals lives on the exterior of their cute building.
So! That means I have to actually build out the booth I’ve been planning! “But Liz, can’t you just throw a table cloth on a folding table and be good?” LOL do you know me? I do have to do everything at an 11. I’m unable to turn off this part of me, so we’re gonna dive in and build something that feels really cool, but also hopefully pretty manageable as far as set up/tear down goes.
This image is my main inspiration. I absolutely adore the look of plywood and it’s super straightforward to create two panels of hinged plywood so it covers the front and top of the folding table.
Here she is! So far I’ve done two mini markets with this set up and I’d love to figure out a streamlined way to package all the wood elements up and roll them. Everything, including the angled print holder, folds flat, so they all store neatly and in a small area, but it does take at least three trips to the car and back to bring them all in, so it’d be cool to figure out some way to package them together so I can roll them or something. More noodling for that. I added acrylic shelf things to the front of one panel, and I’ll probably add one or two more layers of that, but for now I just don’t have enough stock to justify more shelving. The acrylic shelves slide off so those aren’t in danger of breaking while I’m transporting the wood pieces.
My next addition will be fabric to cover the sides of the table. I designed this set up so I can make it 6 ft (to perfectly cover my 6ft folding table) or 8ft (with one foot of the wood over hanging each side of the folding table). The 6 ft set up uses both the 4ft and 2ft wood table covers— this is the set up I’m using in the above photos. The 8 ft set up uses two 4ft wood table covers, and if I want, I could do a 6 ft table and then utilize the extra unused 4ft cover on another table to make an L table format. Maybe that all makes sense, maybe not. Hopefully it does! Ultimately, the takeaway is that this design is pretty flexible for different set ups and booth options.
Salty Bitch block prints
I don’t know where the idea came from but I have a series of prints floating around in my head of foods branded with derogatory terms for women that we’ve reclaimed. What am I working on now that these pickles are printed? Hot Slut hot sauce. So if you’re not a pickle girly, maybe you’re a little more firey, hot sauce is comin’ your way soon!
This is a three-layer, three color print, which means that each color was printed separately, and each color has it’s own hand-carved linoleum block. This is my first multi-color print since college, so part of making this print was just relearning the process of registering each layer so that it aligns with the others.
In a way the current prints I’ve been making are just an exercise in having fun, making art in a way that is rooted in play, and getting my body moving in an art-making way again. Kind of like a warm-up, if you will. I would like to be making more deep and meaningful and impactful work at some point, but right now as I re-enter my artmaking space, making things that feel silly and lighthearted has been where I’m following my curiosity. So you get some silly pickles.
Retaining Wall Mural Process | Tacoma Mural Artist
I’ve got this terrible mural client. She doesn’t know what she wants, she keeps jumping from idea to idea and giving me inspiration photos that have nothing to do with each other… it’s exhausting. Did I mention the client is me? Lol. Le sigh.
This is the problem of designing for yourself. With anything, really. As artists we’re our own worst clients sometimes. All that to say, I’ve been playing with mural ideas for my front retaining wall for months. MONTHS. But I think I finally have something pinned down that I really love.
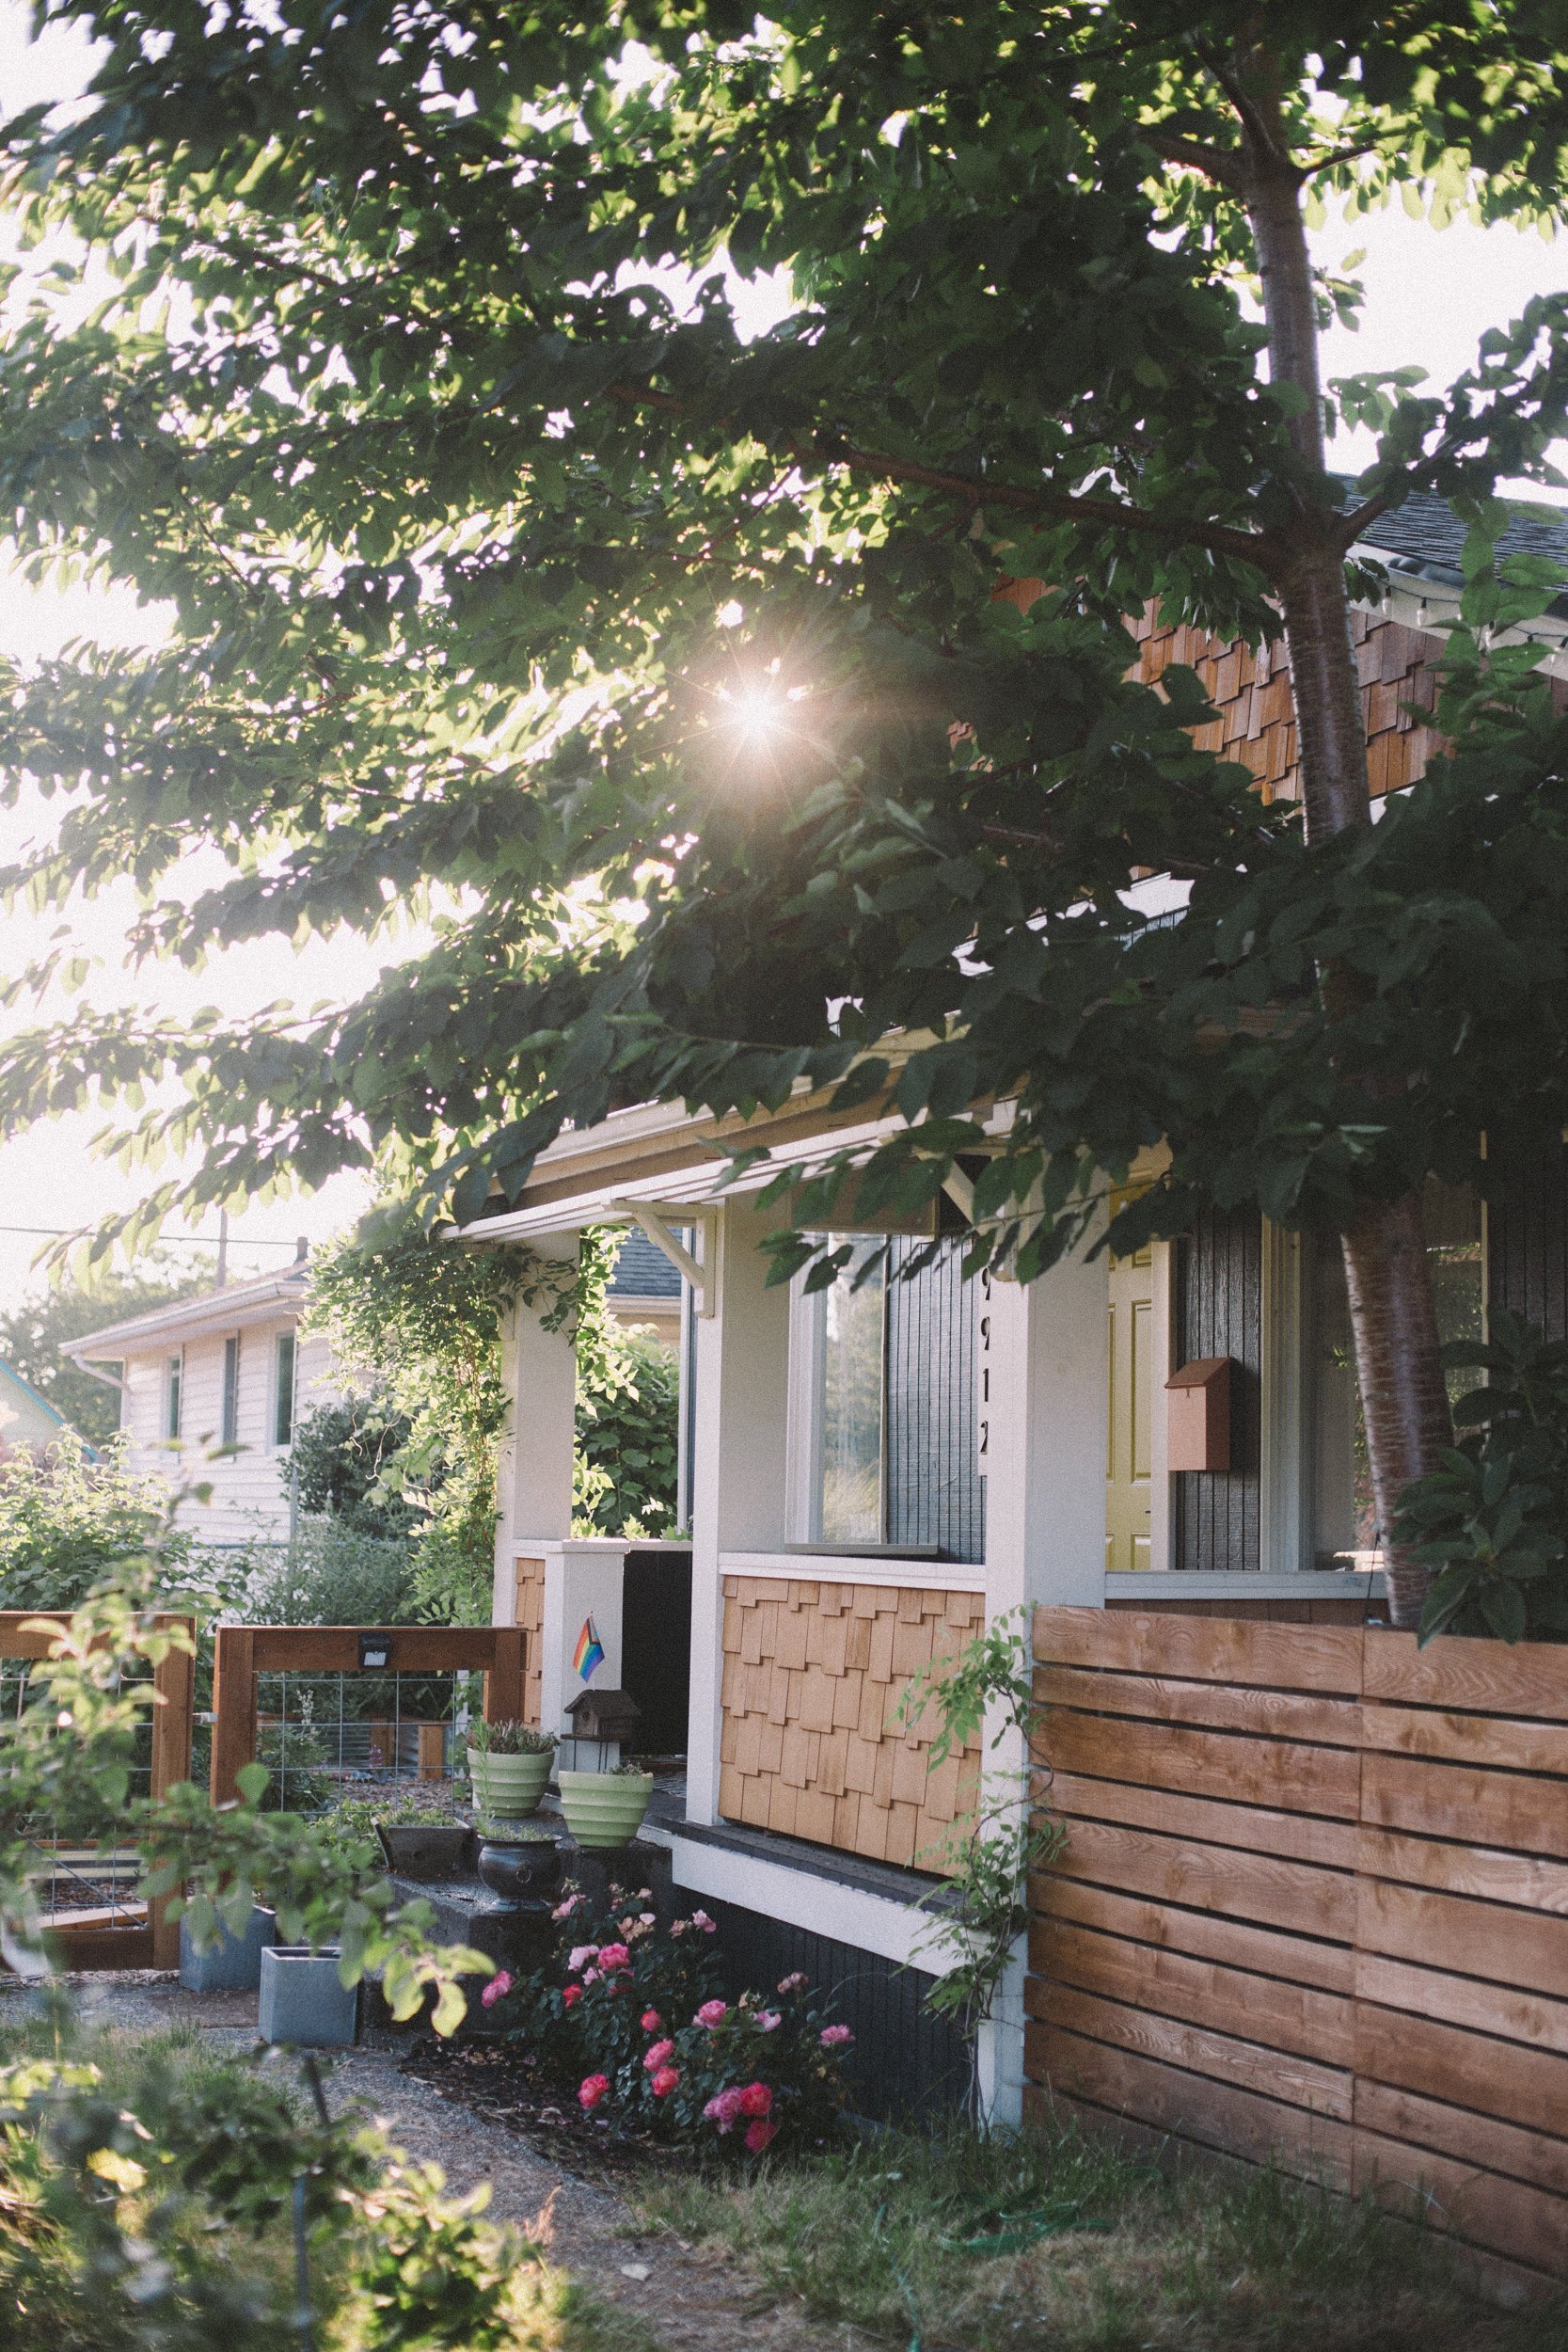
When we bought this house we’d intended to fix it up and sell it, but plans changed and we’ve been living here for five years now. So some of the early decisions I made, design-wise, were more tame than my current style. But now, I’m really wanting to lean into a creative, artistic, and bold vibe for the house as a whole, and while most of the interior reflects that, I’m working on bringing that outside to the exterior.
This was the house when we bought it. So painfully underwhelming and neglected.
And this is where it’s at right now. I’m actually starting the process of painting the white trim black to match the body of the house (mocked up on the right), which I’m really excited about, but…if you take a look at that before photo, you can see the cinder block retaining wall along the sidewalk. That hasn’t changed. Dull, boring, meh. But it’s the perfect spot for a splash of color and visual interest!
Top is where we’re at currently, bottom is the idea I think I’ve settled on! I really wanted a way to incorporate some quotes about community, liberation, mutual aid, and the like. I have an Angela Davis quote planned for the left side section, but I’m still working out what quotes I want to put in the squiggles on the right side.
My next step is to pressure wash the cinder blocks so they don’t have moss growing out of them, then do some research into the best primer and paint to use. I’m super excited. I’ll most likely pull the mural into the gap where the stairs go, too, maybe add something cool on the riser sections?
I’ve really been working towards doing more murals and getting involved in the public art scene here in Tacoma, so I figured a great way to build my mural/public art portfolio would be utilizing my own house as a blank canvas. I’m also trying to work on playing around more stylistically. I did a lot of color blocking shapes murals in the past, which I do love, but I also want to keep playing and finding my own style and approach to mural design.
Anyway! I’ll share more as I progress on the actual install of this mural! Hopefully the weather will cool down a bit, and I’ve got a bunch of work to get done creating a booth set up for some pop up shop/markets I have coming up this summer! I have a really fun design schemed up, and I’m planning on doing the build out for that in the coming week so I’ll share more as I build!
Need a mural to take your home or commercial space to the next level? Let’s chat!
Hi, I’m Liz
I'm an artist, writer, designer, DIY renovator, and … well basically I like to do all the things. If it’s creative I’m probably doing it. I’ve spent over 30 years voraciously pursuing a life steeped in creativity and I wholeheartedly believe creativity and joy are inextricably linked.
Read more…
Explore The Archive
- January 2026
- July 2025
- May 2025
- January 2025
- December 2024
- August 2024
- July 2024
- May 2024
- April 2024
- January 2024
- December 2023
- October 2023
- September 2023
- July 2023
- June 2023
- May 2023
- April 2023
- March 2023
- February 2023
- January 2023
- December 2022
- November 2022
- October 2022
- August 2022
- June 2022
- May 2022
- April 2022
- March 2022
- November 2021
- October 2021
- August 2021
- July 2021
- May 2021
- January 2021
- November 2020
- October 2020
- September 2020
- August 2020
- July 2020
- June 2020
- May 2020
- April 2020
- February 2020
- January 2020
- November 2019
- October 2019
- August 2019
- July 2019
- June 2019
- May 2019
- April 2019
- February 2019
- January 2019
- December 2018
- November 2018
- October 2018
- September 2018
- August 2018
- July 2018
- June 2018
- May 2018
- April 2018
- February 2018
- January 2018
- November 2017
- September 2017
- August 2017
- July 2017
- June 2017
- May 2017
- April 2017
- March 2017
- February 2017
- January 2017
- December 2016
- November 2016
- October 2016
- September 2016
- August 2016
- June 2016
- May 2016
- April 2016
- March 2016
- February 2016
- January 2016
- December 2015
- November 2015
- October 2015
- September 2015
- August 2015
- July 2015
- June 2015
- May 2015
- April 2015
- March 2015
- February 2015
- January 2015
- December 2014
- November 2014
- October 2014
- September 2014
- August 2014
- July 2014
- June 2014
- May 2014
- April 2014
- March 2014
- February 2014
- January 2014
- December 2013
- November 2013
- October 2013
- September 2013
- August 2013
- July 2013
- June 2013
- May 2013
- April 2013
- March 2013
- February 2013
- January 2013
- December 2012
- November 2012
- October 2012
- September 2012
- August 2012
- July 2012
- June 2012
- May 2012
- April 2012
- March 2012
- February 2012
- January 2012
- December 2011
- November 2011
- October 2011
- September 2011
- August 2011
- July 2011
- June 2011
- May 2011
- April 2011
- March 2011
- February 2011
- January 2011
- December 2010
- November 2010
- October 2010
- September 2010
- August 2010
- July 2010
- June 2010
- May 2010
- April 2010
- March 2010
- February 2010
- January 2010
- December 2009
- November 2009
- October 2009
- September 2009
- August 2009
- July 2009
- June 2009
- May 2009
- April 2009
- March 2009
- February 2009
- January 2009
- December 2008
- November 2008
- October 2008
- September 2008
- August 2008
- July 2008
VISIT THE SHOP
PRIVACY POLICY & DISCLOSURE
We are a participant in the Amazon Services LLC Associates Program, an affiliate advertising program designed to provide a means for us to earn fees by linking to Amazon.com and affiliated sites.


