Transform your kitchen with DIY painted cabinets
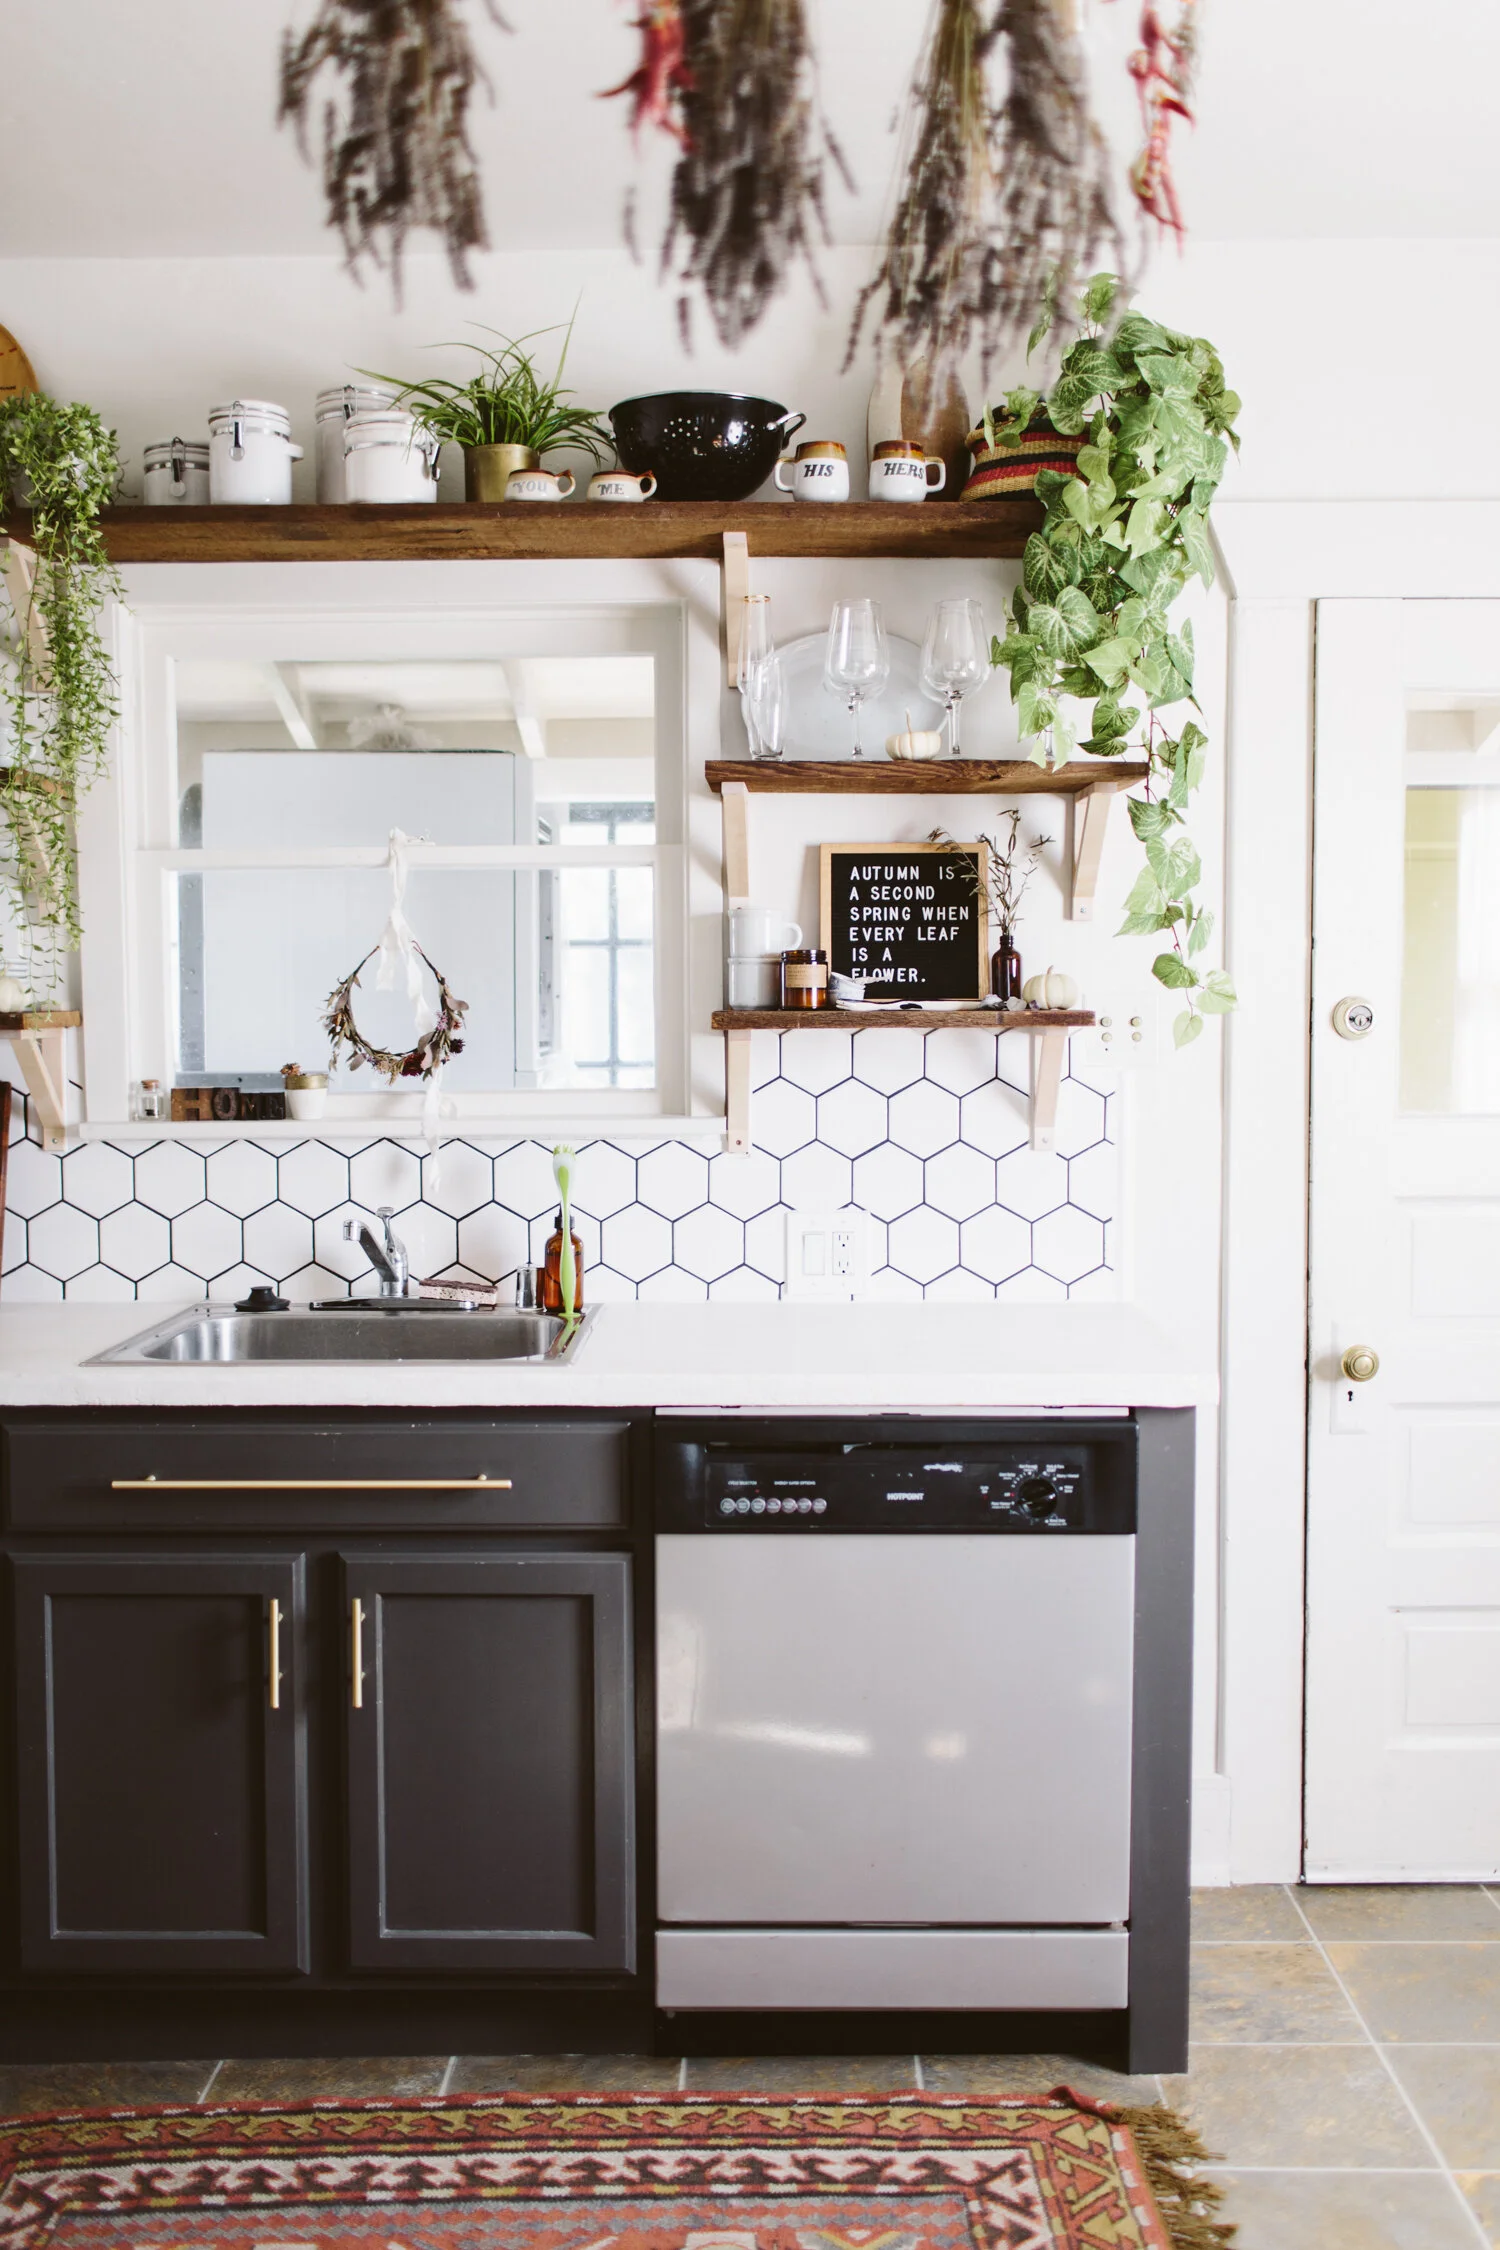
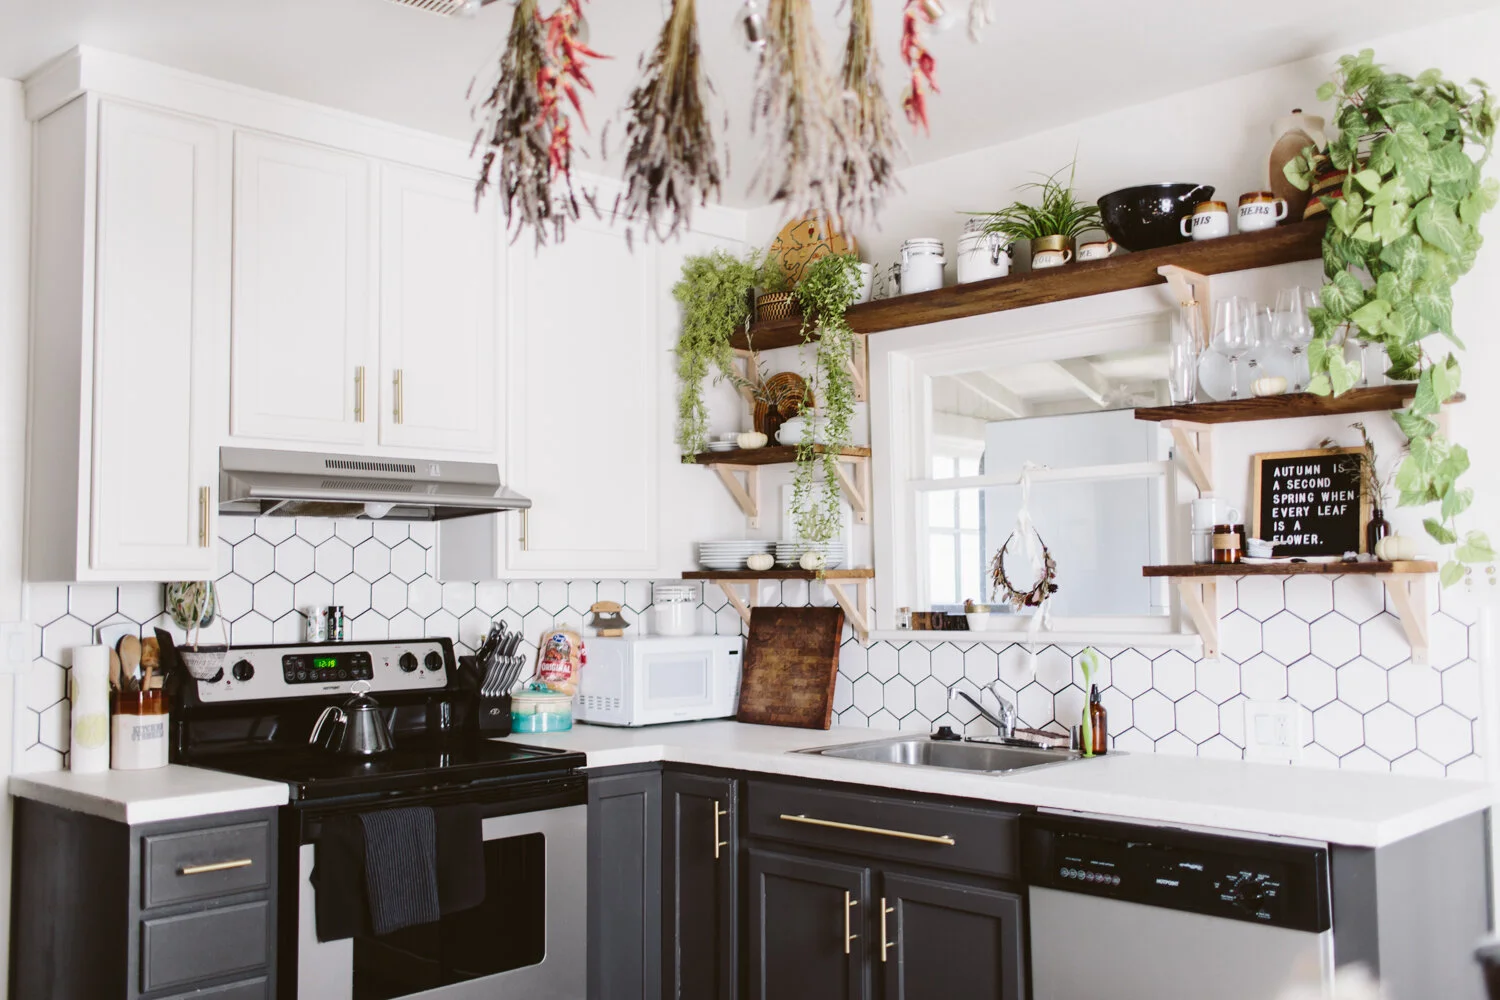
Painting kitchen cabinets can feel intimidating, or even sacreligious, but I believe that it’s one of the easiest, most affordable ways to completely transform your kitchen. I lived in our kitchen for years wanting to paint the cabinets, but felt bad painting them because they looked relatively new and were perfectly fine. But here’s the thing, I LOVE our kitchen after painting the cabinets. It feels so much more “us,” it feels modernized, and custom (vs. basic builder grade).
I’ve painted cabinets in three different kitchens now and I love each transformation. In some, I’ve replaced the upper cabinets with new ones, to freshen up the look (like in the before/after below), or put in open shelving, and in others I’ve painted both the lower and upper cabinets.
01/ Remove doors and hardware
This one is kind of optional. Removing drawer pulls and knobs is not: you’re definitely gonna want to remove those, it only takes a couple minutes and a screwdriver. But removing doors is up to you. It’s definitely easier to prep and paint them separately, but I have painted cabinets with the doors on and it works too! If you don’t have a garage or somewhere that you can set up a painting area, leaving the doors on is workable!
02/ Clean + degrease your cabinets
You’ll want to make sure you have a clean surface to paint, free from kitchen gunk and grease. Lower cabinets that aren’t near the oven don’t tend to have as much grease, but cabinets over the stove can have grease build-up that will definitely need to be removed in order for the paint to stick well. Use TSP or a similar cleaner to clean your cabinets first. Do all the surfaces you plan on painting. I have never painted the interior of cabinets, mostly because it seems like a pain and I don’t mind the insides having the original wood, but you’d follow the same steps laid out here.
03/ Sand and/or degloss your cabinets
Next, you’ll want to remove some of the glossiness on the cabinets so the paint will stick well. I use Liquid Sandpaper first, and then if I feel like I still need to rough up the surface a bit more, I’ll hit it with a fine grit sandpaper like 220 grit.
04/ Prime!
There are tons of primers out there, some specially designed for furniture and some that say they’ll stick to basically anything. I use Kilz for basically everything, so that’s what I’ve used on all my cabinet painting jobs, as well as to paint metal file cabinets and it seems to work really well.
With primer and paint, you have a couple options. I’d say the best option for a smooth surface is using a paint sprayer. We have a pretty heavy duty sprayer because we bought it to do the exterior of our house, but there are smaller, more affordable ones available that would work for painting cabinets. For spraying, I would recommend just doing the doors and setting up a spray booth in a garage or other workspace with plastic sheeting and drop cloth, unless you feel like masking off your entire kitchen and spraying the whole cabinet. We sprayed the doors, then used brushes and 4-in smooth rollers for the cabinets themselves. One coat of primer should do the trick.
05/ Paint!
Now the fun part! You’re gonna want to get a nice paint. I’ve used Behr Marquee for all my cabinets because it does a nice job of self leveling and the coverage is amazing. Behr also makes an Alkyd paint that is designed for cabinetry and was recommended, however they have limited paint colors available for that paint and I’m too picky with my colors. I’ve never had a problem with using the Marquee.
When it comes to picking a sheen, I’ve discovered that I prefer eggshell. I’ve used semi-gloss in the past thinking that the glossiness would be easier to wipe down, but I’ve found that semi-gloss and gloss paints tend to, like, not stick as well? I don’t know, they seem like they can be scratched easier, and for cabinets when there are fingernails scratching when you grab for drawer pulls, I’ve had the semi-gloss paint scratch off, but the eggshell doesn’t.
I’d recommend at least two coats, possibly three, depending on how it looks after two. Again, if you’re spraying, spray the doors and then roll + brush the cabinets. Allow the right dry time between coats based on what your paint recommends.
Also, I should note that I have not used a sealer or top coat on my painted cabinets yet, but with my most recent cabinet painting project I’m thinking of finding one so I can see if it’s something I recommend. For some reason I just never thought to put a top coat on, so I’m going to do some research and testing to see if there’s something I like and I’ll update this accordingly!
Thrifted Dresser Revival
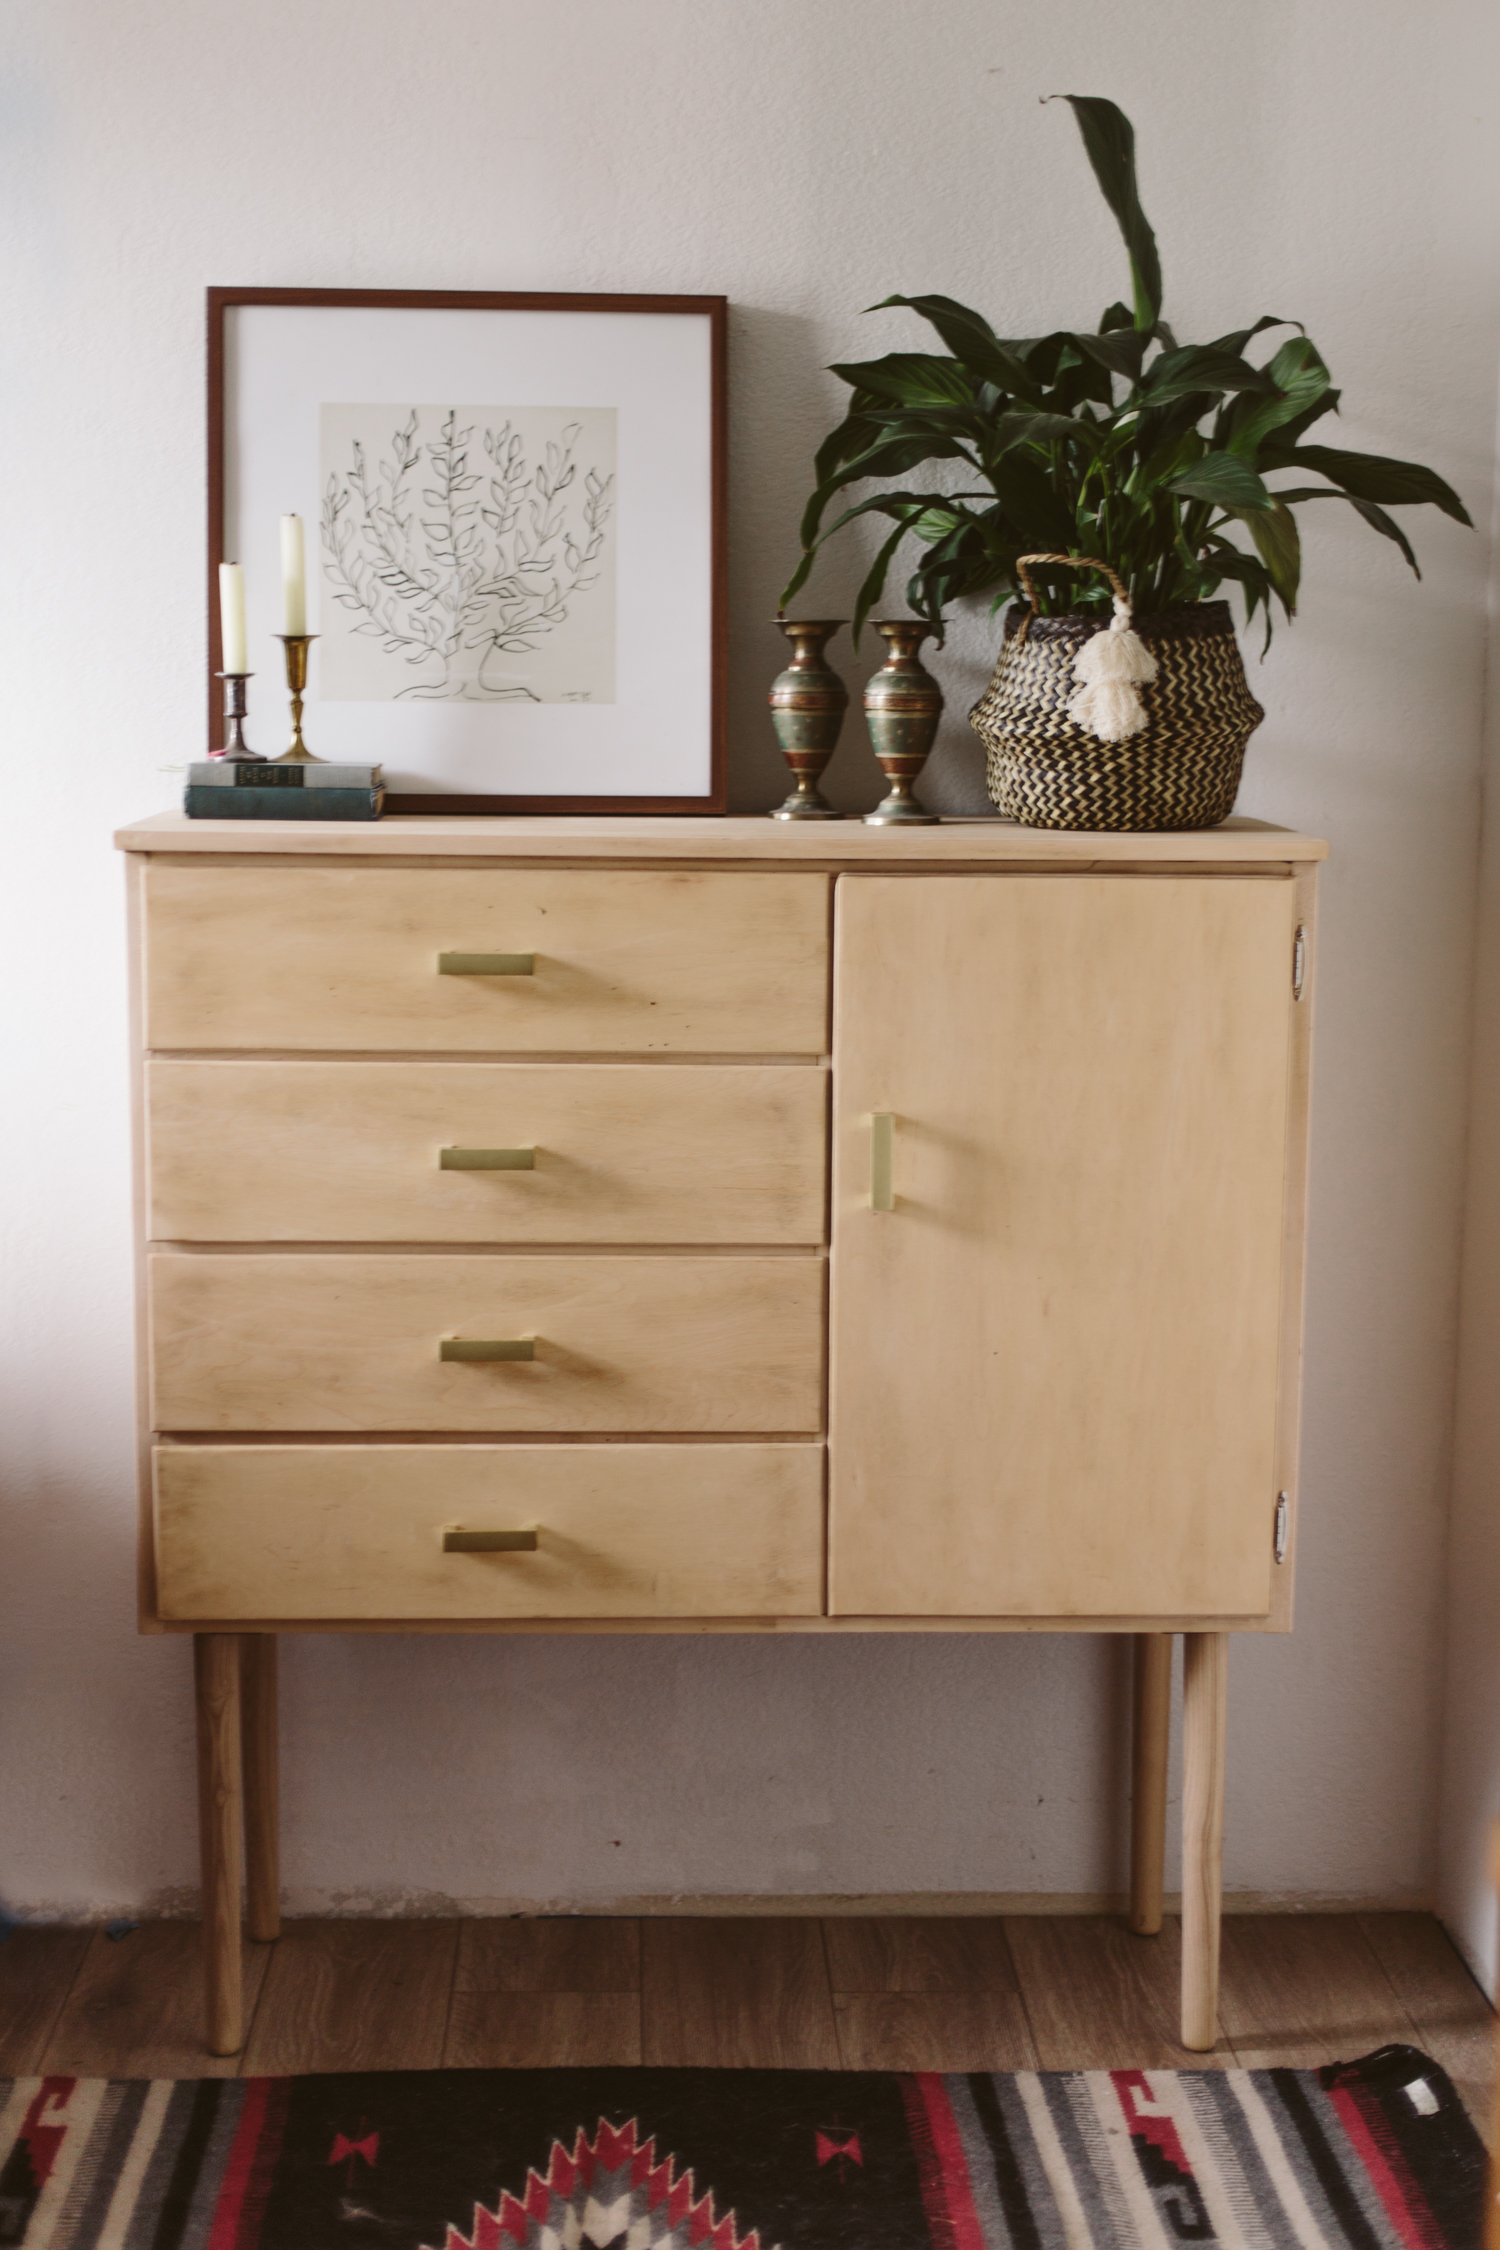
After we moved into the new house I was looking for a dresser for Dan because the closet space isn’t huge. I knew I wanted something kind of modern, kind of scandinavian, but also affordable. Buying anything new that fit those descriptions seemed nearly impossible. I could get the first two, but nothing that fit my (real low) budget. So I decided to hit the thrift stores and see what I could find. I ended up getting this old dresser for $25 and promptly started refinishing it!
In the Before image I’ve already removed the old hardware that was just plain and dated, and I’d removed some of the drawers to start sanding. The door’s hinges broke off when the gal was wheeling the cabinet out to my car and she hit a pot hole, so that’s why the door is sitting on the ground, but replacement hinges were easy enough to find at the hardware store!
BEFORE
AFTER
I had some long legs from Pretty Pegs for a bench project that I never ended up doing, but I loved the idea of adding a bit of quirkiness to a dresser with the long legs. I used a skill saw to cut off the bottom on the two sides that served as the old legs in order to give it a straight bottom to attach the legs to, but other than that, the only power tool I really needed was a sander and a drill. And man did I do some sanding. So. Much. Sanding. I used a belt sander for most of it, then used an orbital sander for some parts, and had to do hand sanding in all the crevasses.
I decided to keep it unfinished because I liked the light, naked wood. I replaced the old dated drawer pulls with new ones, and then I added some shelves in the door space on the right because it previously held an odd slide-out hanging rod that didn’t seem practical for our purposes.
I picked up the drawer pulls from Home Depot and just made sure that they had the holes the same distance apart as the original ones so all I had to do was screw them right on, super easy update! And the Pretty Pegs legs came with brackets to attach the legs, so that was also a pretty easy update!
Since it’s relatively top heavy with the longer legs, I’m planning on attaching it to the wall with brackets, just so it doesn’t fall over with the drawers pulled out (or some crazy toddler decides it’s a good idea to climb up it).
All in all, the project took 2, maybe 2.5 days from start to finish and here’s the breakdown on the cost:
Thrifted Dresser: $24.99
Drawer Pulls: $32.40
Hinges: $2.78
Legs: (c/o Pretty Pegs) $75
Adventures in DIY tiling
There’s not much I won’t DIY, and I’m usually pretty spot on in my assessment of how difficult a project will be but this kitchen floor has turned into a huge pain. And to be fair, I’m not feeling the pain of how annoying the install process is— Dan is the one doing the mortar and laying the tiles. But what we planned on being a weekend project has now entered the second week of having no functional kitchen, and I’ll tell you what: not having a range is a lot harder than I thought. I finally broke down and bought a microwave yesterday so we could at least have some home cooked food.
We’re probably about halfway done with the kitchen and the same tile will continue into the bathroom and in the laundry closet, so I’m thinking we probably have at least another week of doing tile, though we thankfully have laid the tile where the range goes, which means it will be able to return to it’s home and functional status in the next day or two.
Next up, I’ll be grouting the tile, which is perfect because it’s a great project for me to do while Jack naps. Even though I hate working with it, I decided to go with the Fusion Pro grout again, just because I don’t have to seal it or anything. And I think it’ll be less annoying to work with this time simply because I’m not doing a contrasting grout (last time I did black grout with white hex tiles). Since I wanted a concrete floor, I’m doing the grout in as close to the same color as the tile to give it more of a seamless look. But you know I couldn’t make things easy, so we’re doing a herringbone pattern. It’ll be more subtle since the grout won’t be contrasting, but I still think it’ll add interest.
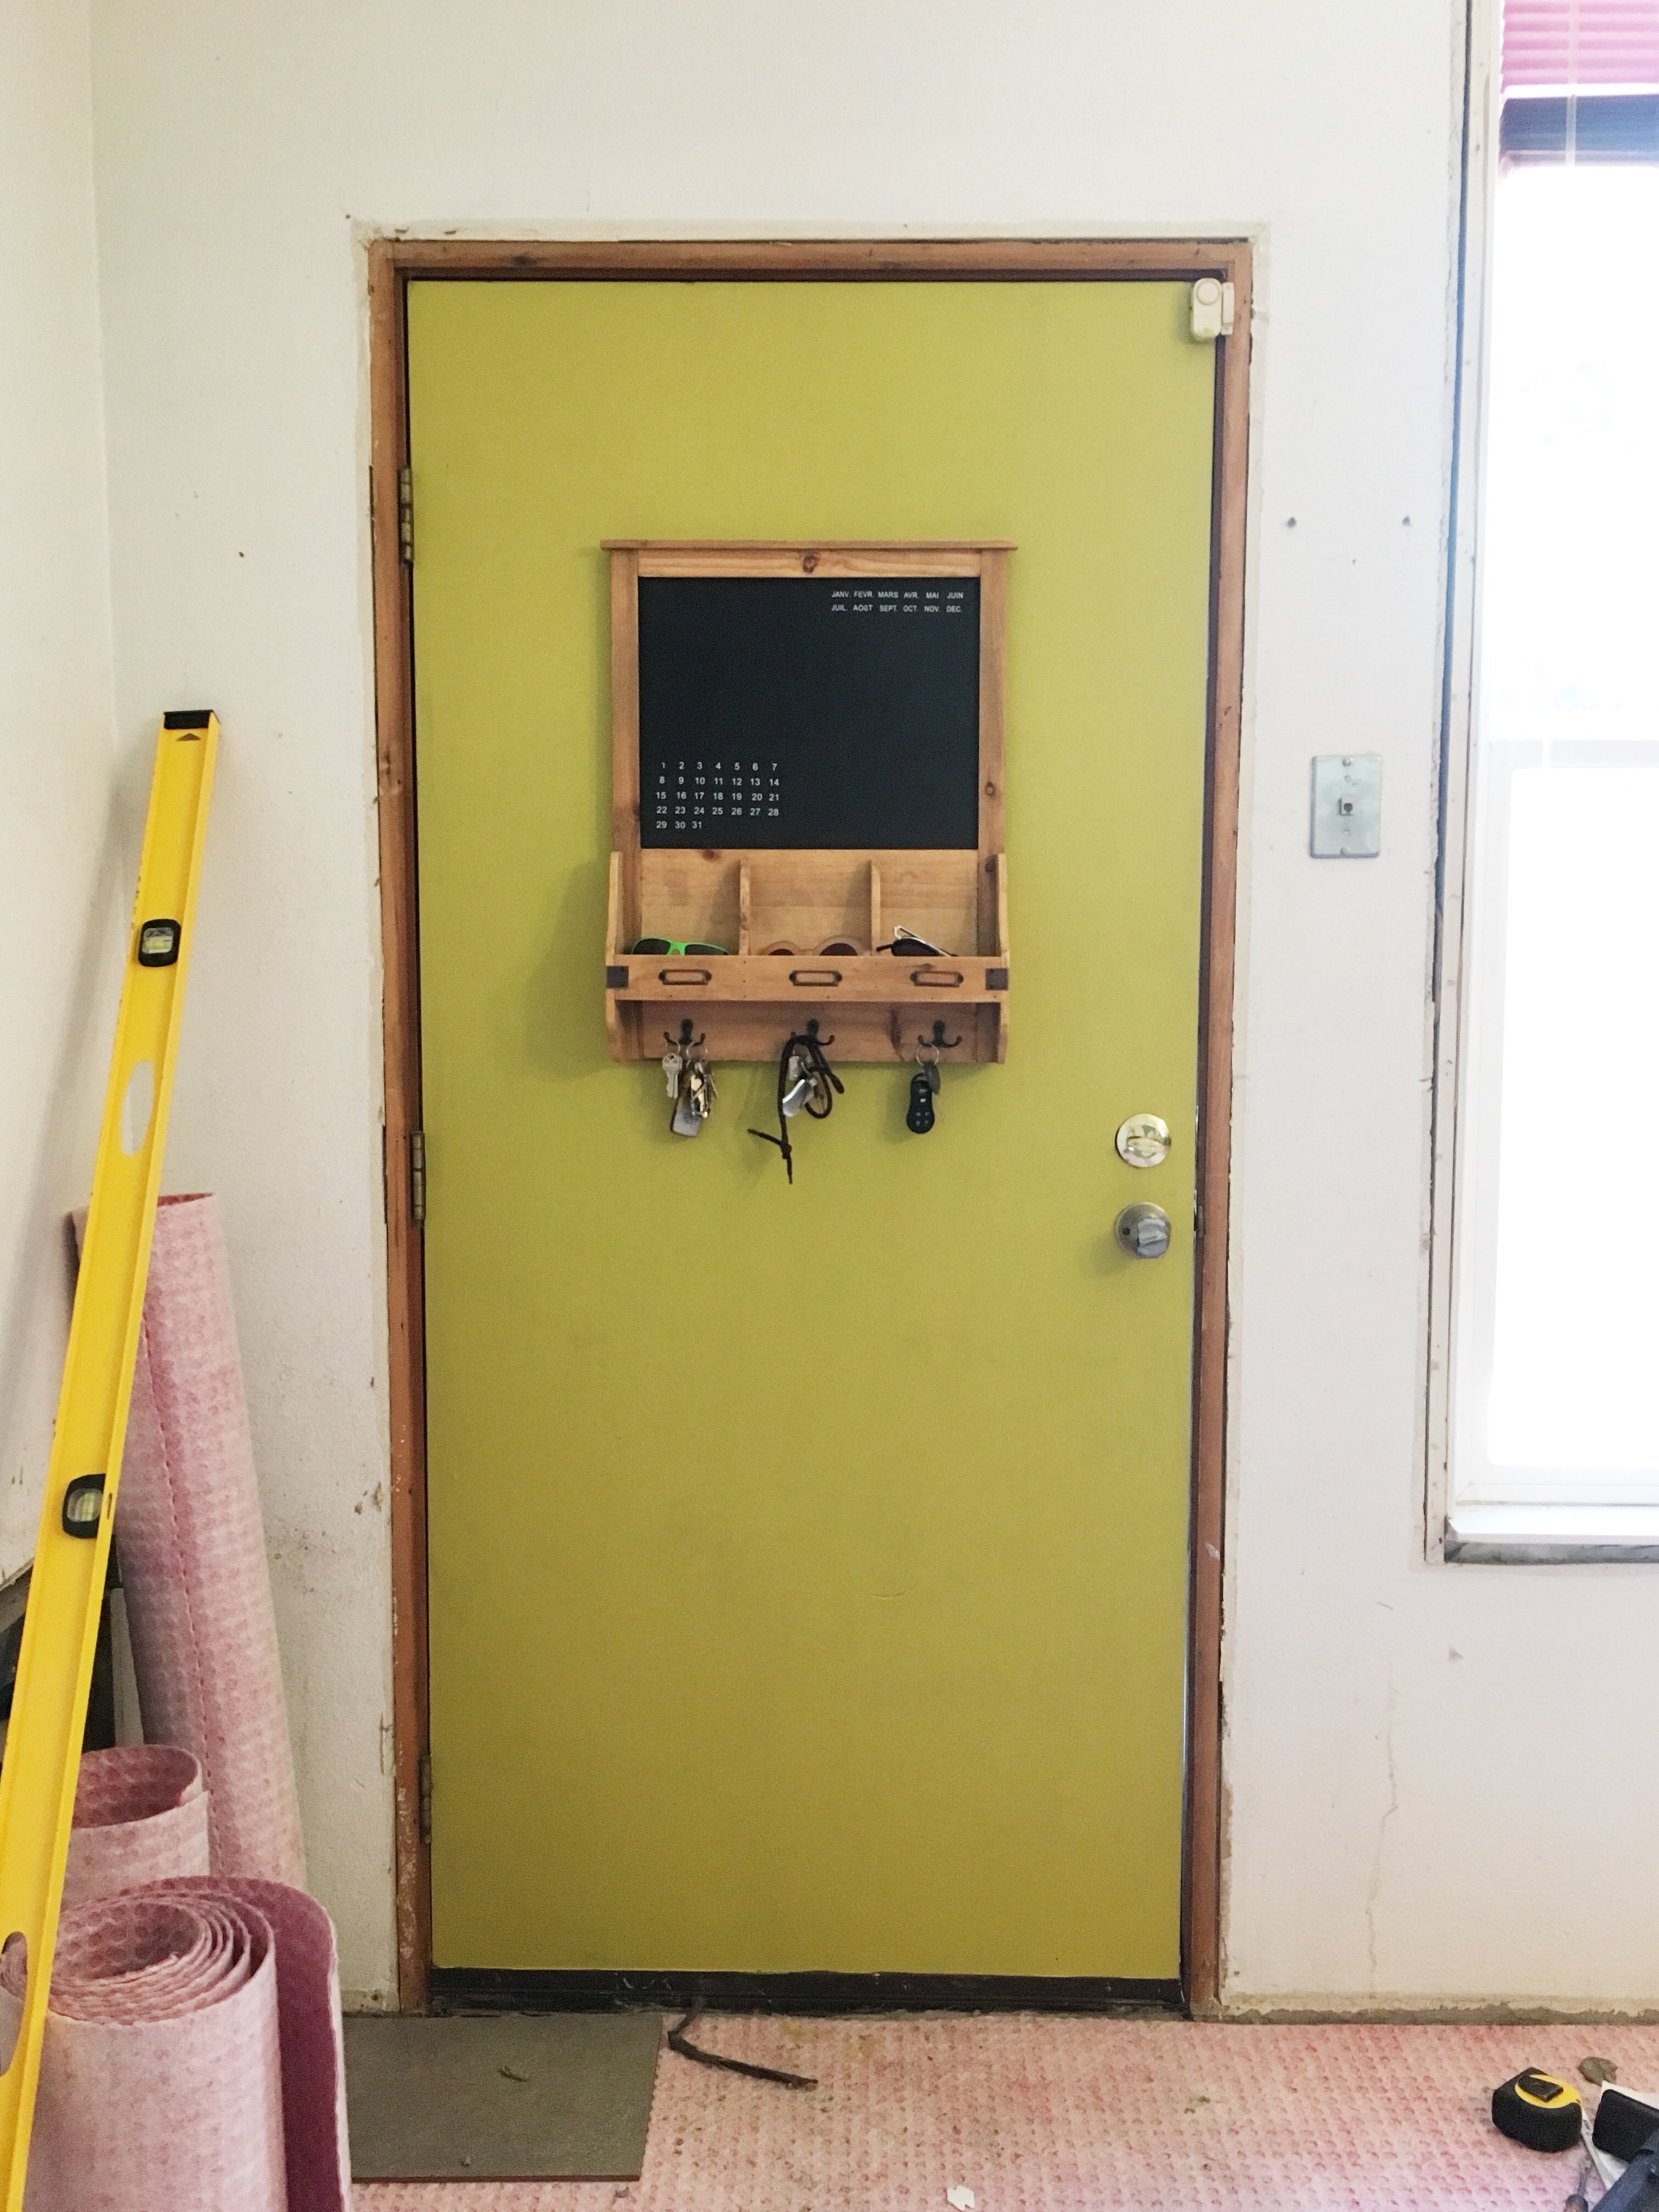
Ooooh, and peep that new light fixture too! In the meantime, you know I couldn’t wait any longer to paint something chartreuse in this house. This color is Lemongrass by Behr and It feels so happy! Even with no trim.
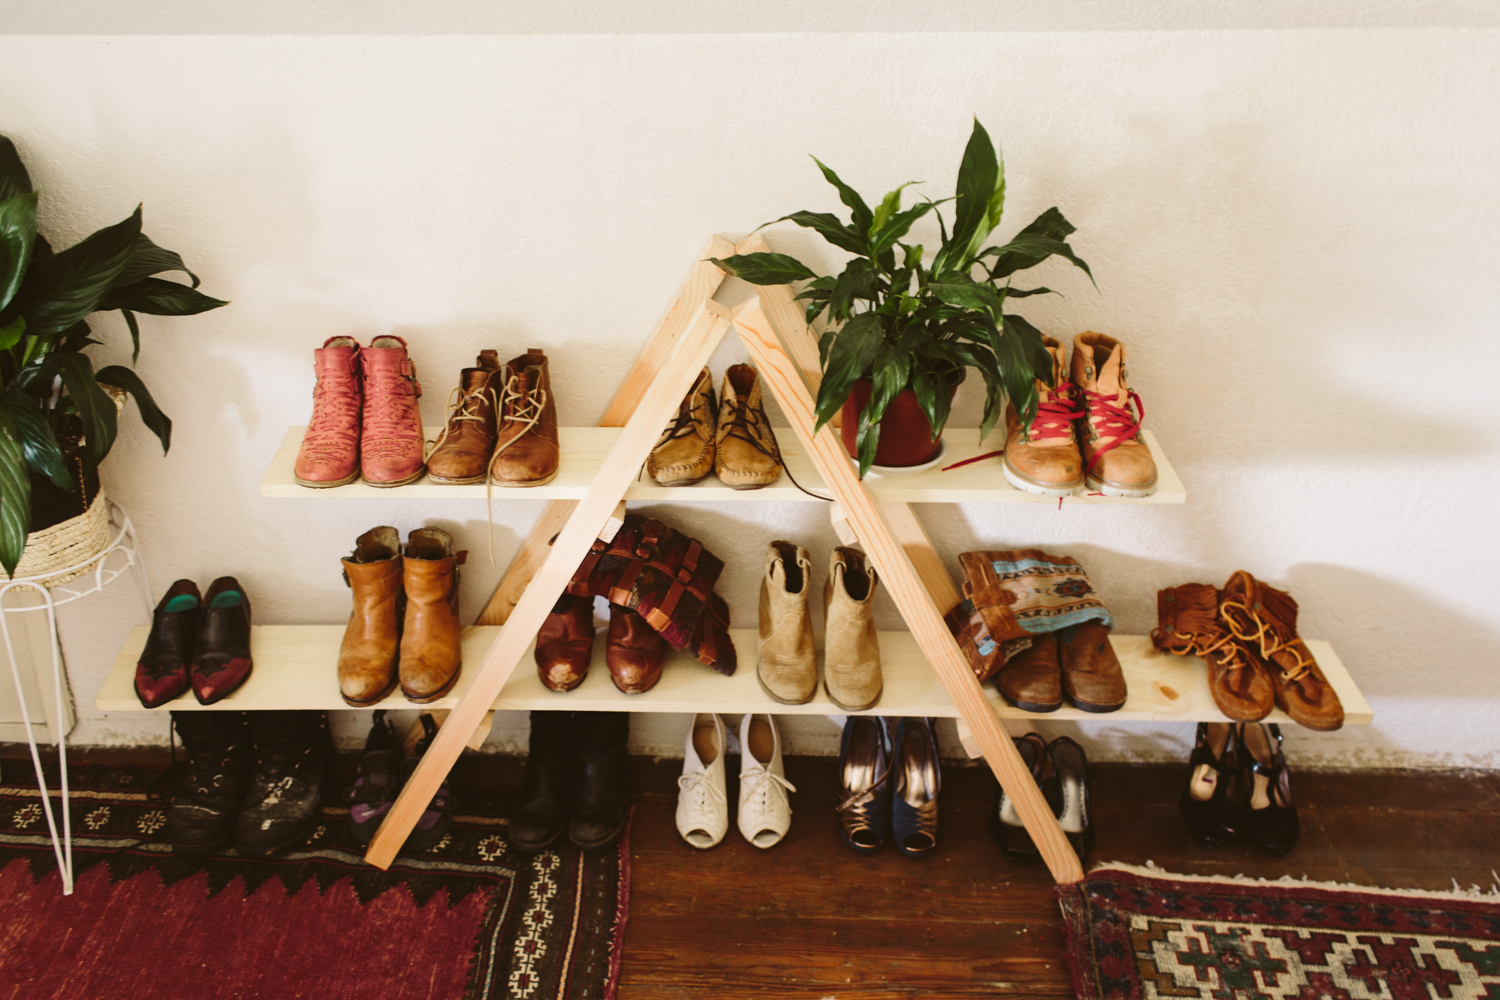
DIY Triangle Shoe Storage Shelf
I knew I needed a better solution for my shoe storage and I wanted something cuter than just a bunch of cubbies, when I found a large version of this shelf on Pinterest (it was like a 6ft high version) I knew I wanted to make a small one that would fit beneath the angled ceilings of our attic closet. The wood for this was super affordable, and it only took about an hour and a half from start to finish to complete it!
What you’ll need:
2 8ft 2x2s
1 8ft 1x2
8 1.5 in screws
2 2 inch mending plates with screws
4 corner braces with screws
1 4ft 1x8 plank
1 6ft 1x8 plank
Drill
Skillsaw
1/ Using a skillsaw (or a handsaw) cut your 2x2s into four 41 inch long pieces for the ladder sides, and your 1x2 into four 11 inch pieces for the ladder rungs.
2/ Make a ladder by laying two 2x2s next to each other, marking a line 13 inches and 29 inches on each one. Separate the two sides and place the top of the 1x2 rungs at each line, screwing them to the 2x2s. The ends of the 1x2s should be flush with the sides of the 2x2s so the total depth of the ladder is 11 inches. Repeat for the second ladder. I pre-drilled the screw holes on the 1x2s because otherwise the screws would split the wood, so I recommend doing that.
3/ Use your flat brackets to attach the tops of the ladders to each other. Using a speed square, make sure the angle of the two ladders is 60º at the top where they meet. In order to keep them together while I got the angle right, I used clamps to hold the tops together and then used a piece of scrap wood and screwed it into the sides to keep the angle correct. If you have a friend helping, though, you can probably just use them to help hold the ladders together while you screw the brackets at the top.
4/ Place the planks on each shelf, the shorter one on the top shelf. Make sure they’re centered so that each side has the same overhang length. Use the L bracket and screw the vertical side to the inside of the 2x2, just below the shelf, then screw the horizontal side up into the bottom of the shelf, securing the shelf to the ladder. Do this on both sides for each shelf. I only put one L bracket on for each shelf, but you could put one on each side of the ladder for both sides of the the shelves if you want a little more security.
If you’ve screwed on a scrap piece of wood to the ladders to keep them at the right angle, you can unscrew that now. You’re all done!
I made sure that all the brackets were behind the wood so you don’t see them from the front, but that’s just me being nitpicky because #aesthetics.
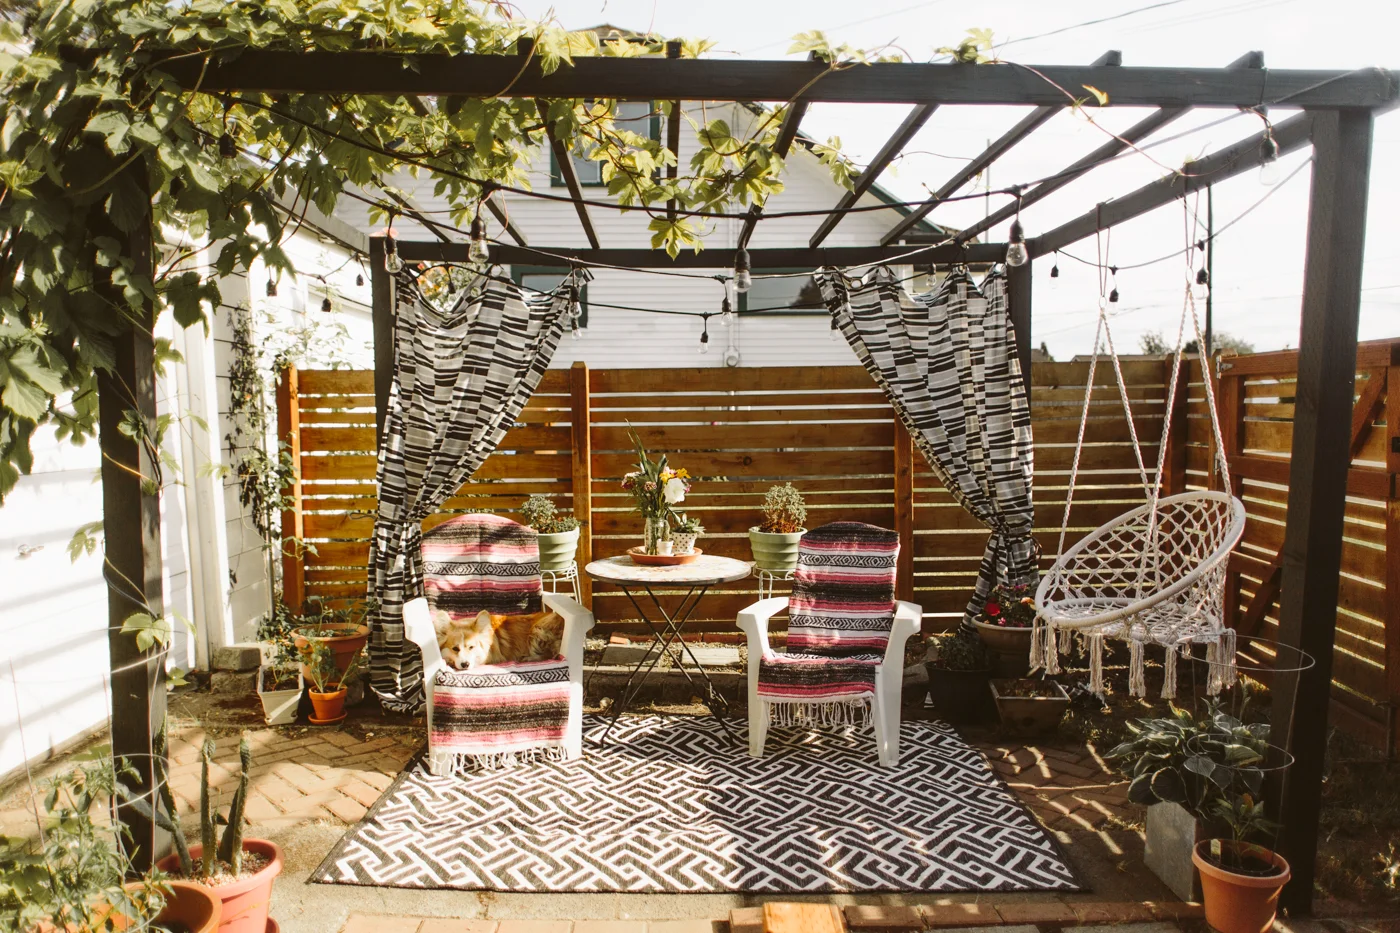
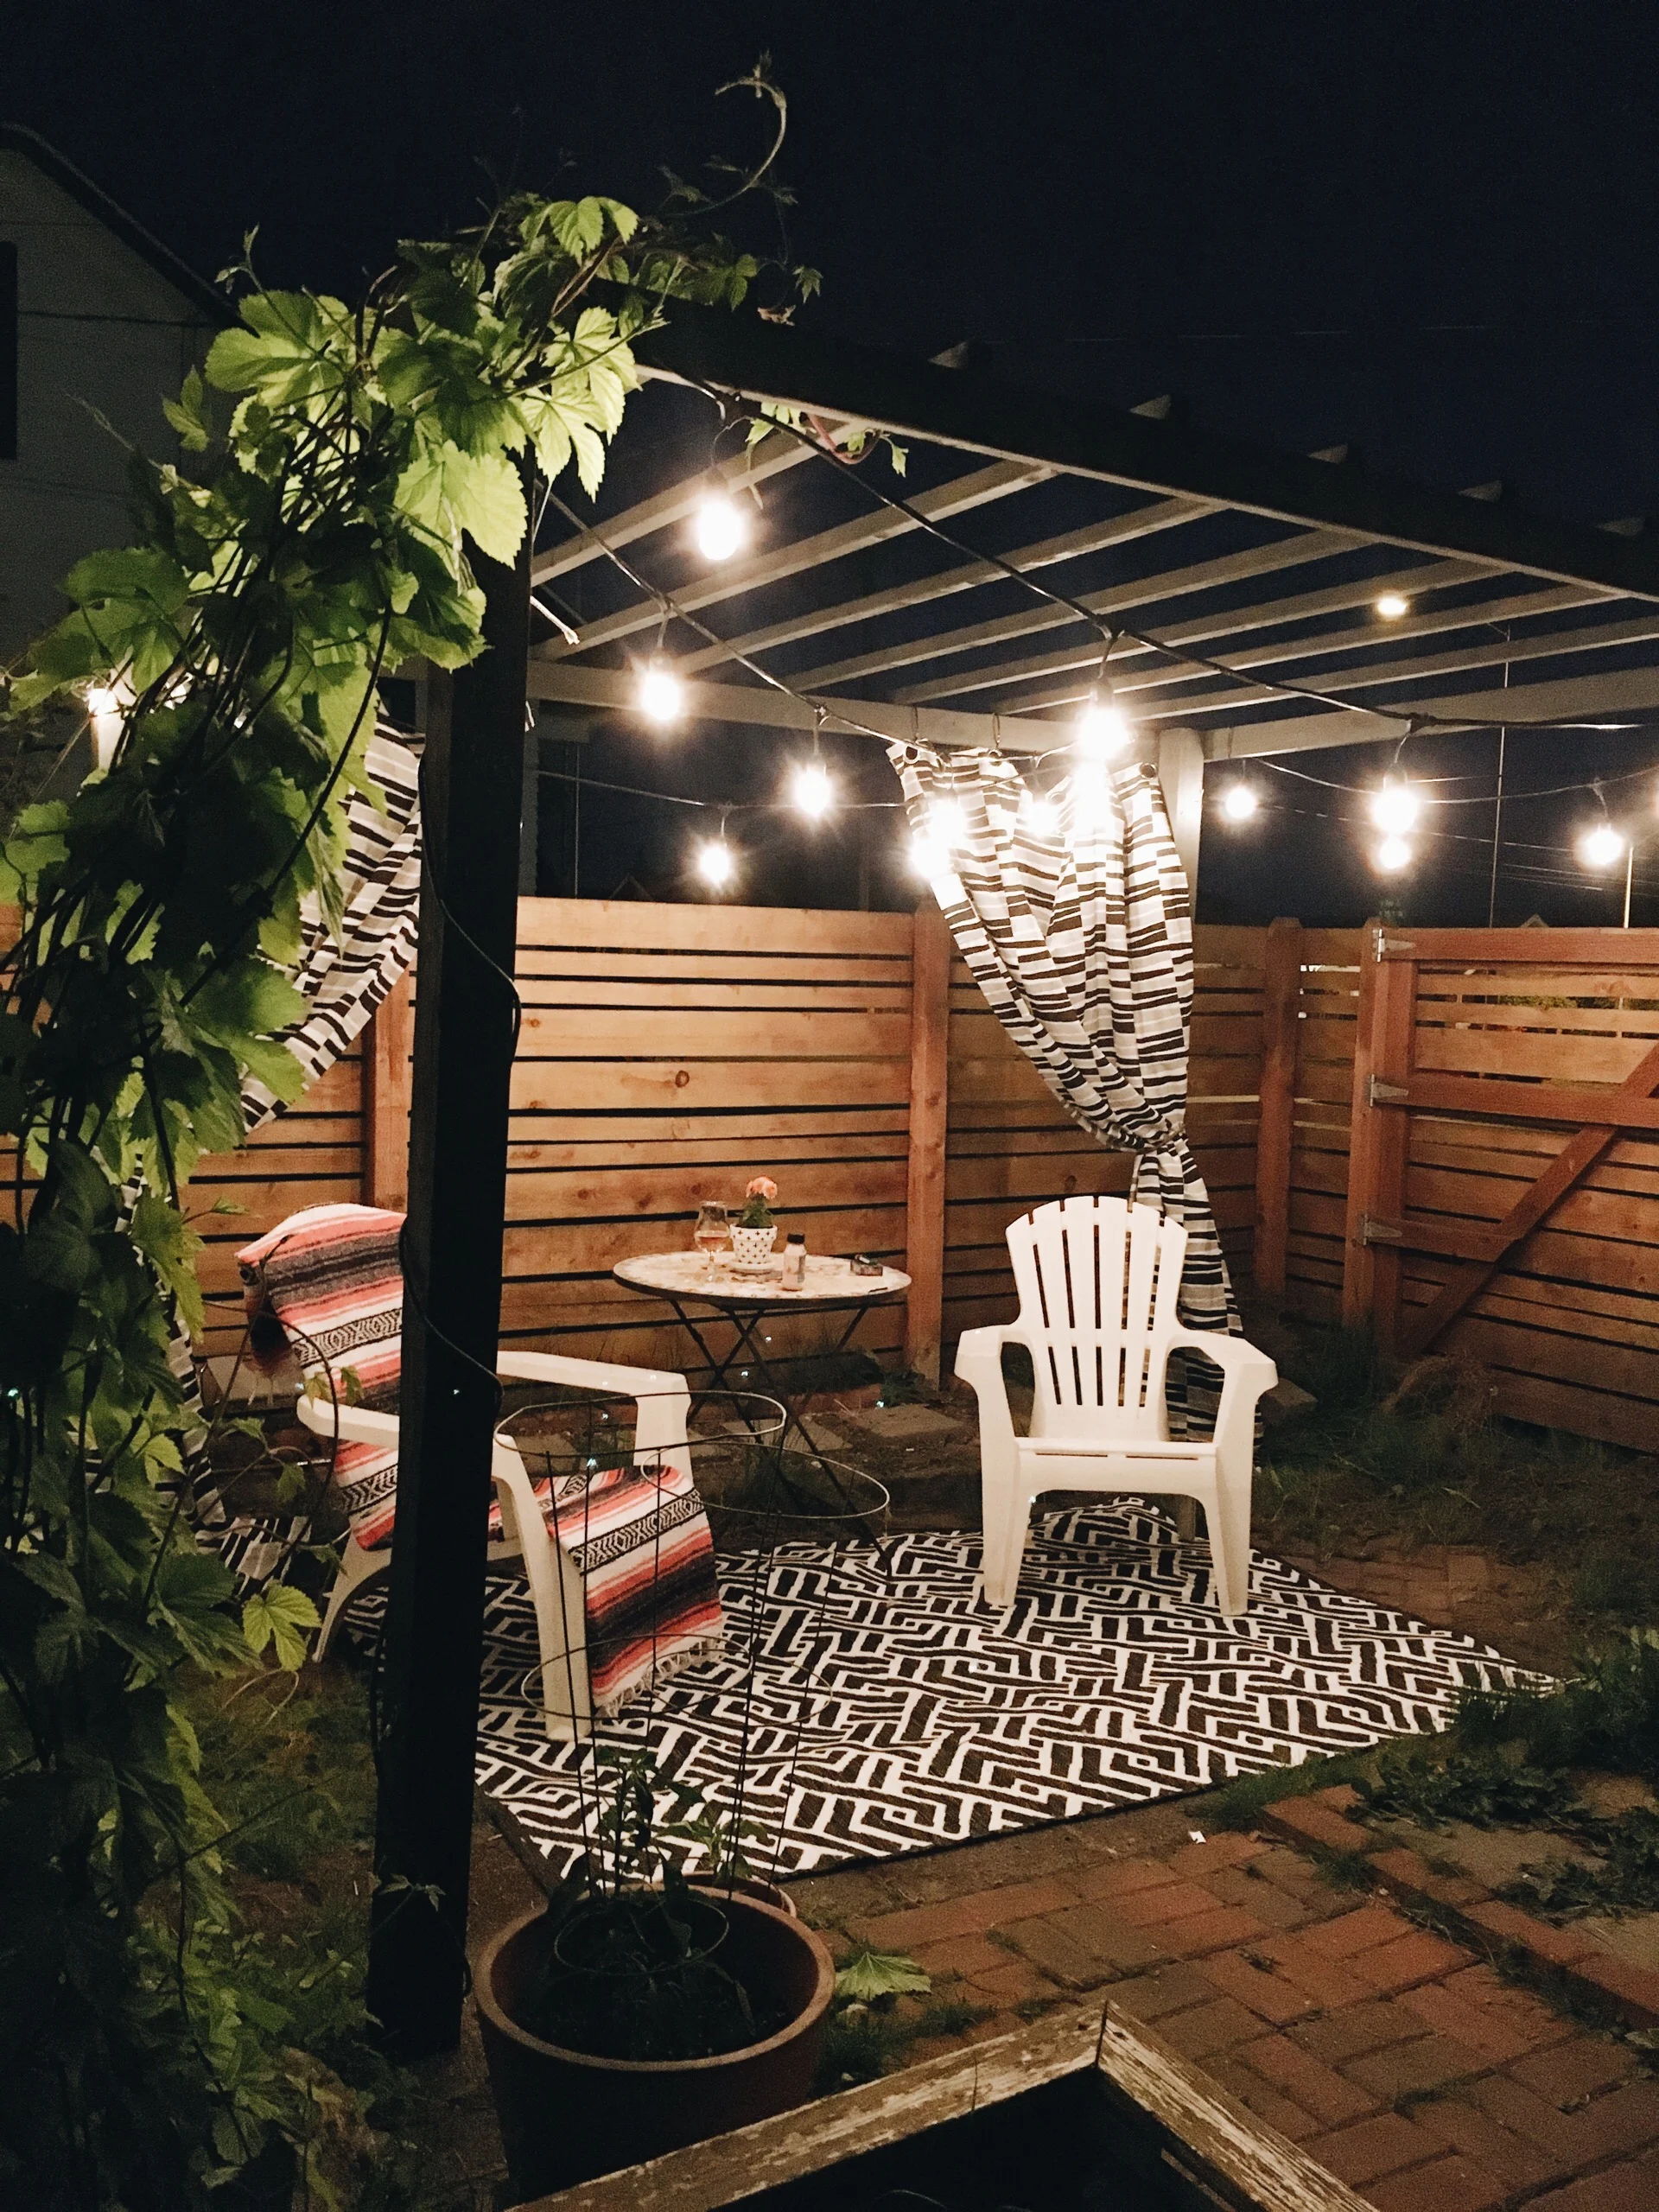
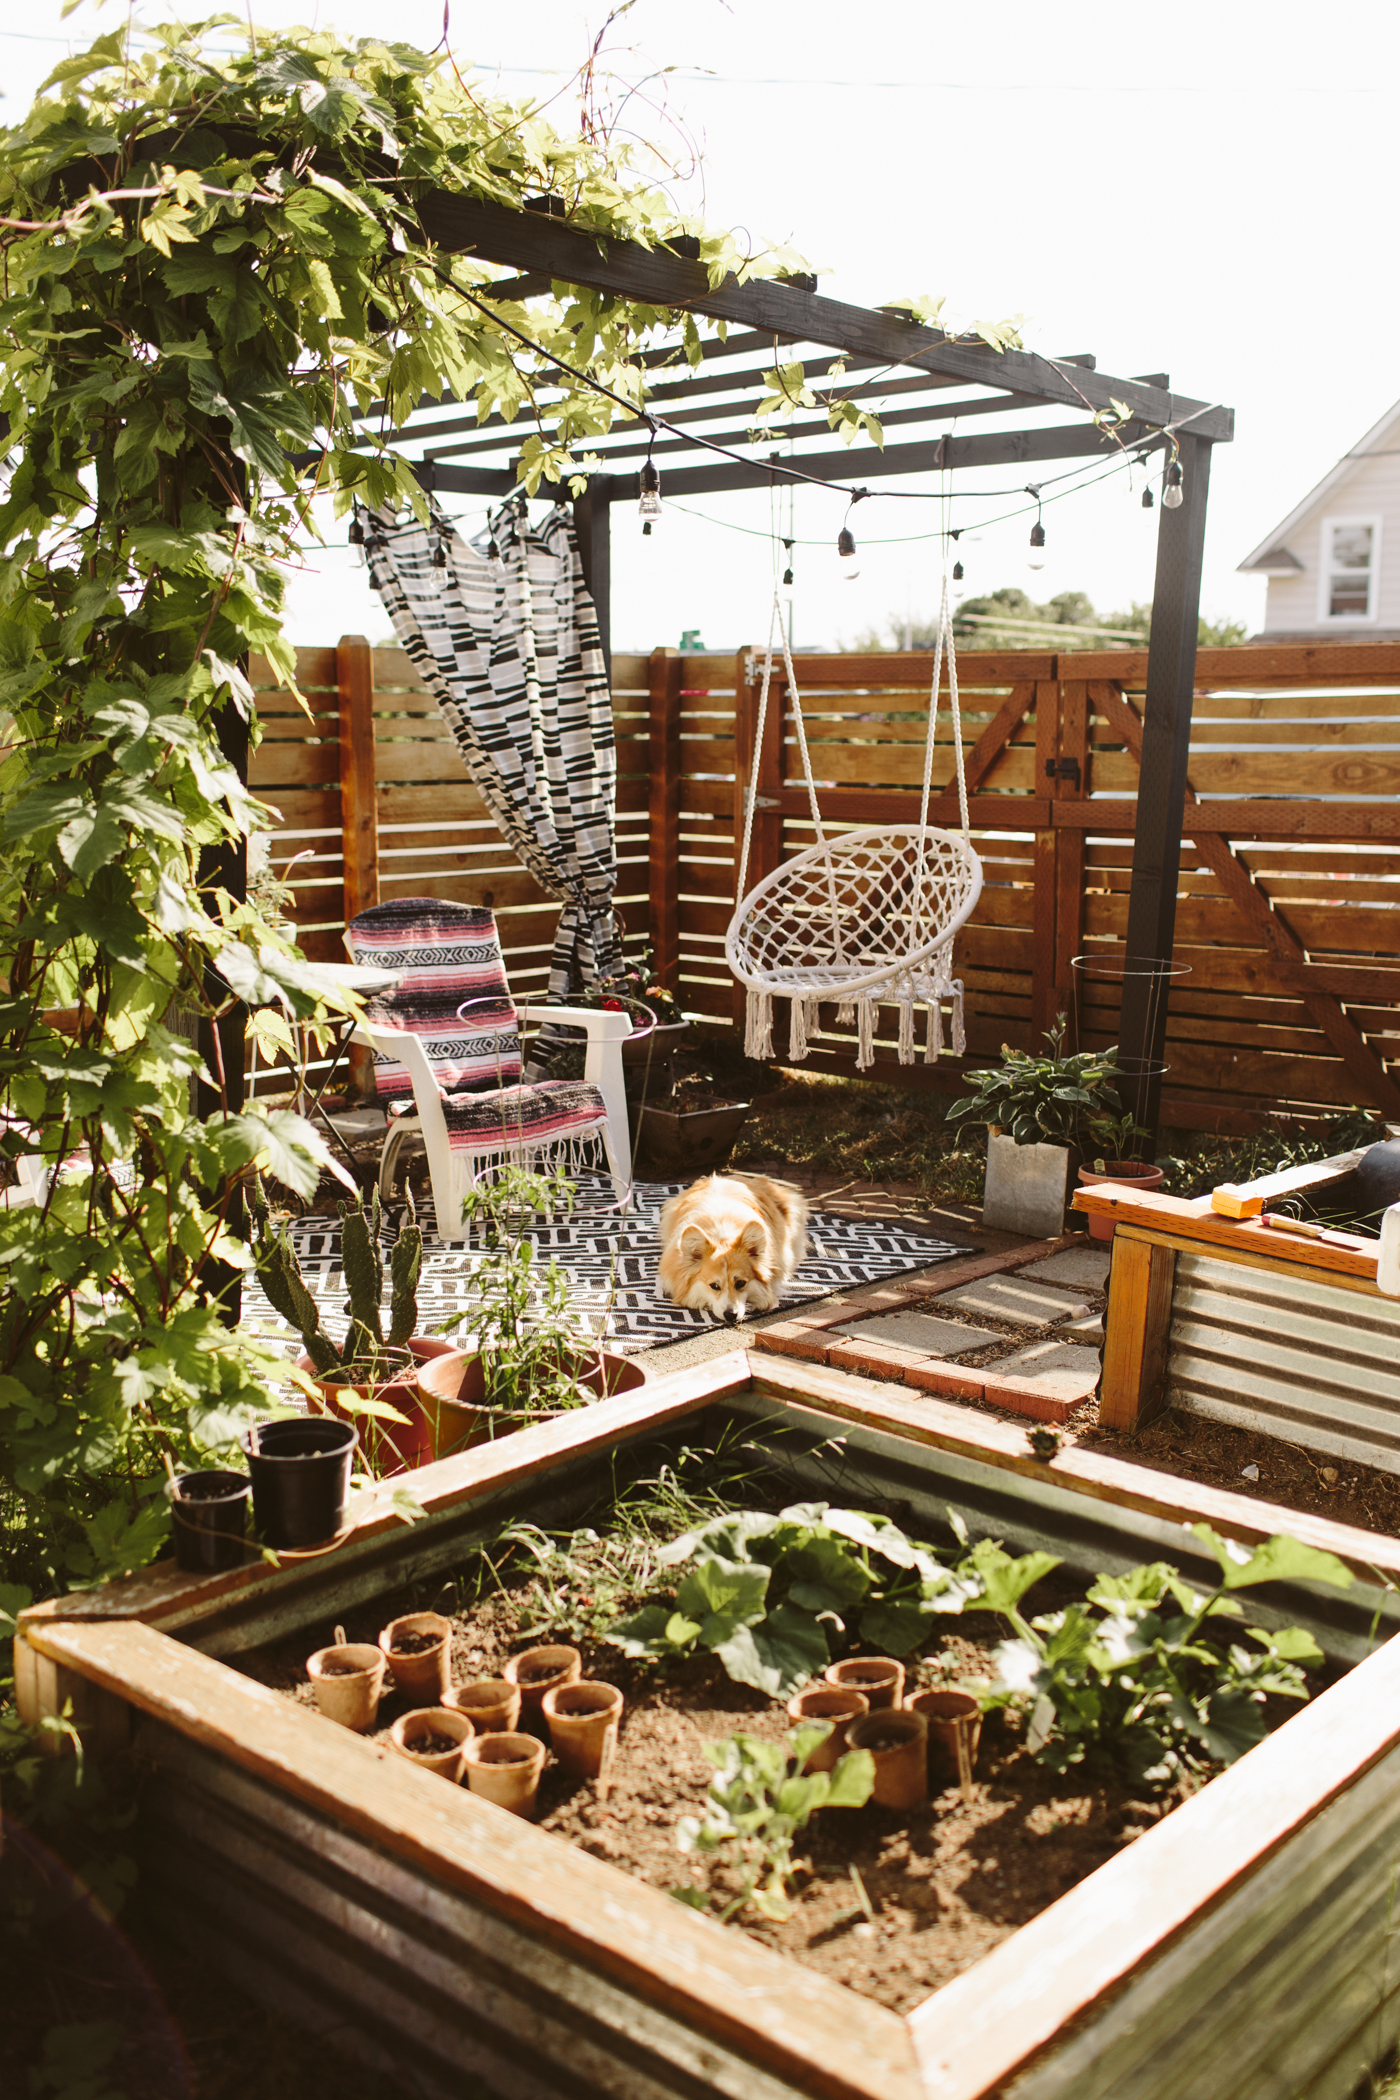
DIY Modern Pergola Tutorial for under $100
I've wanted a pergola in our side yard for quite a while. First of all, we've got these hops that grow like mad and I wanted somewhere for them to climb. Second of all, our side yard is on the south side of our home and it gets real hot over there, so I wanted something to cover the area a bit and provide shade. I saw a lovely, black, modern pergola at Target one day for like $450 and was not about to drop $450 on it, but wanted to create something similar and figured it'd be a pretty simple DIY. Lo and behold, it was!
What you'll need:
Skill Saw
Drill
3 in deck screws
2 10ft 2x4's
2 8ft 2x4s'
4 8ft 4x4's
8 8ft 2x2's
Paint/stain (optional)
01/ Lay your 4x4's down on the ground 10 feet apart and then lay the first 10ft 2x4 across them. Attach each end of the 2x4 to what will be the top end of the 4x4s using three screws. I pre-drilled all my screw holes with a bit slightly smaller than my screws just to ensure that I wouldn't split any of my wood.
02/ Once both sides of the 10ft 2x4 are screwed to the 4x4s, tilt it up to standing. If you have a pal or two helping you (which I recommend), they can hold it up while you build the next side, using the same process. If you have zero friends willing to help, you can be like me and do it alone, you'll just have to prop your two sides up by lashing them to sawhorses.
03/ Now that your long sides are up and finished, you can put them together with the two 8ft 2x4s. Using 3 screws on either end, screw the 8 ft 2x4s into the top end of the 4x4, but make sure the end of the 2x4 goes all the way to the side of your first 10ft 2x4s, otherwise your pergola will be too wide for the top 2x2 slats!
/04 Now that everything is connected, you can add the top slats. I just used one screw on each end of the 2x2s and screwed them into the top of the 10ft 2x4s.
05/ if you'd like to add more stabilization, you can put some diagonal 2x4s in each of the top corners. If you're not too worried about wind, you can leave it as is, as it's pretty heavy, but if you want it to be more anchored, you can either dig holes for the legs to sit in and pour some concrete, or you can buy concrete pier blocks to screw your legs to for a little less permanent of an anchor.
I also chose to paint mine black to match the exterior of our house, so you could either paint yours or stain it to preserve the wood.

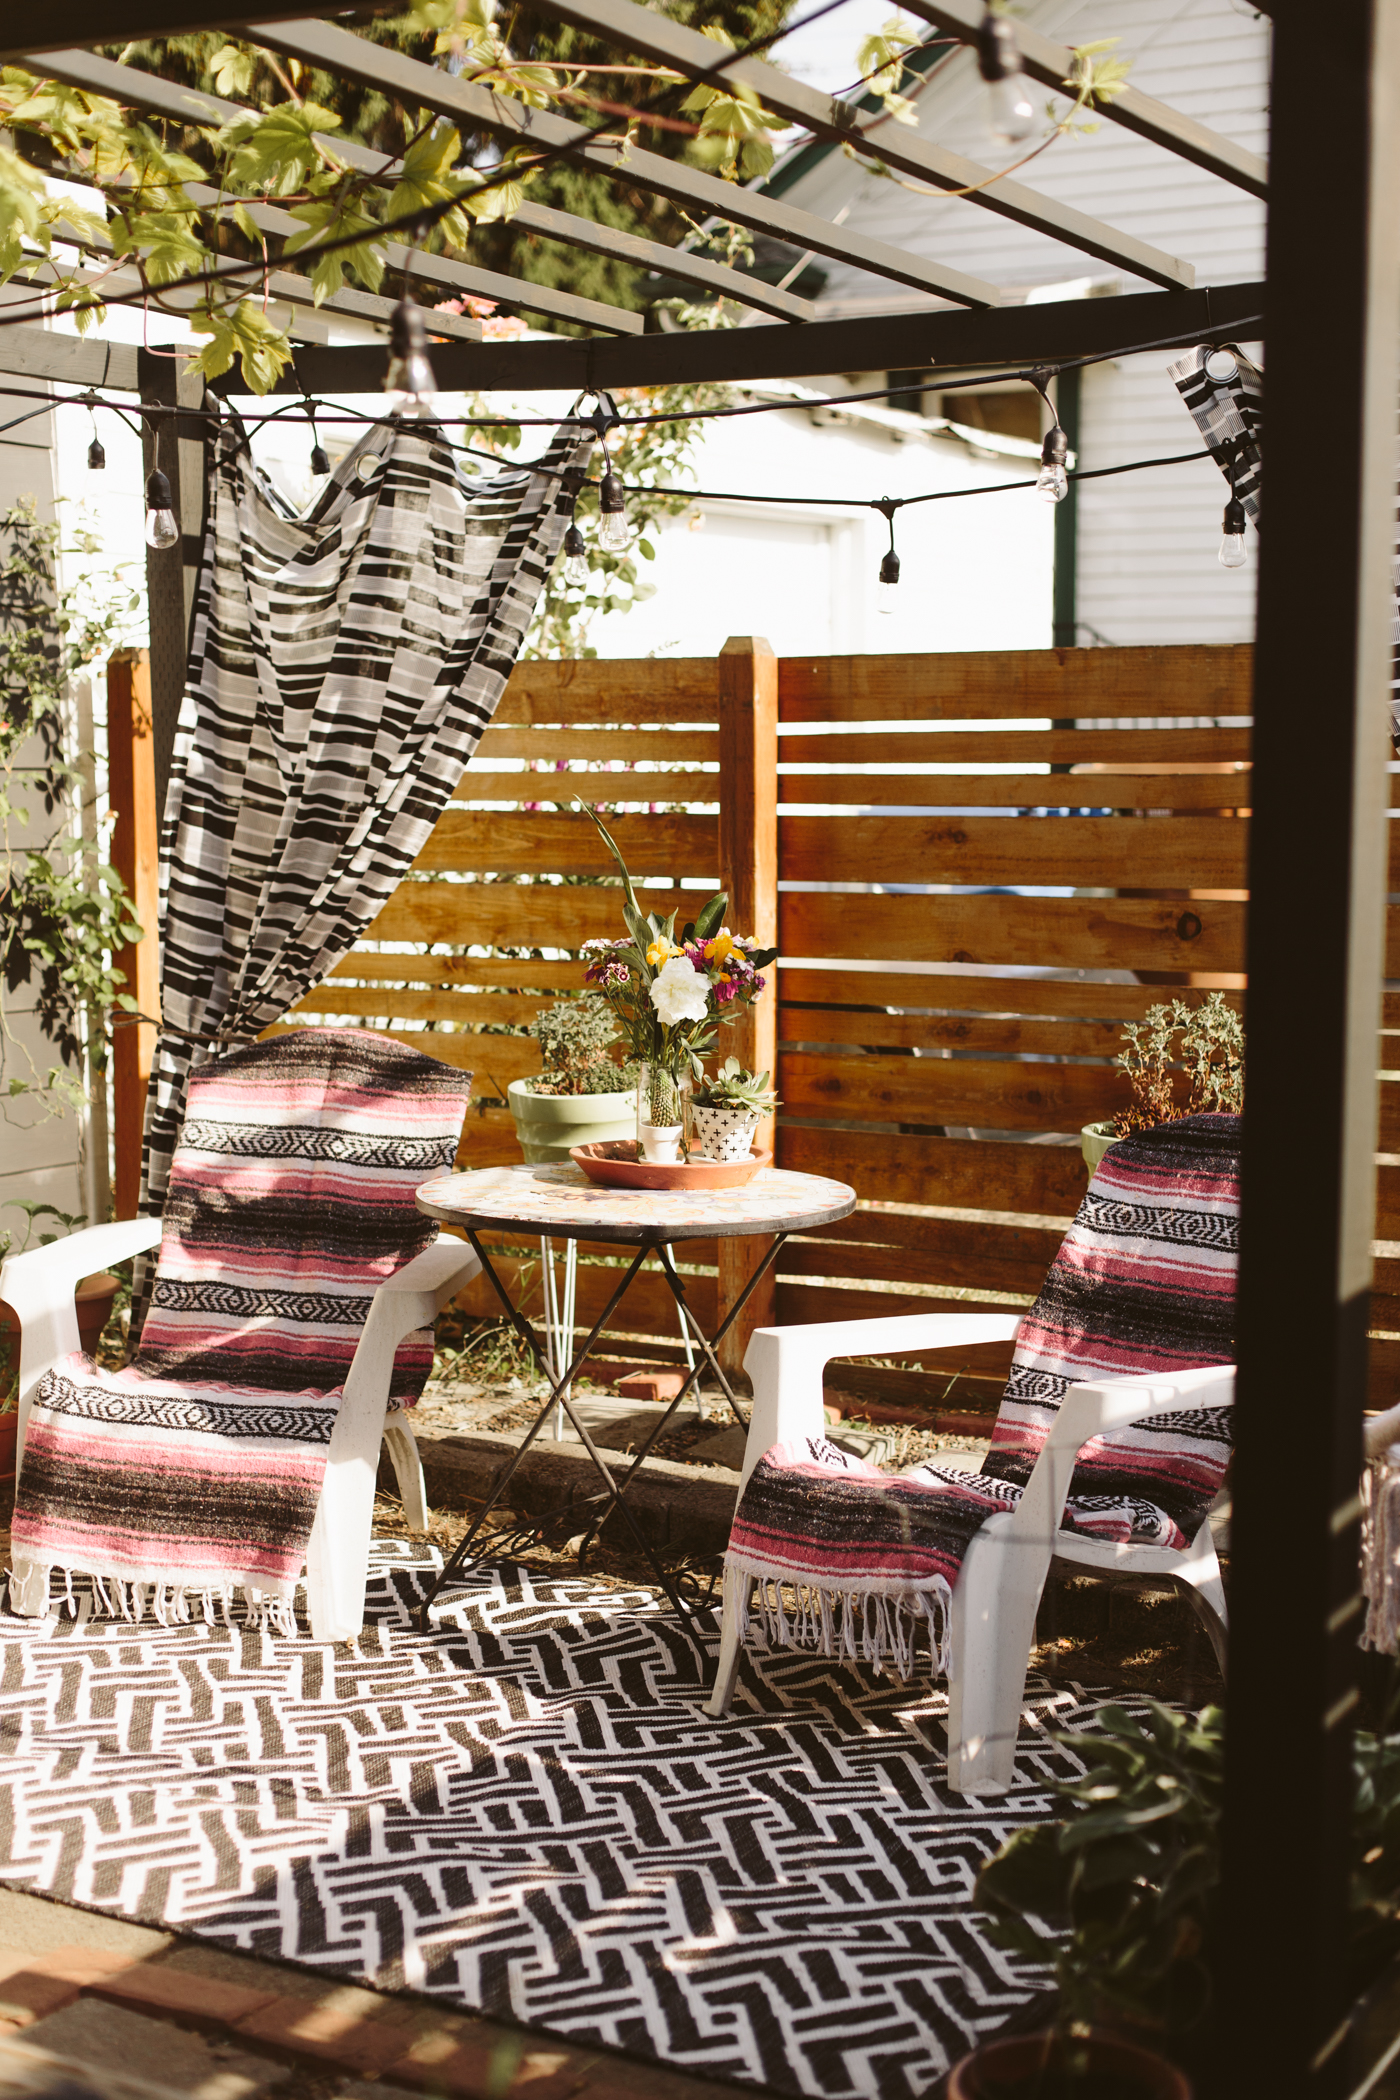
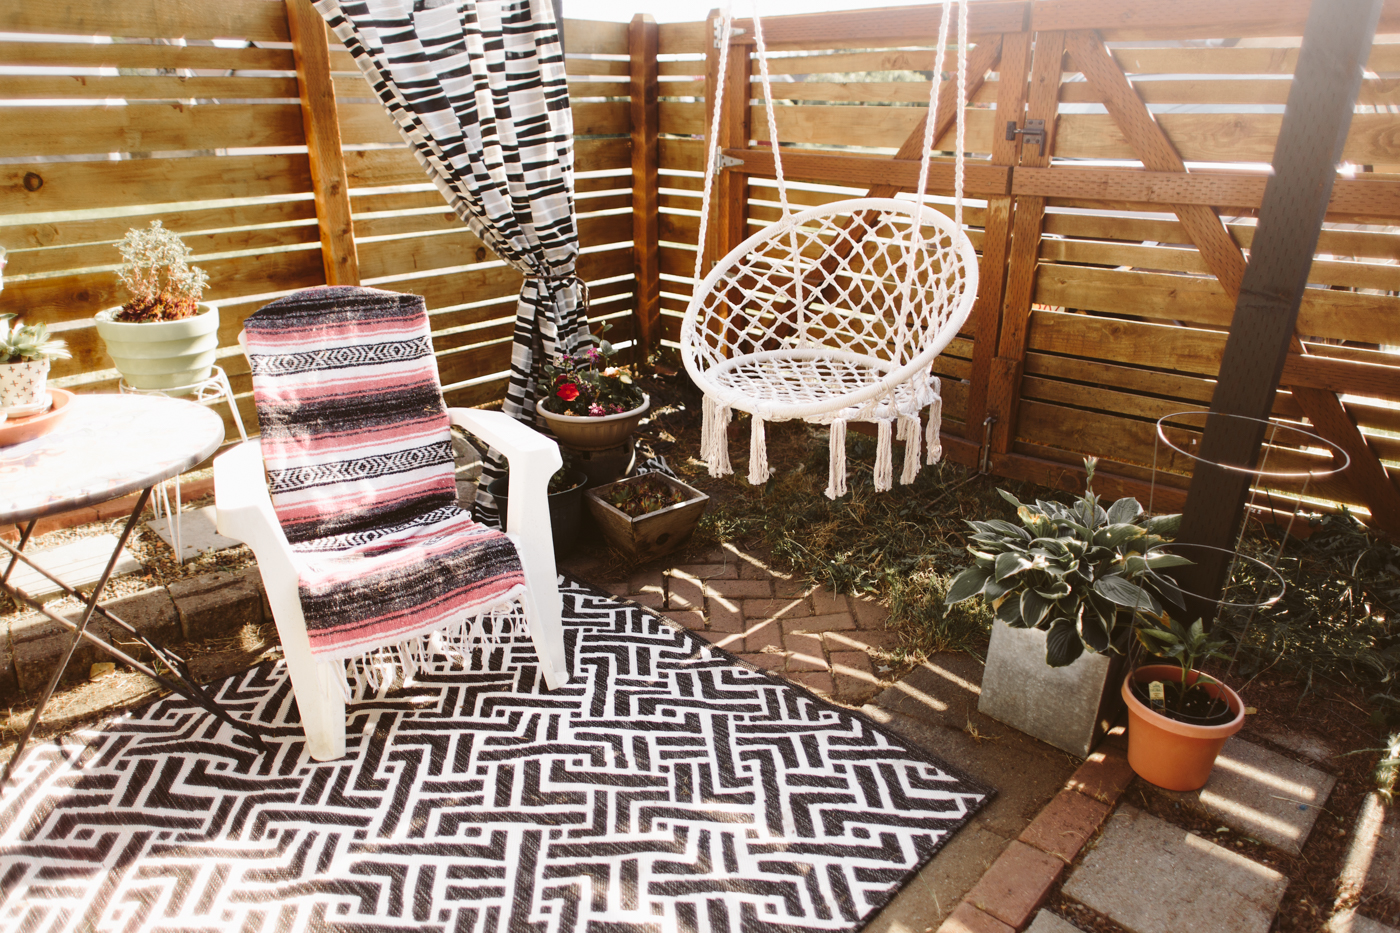

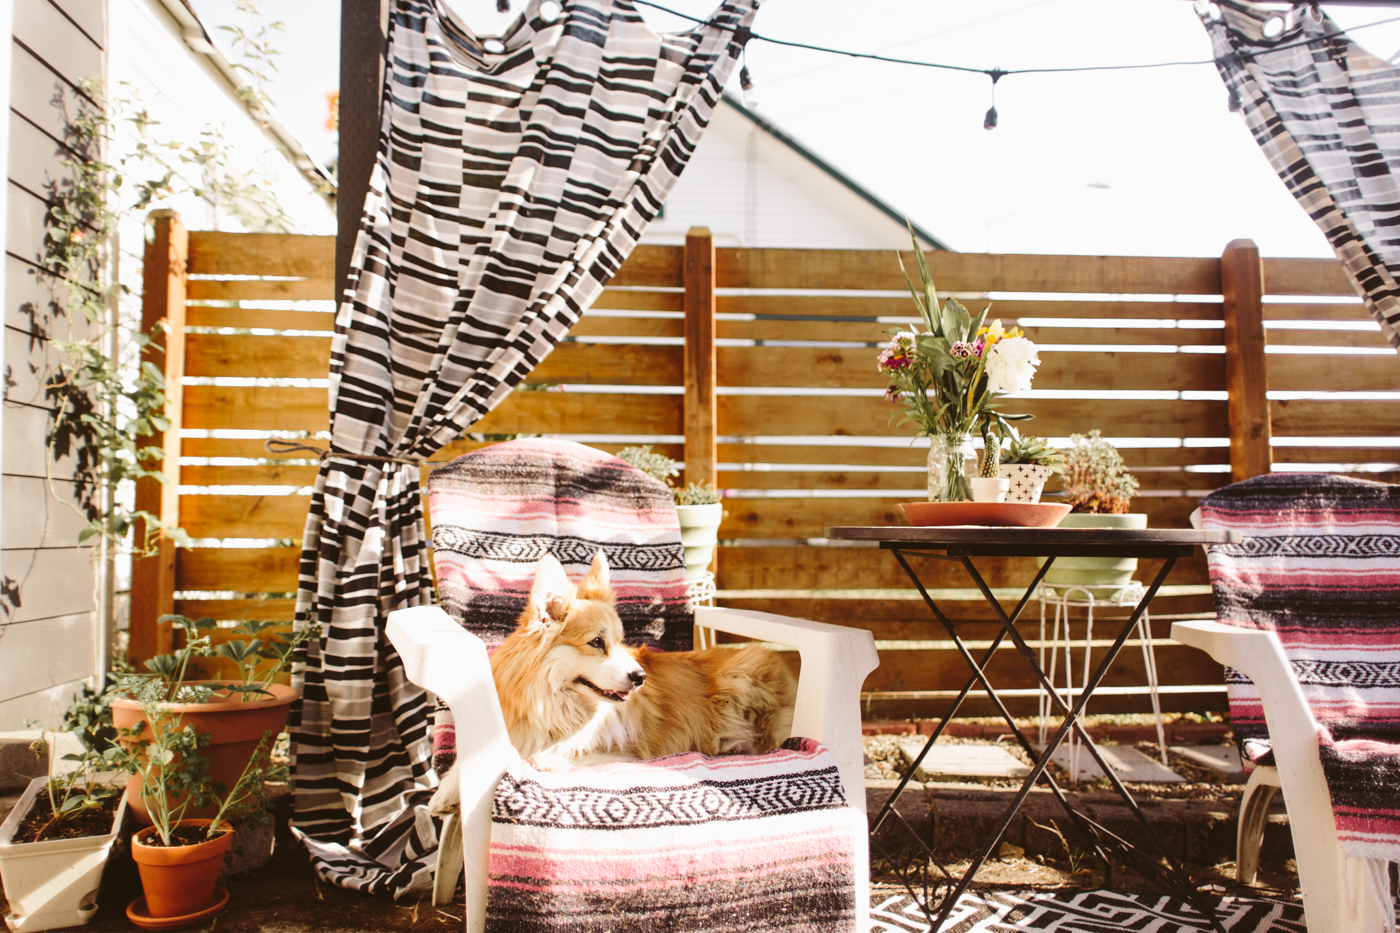
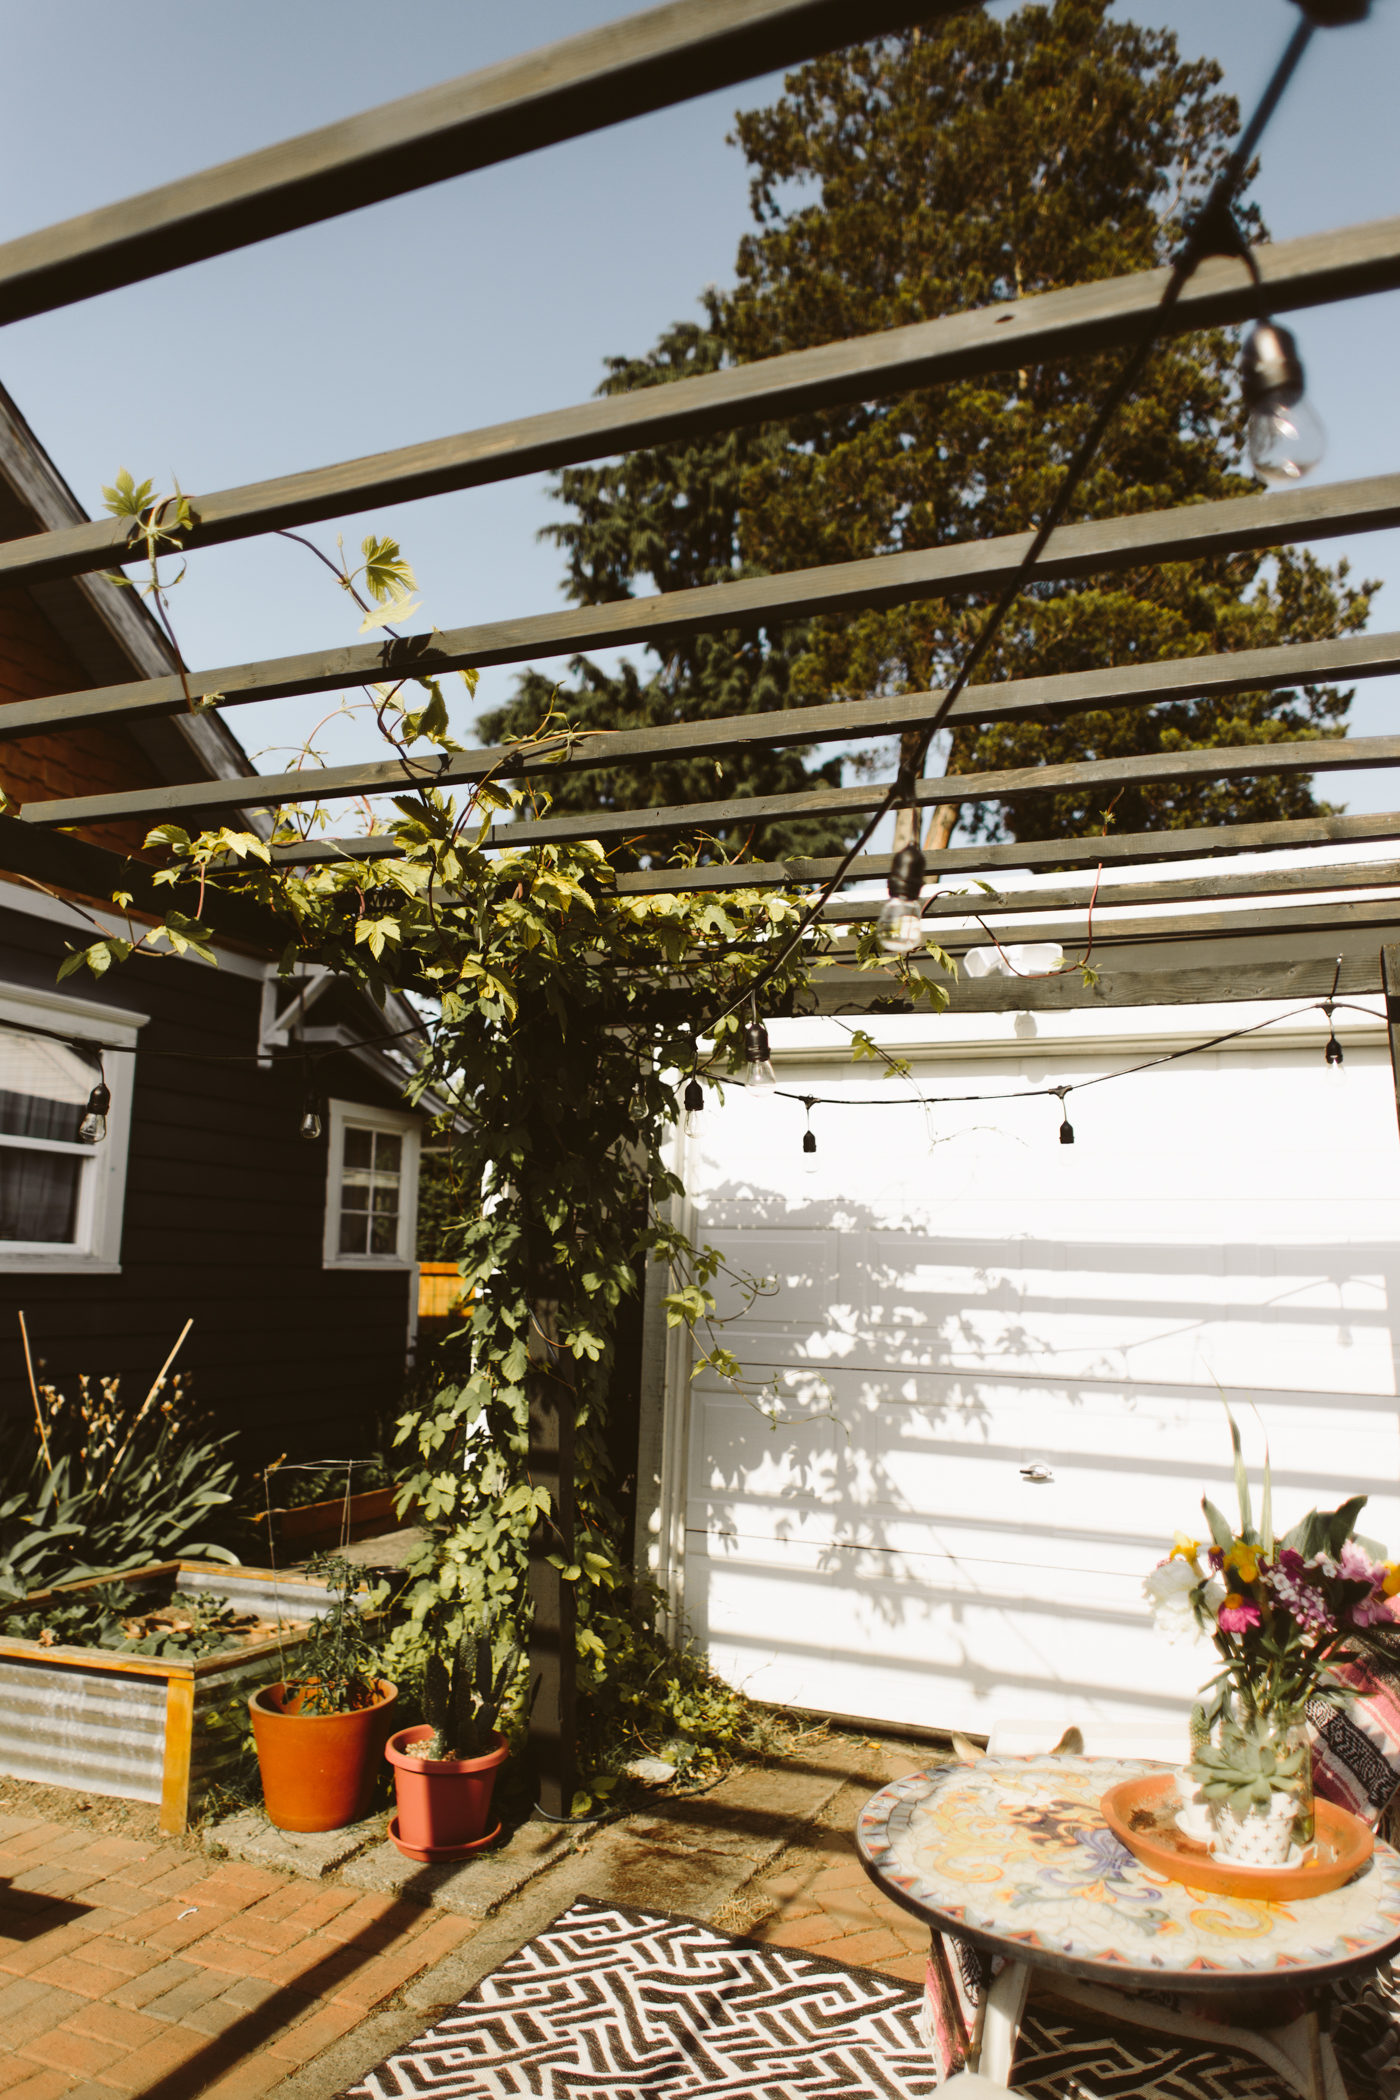
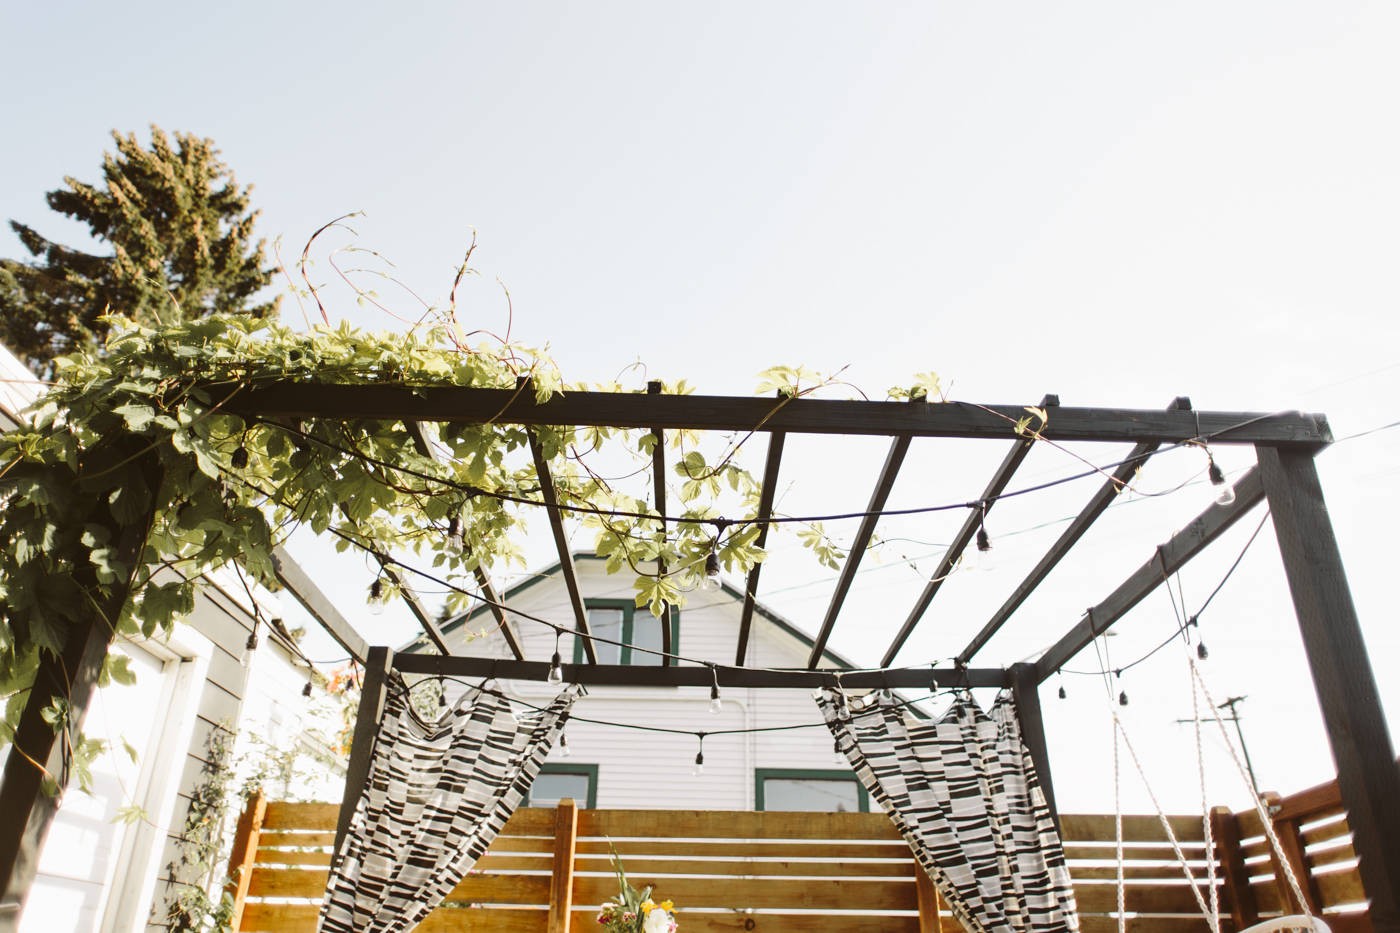
Rug : Target | Adirondack Chairs : Fred Meyer
Cafe Lights : Costco | Hanging Macrame Chair : Sorbus
You might also like
Hi, I’m Liz
I'm an artist, writer, designer, DIY renovator, and … well basically I like to do all the things. If it’s creative I’m probably doing it. I’ve spent over 30 years voraciously pursuing a life steeped in creativity and I wholeheartedly believe creativity and joy are inextricably linked.
Read more…
Explore The Archive
- January 2026
- July 2025
- May 2025
- January 2025
- December 2024
- August 2024
- July 2024
- May 2024
- April 2024
- January 2024
- December 2023
- October 2023
- September 2023
- July 2023
- June 2023
- May 2023
- April 2023
- March 2023
- February 2023
- January 2023
- December 2022
- November 2022
- October 2022
- August 2022
- June 2022
- May 2022
- April 2022
- March 2022
- November 2021
- October 2021
- August 2021
- July 2021
- May 2021
- January 2021
- November 2020
- October 2020
- September 2020
- August 2020
- July 2020
- June 2020
- May 2020
- April 2020
- February 2020
- January 2020
- November 2019
- October 2019
- August 2019
- July 2019
- June 2019
- May 2019
- April 2019
- February 2019
- January 2019
- December 2018
- November 2018
- October 2018
- September 2018
- August 2018
- July 2018
- June 2018
- May 2018
- April 2018
- February 2018
- January 2018
- November 2017
- September 2017
- August 2017
- July 2017
- June 2017
- May 2017
- April 2017
- March 2017
- February 2017
- January 2017
- December 2016
- November 2016
- October 2016
- September 2016
- August 2016
- June 2016
- May 2016
- April 2016
- March 2016
- February 2016
- January 2016
- December 2015
- November 2015
- October 2015
- September 2015
- August 2015
- July 2015
- June 2015
- May 2015
- April 2015
- March 2015
- February 2015
- January 2015
- December 2014
- November 2014
- October 2014
- September 2014
- August 2014
- July 2014
- June 2014
- May 2014
- April 2014
- March 2014
- February 2014
- January 2014
- December 2013
- November 2013
- October 2013
- September 2013
- August 2013
- July 2013
- June 2013
- May 2013
- April 2013
- March 2013
- February 2013
- January 2013
- December 2012
- November 2012
- October 2012
- September 2012
- August 2012
- July 2012
- June 2012
- May 2012
- April 2012
- March 2012
- February 2012
- January 2012
- December 2011
- November 2011
- October 2011
- September 2011
- August 2011
- July 2011
- June 2011
- May 2011
- April 2011
- March 2011
- February 2011
- January 2011
- December 2010
- November 2010
- October 2010
- September 2010
- August 2010
- July 2010
- June 2010
- May 2010
- April 2010
- March 2010
- February 2010
- January 2010
- December 2009
- November 2009
- October 2009
- September 2009
- August 2009
- July 2009
- June 2009
- May 2009
- April 2009
- March 2009
- February 2009
- January 2009
- December 2008
- November 2008
- October 2008
- September 2008
- August 2008
- July 2008
VISIT THE SHOP
PRIVACY POLICY & DISCLOSURE
We are a participant in the Amazon Services LLC Associates Program, an affiliate advertising program designed to provide a means for us to earn fees by linking to Amazon.com and affiliated sites.


