
gold in them thar hills





Hexagon Painted Wall Mural Tutorial | Tacoma Mural Artist
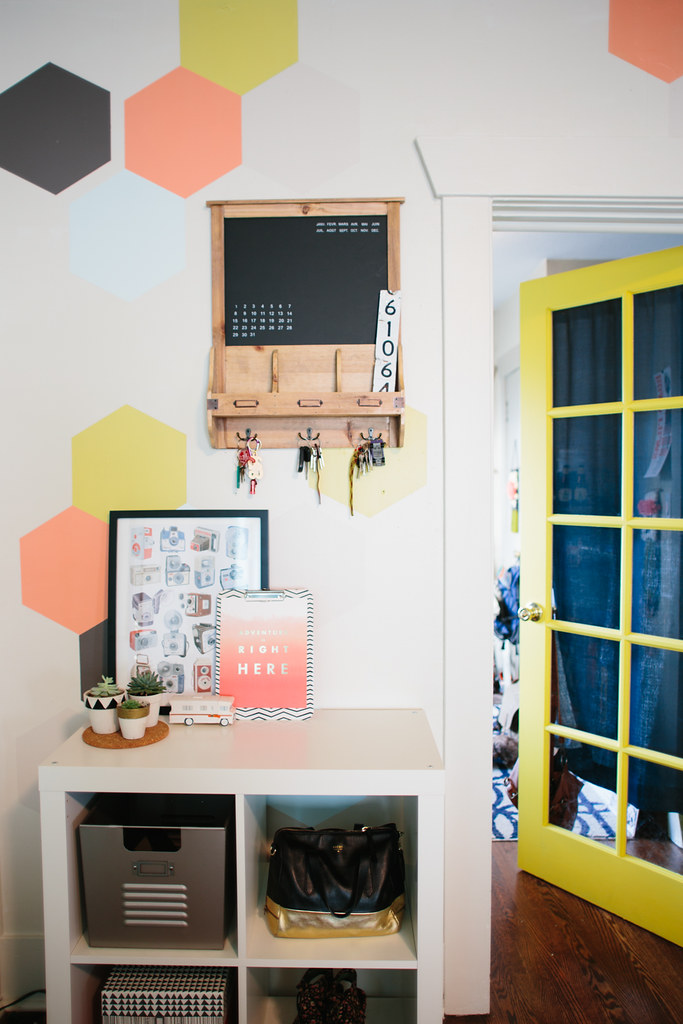

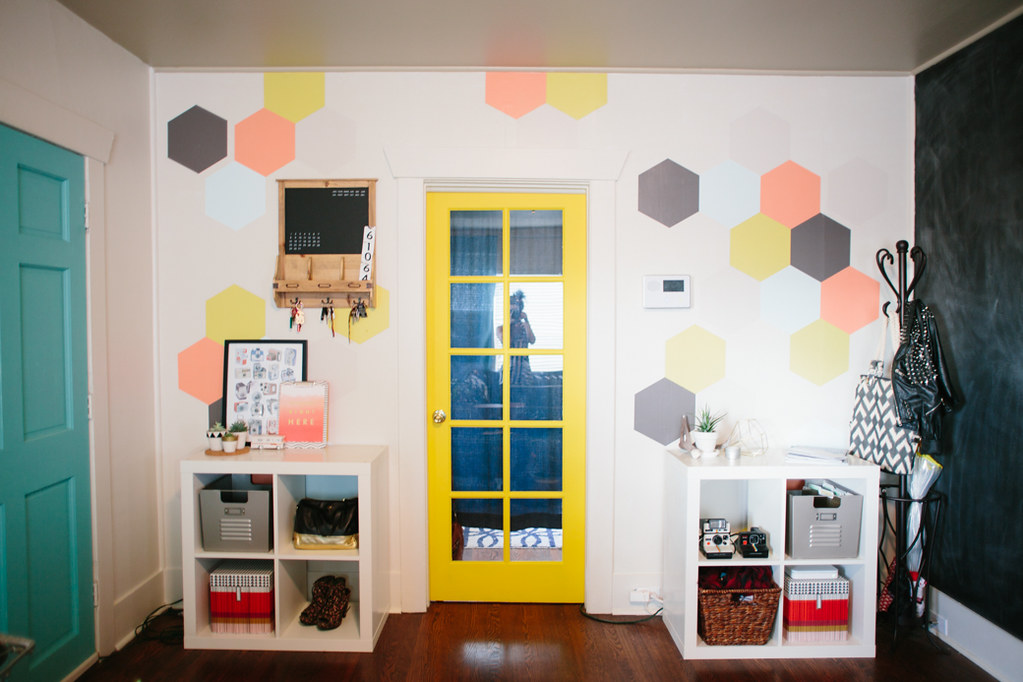
've been painting my living room slowly over the last year and a half. The first thing I did was paint two of the walls white, then I painted my big chalkboard wall, but I still had one wall left. It was still the boring, dingy beige that was there when we moved in. I knew I wanted some kind of pattern or statement, but nothing too crazy because I already had a huge black wall. When
and
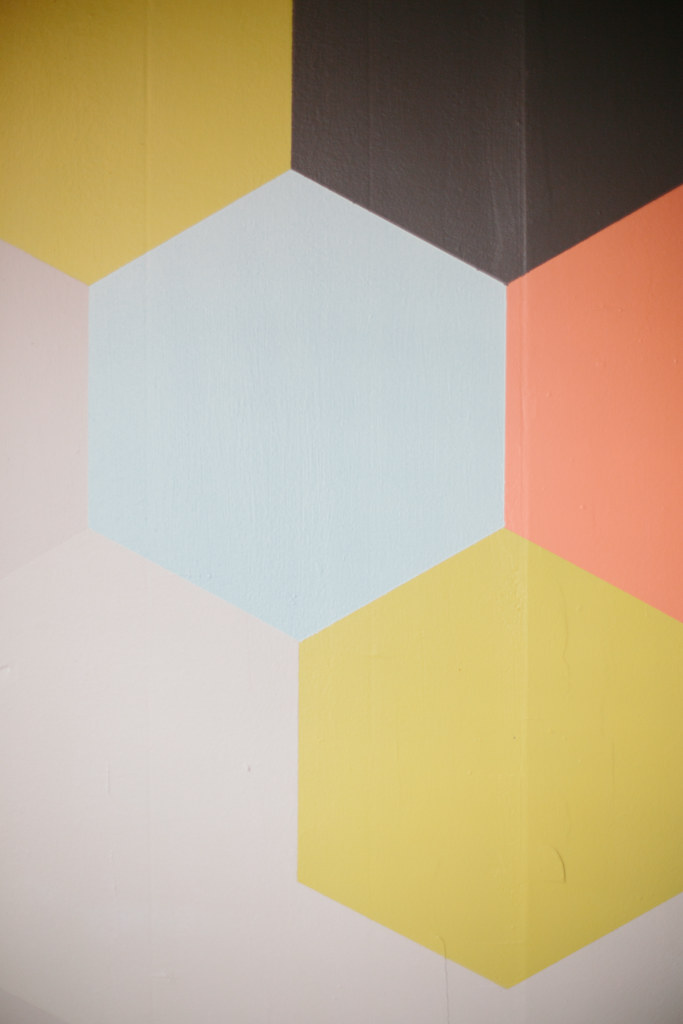
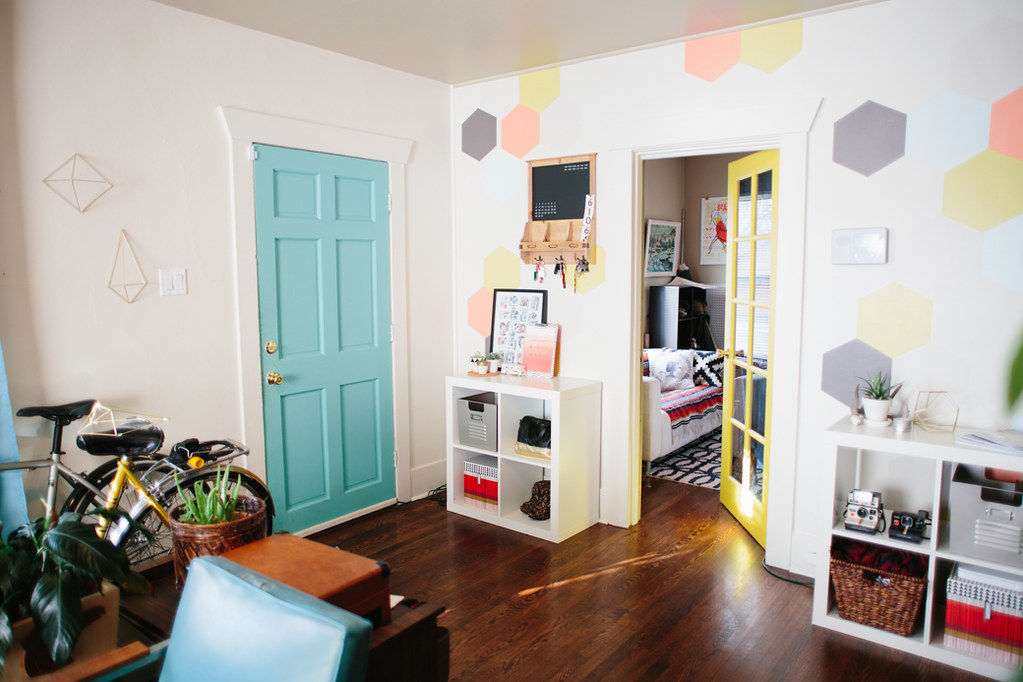
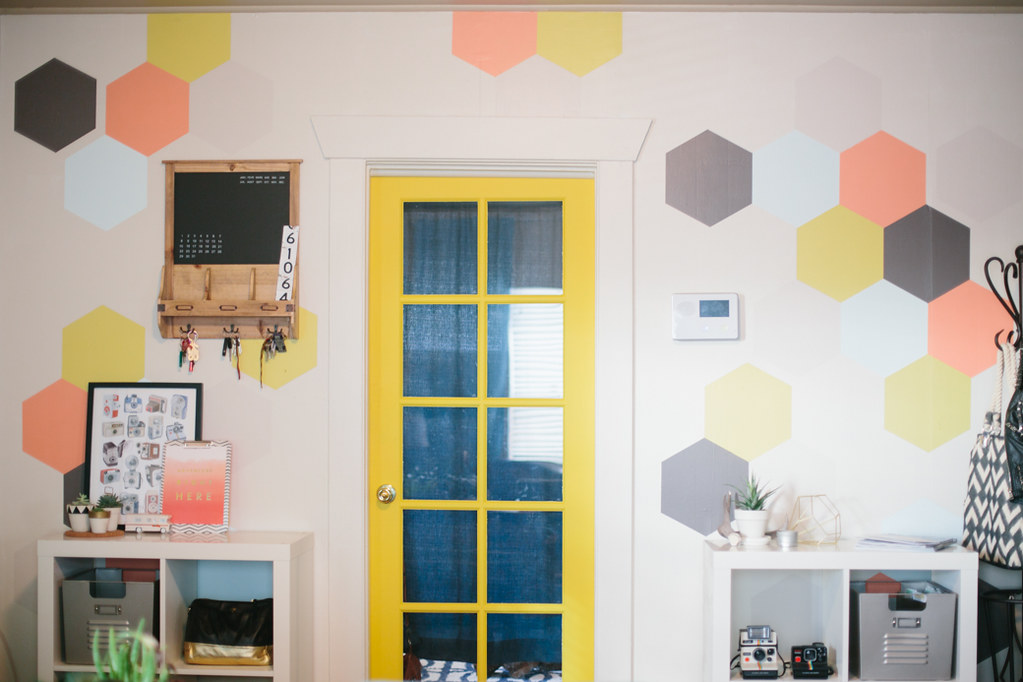
contacted me seeing if I'd be interested in doing a painting project in collaboration with them, I knew this was the perfect time to finally finish my living room! I love how it turned out! It's clean and neat, and a statement but not visually overwhelming. I picked some muted, pastel
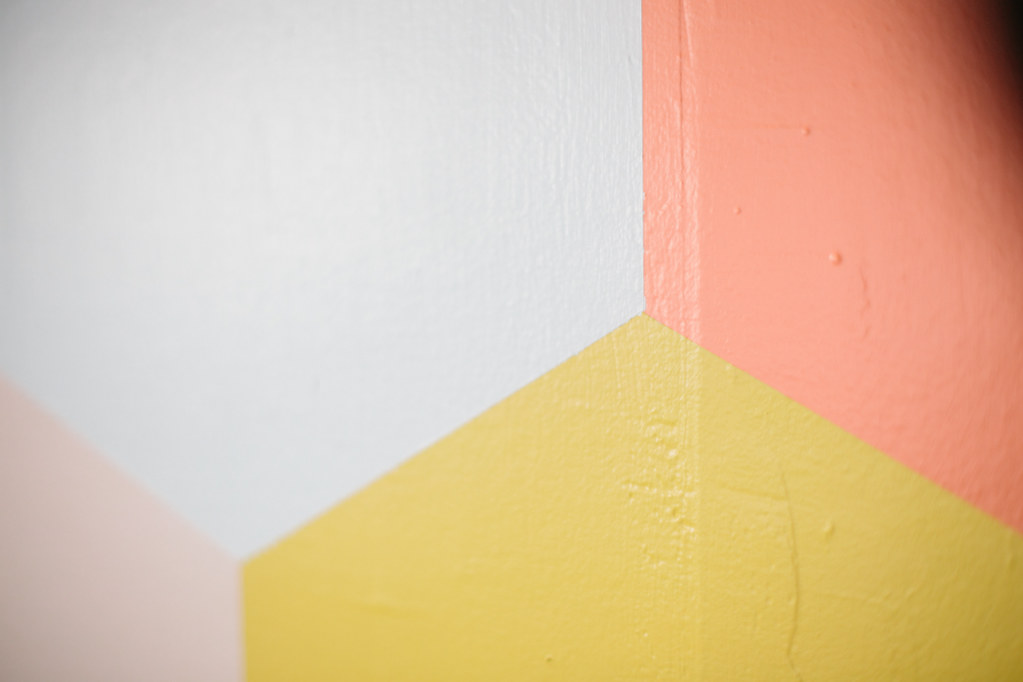
colors so it wasn't too bold. I'd already painted the door bright yellow so I wasn't sure if the muted colors would clash, but I love how the door stands out and is still in the same color family as the yellow hexagons.
MATERIALS NEEDED:
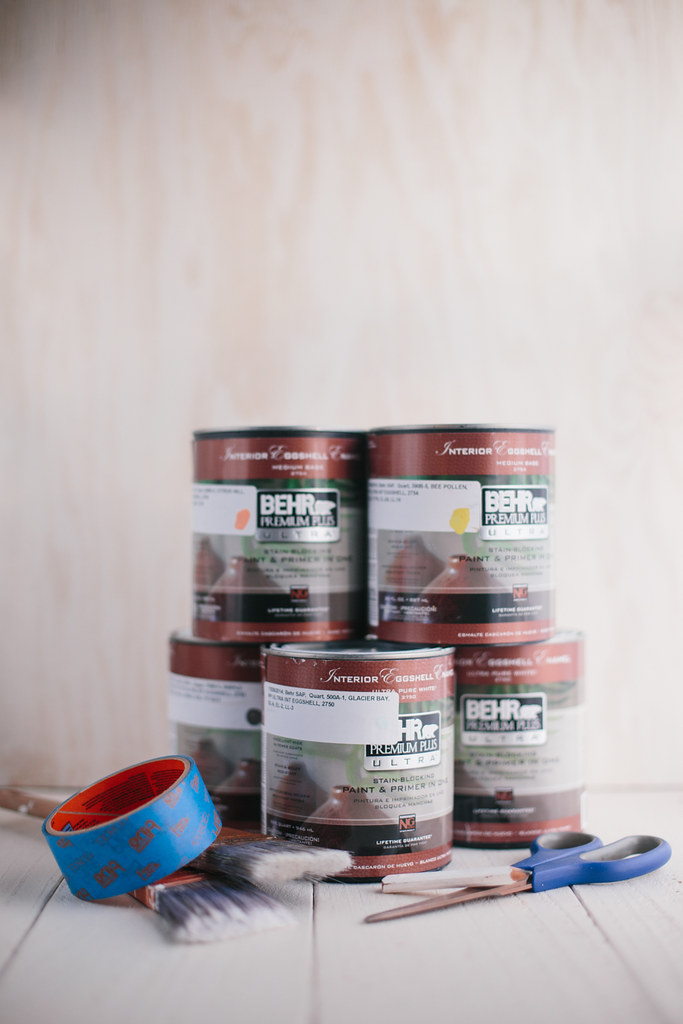
Behr® Premium Plus Ultra™ Paint
- I used: I used: Glacier Bay #500A-1, Citrus Hill #200B-4, Bee Pollen #390B-5, Chocolate Froth #720C-2, and Simple Silhouette #790B-5
Pro
Scissors
Pencil
Cardboard
DIRECTIONS:
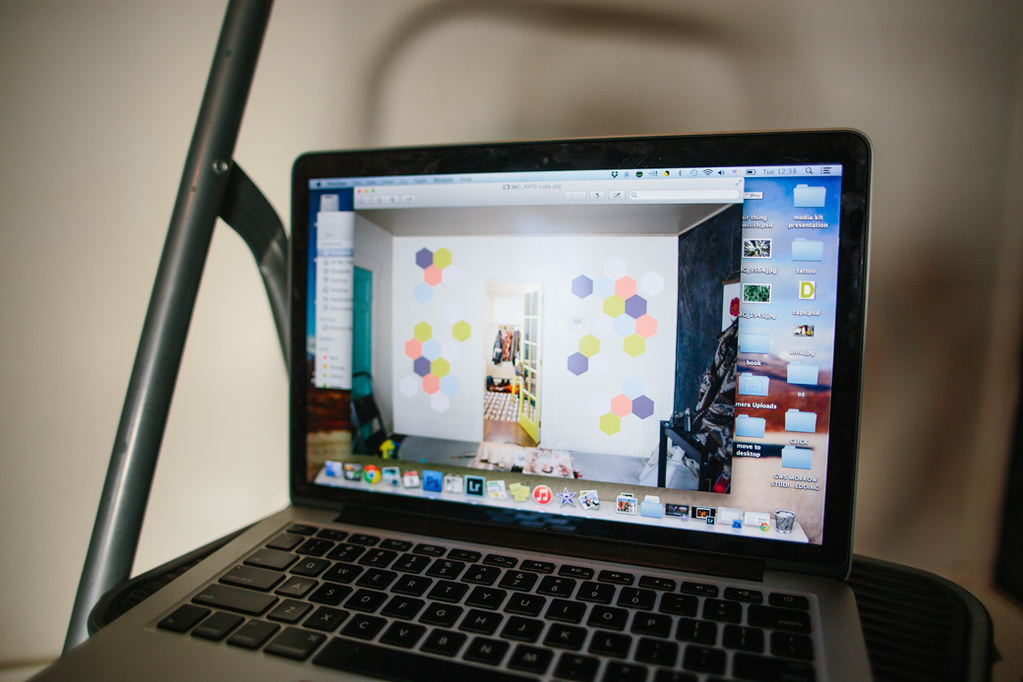
1. Decide on your pattern. I used photoshop to mock up how I wanted my design to look on the wall and which colors would go in each hexagon. This also helped determine how big I wanted to make my hexagon template.
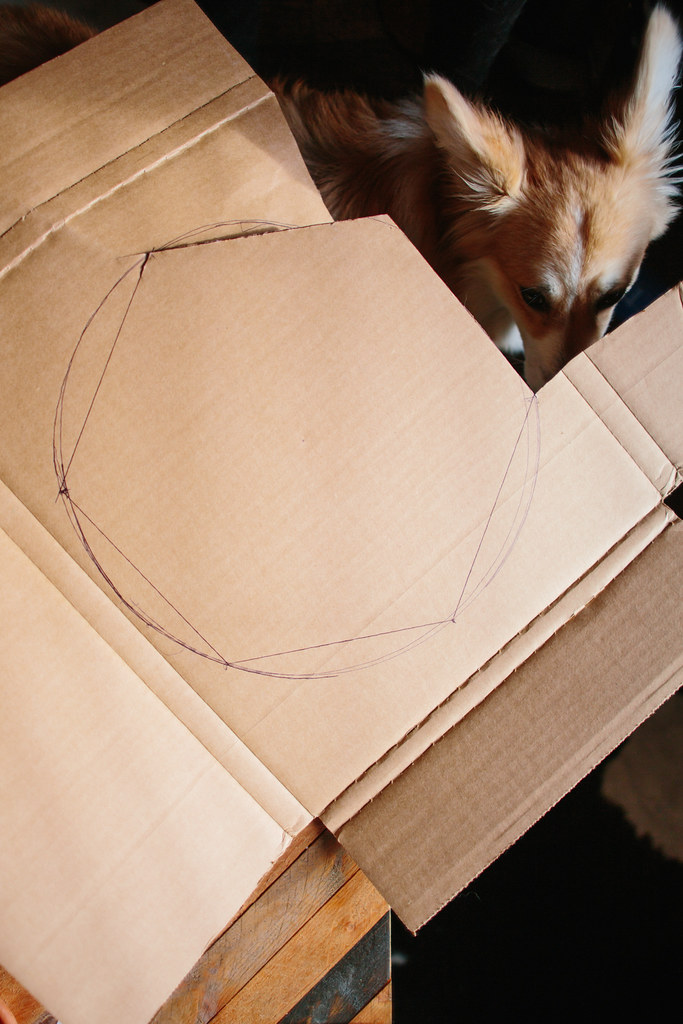
2. Create your hexagon template. It's pretty easy to make a hexagon, but you'll want to make sure it's pretty close to perfect so that your pattern doesn't get wonky. I used
this super easy little tutorial
with a makeshift compass. My hexagon ended up being 13 inches from tip to opposite tip (diameter of the original circle drawn). Cut the template out of some cardboard or other sturdy material to trace around.
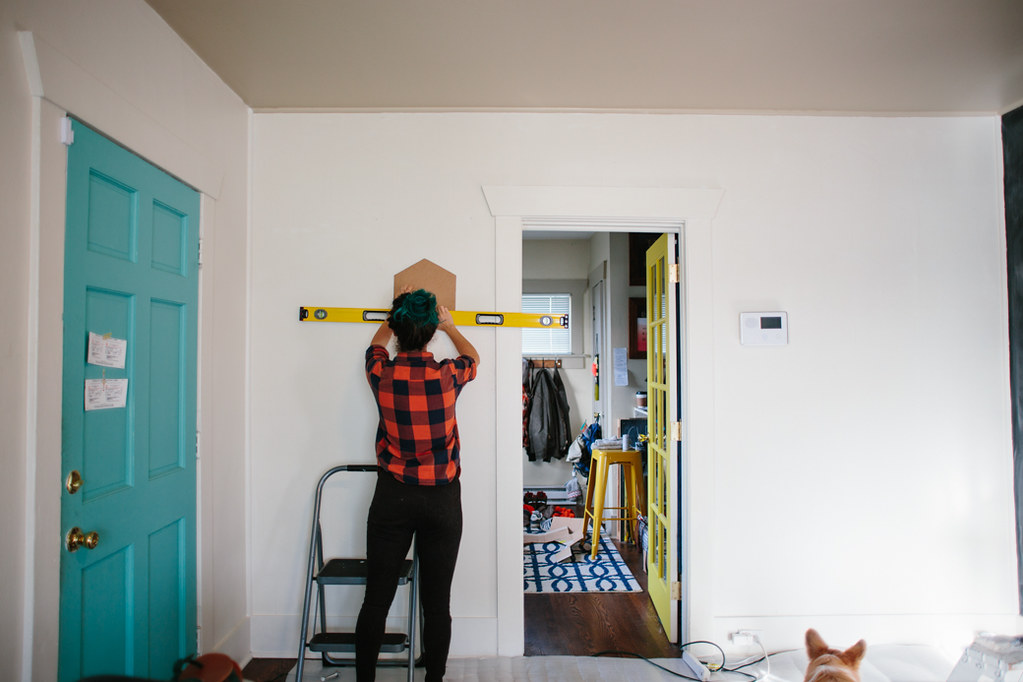
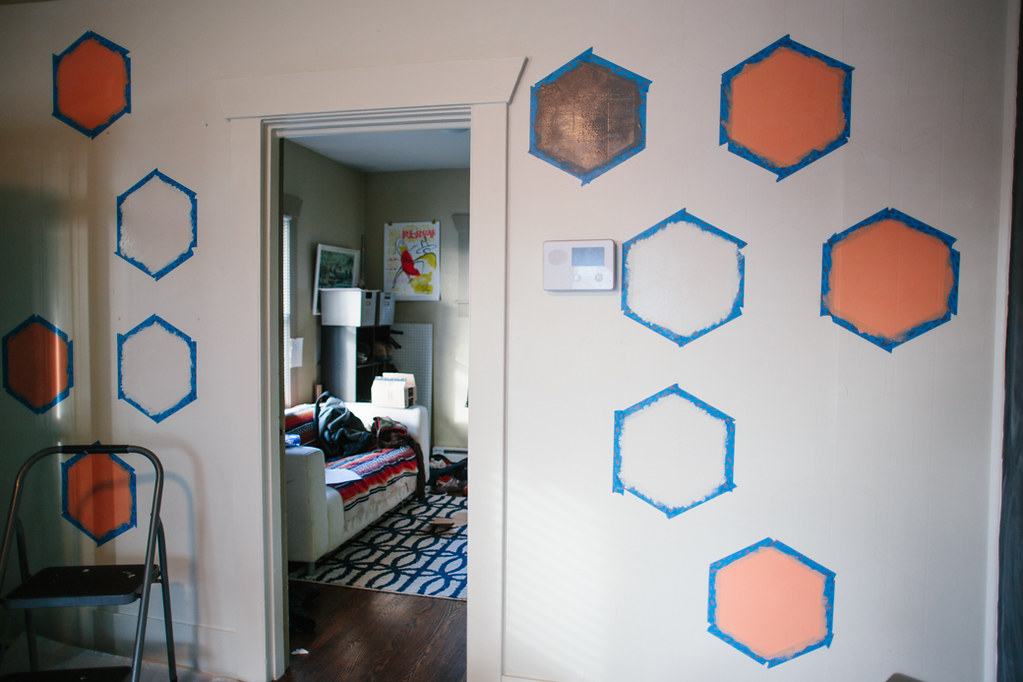
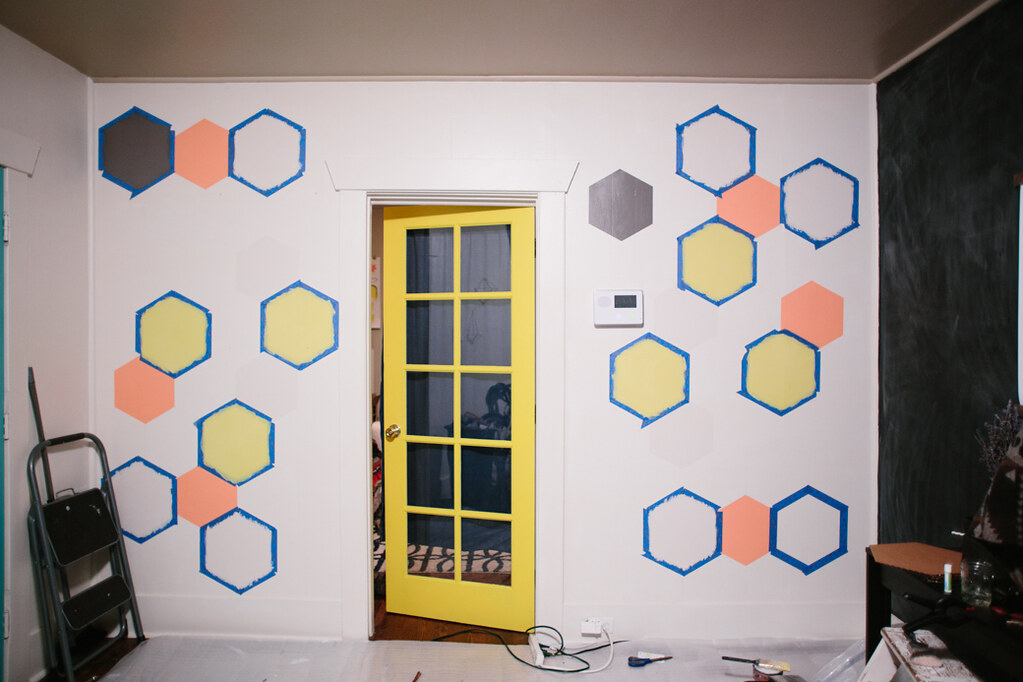
3. Draw the outlines to the hexagons using a pencil. Make sure your hexagons are level. I leveled the first one and then outlined about 4 or 5 and checked the level again, just to make sure I wasn't getting off level. In each hexagon I lightly wrote the color that would be painted inside.
4. Using your
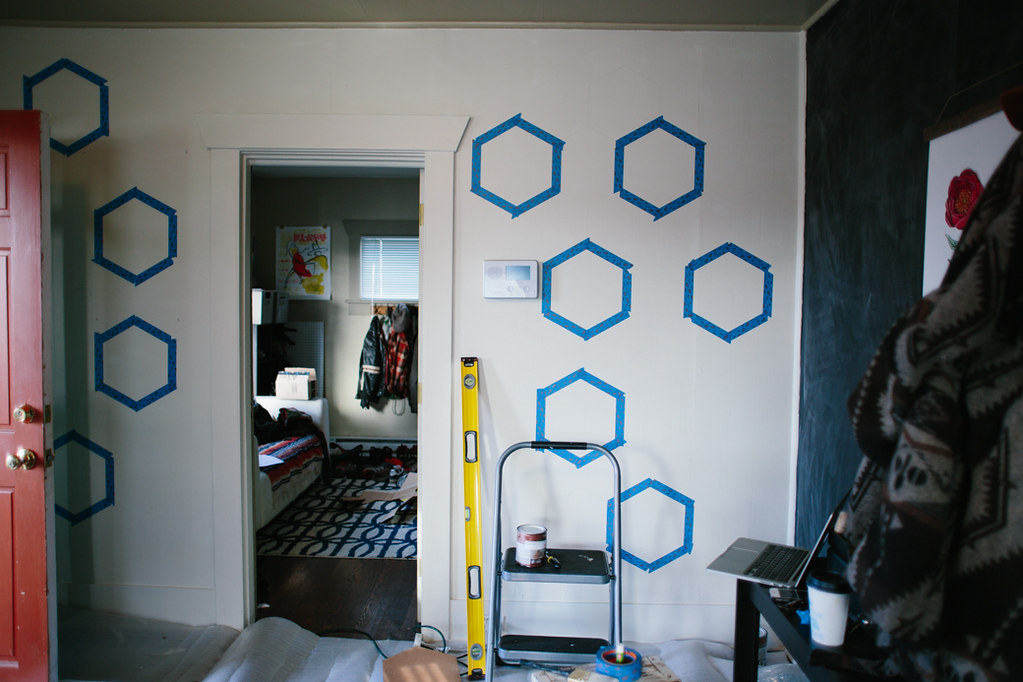
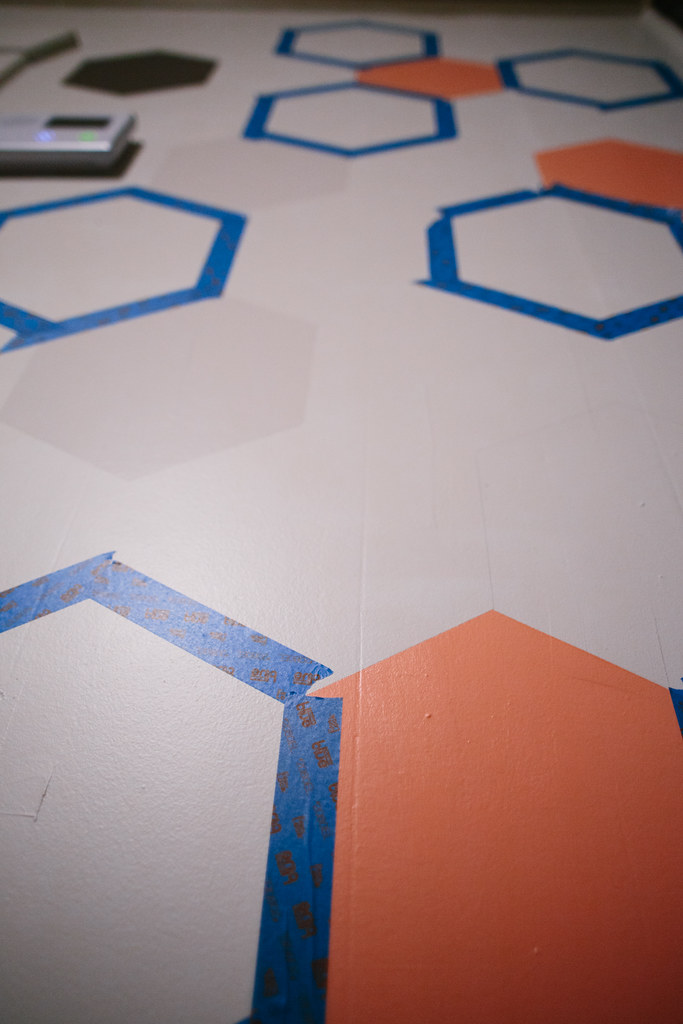
, outline the hexagons that aren't directly next to each other. Since these hexagons are directly butting up against each other, you'll have to wait for the paint to dry so you can mask off the one next to it. I masked as many hexagons as possible and painted the color that was written inside using my Behr paint. Each hexagon got two coats of paint.
5. Because I had to wait for each hexagon to dry before taping the one next to it, this project took a little longer, but I'm super happy with how it looks. As soon as I painted the second coat on a hexagon I'd remove the tape and allow it to dry. This project took three days to complete with the time required to wait for paint to dry. I let the paint dry about 2 hours between coats, as recommended by
.
I have to say I was skeptical about how good the Edgelock tape would
really
be in comparison to the regular painters tape I usually use, but I was super happy with how precise my edges were. I didn't have to fix any leaks and the edges were
so
sharp and clean. I used the
Delicate Surface Painter's Tape
, but
has
the right tape for your project surface.

I am proud to be a 3M, Behr®, and Wooster® - sponsored blogger, and, as part of my responsibilities, I get the opportunity to evaluate products. Opinions are my own and additional product used in the project were selected by me. Thanks for supporting those companies that keep Delightfully Tacky alive and kicking!


five homemade christmas treats!







the molinaro family // university place family photographer





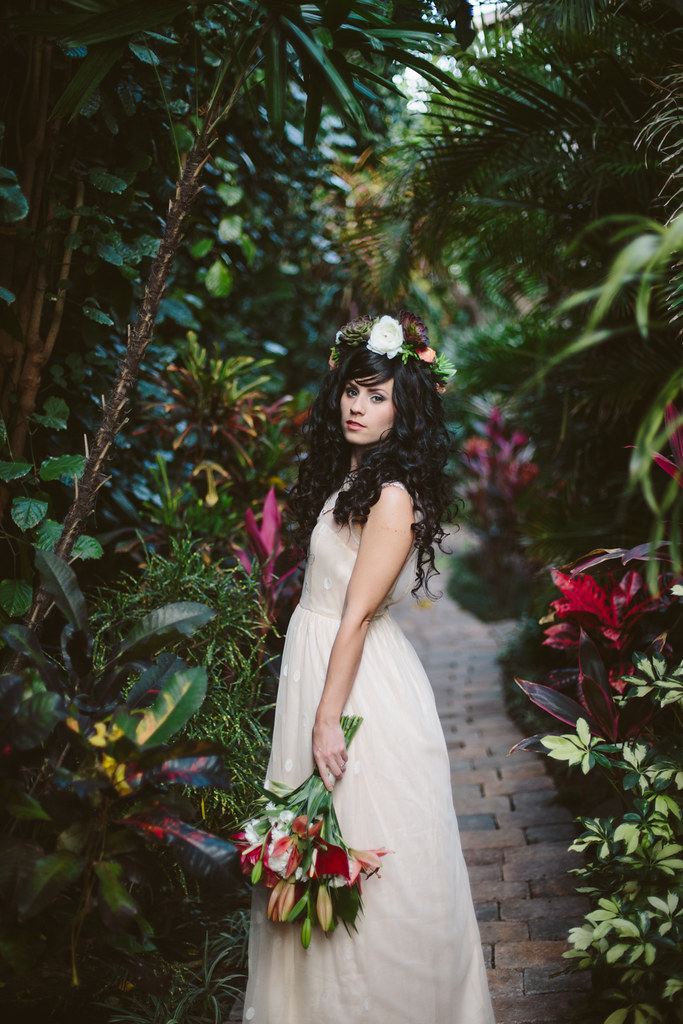
WED // tropical kihei maui bridal inspiration







Hi, I’m Liz
I'm an artist, writer, designer, DIY renovator, and … well basically I like to do all the things. If it’s creative I’m probably doing it. I’ve spent over 30 years voraciously pursuing a life steeped in creativity and I wholeheartedly believe creativity and joy are inextricably linked.
Read more…






Explore The Archive
- October 2026
- May 2026
- January 2026
- July 2025
- May 2025
- January 2025
- December 2024
- August 2024
- July 2024
- May 2024
- April 2024
- January 2024
- December 2023
- October 2023
- September 2023
- July 2023
- June 2023
- May 2023
- April 2023
- March 2023
- February 2023
- January 2023
- December 2022
- November 2022
- October 2022
- August 2022
- June 2022
- May 2022
- April 2022
- March 2022
- November 2021
- October 2021
- August 2021
- July 2021
- May 2021
- January 2021
- November 2020
- October 2020
- September 2020
- August 2020
- July 2020
- June 2020
- May 2020
- April 2020
- February 2020
- January 2020
- November 2019
- October 2019
- August 2019
- July 2019
- June 2019
- May 2019
- April 2019
- February 2019
- January 2019
- December 2018
- November 2018
- October 2018
- September 2018
- August 2018
- July 2018
- June 2018
- May 2018
- April 2018
- February 2018
- January 2018
- November 2017
- September 2017
- August 2017
- July 2017
- June 2017
- May 2017
- April 2017
- March 2017
- February 2017
- January 2017
- December 2016
- November 2016
- October 2016
- September 2016
- August 2016
- June 2016
- May 2016
- April 2016
- March 2016
- February 2016
- January 2016
- December 2015
- November 2015
- October 2015
- September 2015
- August 2015
- July 2015
- June 2015
- May 2015
- April 2015
- March 2015
- February 2015
- January 2015
- December 2014
- November 2014
- October 2014
- September 2014
- August 2014
- July 2014
- June 2014
- May 2014
- April 2014
- March 2014
- February 2014
- January 2014
- December 2013
- November 2013
- October 2013
- September 2013
- August 2013
- July 2013
- June 2013
- May 2013
- April 2013
- March 2013
- February 2013
- January 2013
- December 2012
- November 2012
- October 2012
- September 2012
- August 2012
- July 2012
- June 2012
- May 2012
- April 2012
- March 2012
- February 2012
- January 2012
- December 2011
- November 2011
- October 2011
- September 2011
- August 2011
- July 2011
- June 2011
- May 2011
- April 2011
- March 2011
- February 2011
- January 2011
- December 2010
- November 2010
- October 2010
- September 2010
- August 2010
- July 2010
- June 2010
- May 2010
- April 2010
- March 2010
- February 2010
- January 2010
- December 2009
- November 2009
- October 2009
- September 2009
- August 2009
- July 2009
- June 2009
- May 2009
- April 2009
- March 2009
- February 2009
- January 2009
- December 2008
- November 2008
- October 2008
- September 2008
- August 2008
- July 2008

VISIT THE SHOP




PRIVACY POLICY & DISCLOSURE
We are a participant in the Amazon Services LLC Associates Program, an affiliate advertising program designed to provide a means for us to earn fees by linking to Amazon.com and affiliated sites.
Lino relief print created during the 2026 Wayzgoose Steamroller Print event in Tacoma. Each print was pressed using a 1.5 ton steamroller. See the entire process here!
The Wayzgoose theme this year was Tacoma Works, a celebration of the labor history of Tacoma, labor solidarity, Tacoma industry, and what work in Tacoma looks like.
As I thought about the theme, I realized I wanted to highlight the unpaid labor that women do, all the work that doesn't get acknowledged as “real work" and goes uncompensated but quietly forms the backbone of society. Care work, cooking and cleaning, household management, pregnancy and child rearing, carrying the emotional and mental load, etc.
I wanted to use the imagery of a quilt because this devaluing of "women's work" has extended into the art world by deeming mediums historically associated with women as merely "craft" - lots of fiber art, quilting, embroidery: highly skilled and artistically incredible work that wasn't considered "fine art."
Women's work is the thread that stitches everything together. It's the thread that goes unnoticed and under appreciated, but without it, everything would fall apart.
When I say “women’s work” I don’t mean that only women engage in these types of work, but historically these types of unpaid labor have fallen vastly upon women. I also don’t mean that women don’t or haven’t engaged in paid labor and industry throughout Tacoma’s history, they obviously have. To me, “women’s work” is the phrase that embodies how we devalue certain types of labor typically associated with women, and can extend into forms of paid labor— why is it that teachers are so underpaid in our society? Could it have anything to do with teaching having been a workforce of primarily women historically?
So when we talk about women’s work we’re talking about things like care work, elder care, feeding a family, procuring groceries, household management, keeping a home clean and stocked, rearing children, pregnancy, birthing and breastfeeding, emotional labor, mental load, community building and organizing. Without these forms of “women’s work” our society would unravel.
Women's work is work. The labor and industry history in Tacoma could not have happened without the women in the background supporting it all with the work they did that wasn't considered real work.
Tacoma Works because Women Work.
—
Due to the nature of printing outdoors, on the ground, with a steam roller, there are variations and slight imperfections from print to print.
Prints ship rolled in a cardboard tube.
Local pickup is in Central Tacoma.
Paper size: 30.5 x 44 in
Print size: 24 x 36 in