
DIY Midcentury Entryway Bench Makeover

My parents have had this TV cabinet for... decades. Like, I'm pretty sure they might have had it when they lived in California, which is almost 30 years ago. It was a boring piece of furniture, and minimally functional as a TV stand. When we moved into the apartment it was in here with a TV on it, but we moved the TV and I put this thing over by the front door as a place to keep shoes and bins of scarves and mittens. It was still kind of ugly but at least it was more functional as an entryway piece. At first I thought about painting the top and bottom white, but then I decided to give it a midcentury-inspired refresh with some marble contact paper and tapered legs!
It was such an easy DIY, seriously under 30 minutes start to finish and was around $30-$40 all said and done. And you don't use much of the contact paper so you'll have a bunch left over for other fun projects!

What you'll need:
Marble Contact Paper
Tapered Furniture Legs (I used these ones)
Furniture Leg mounting bracket
Wood Stain/Poly (to stain the legs to match your bench)


First thing to do: apply the contact paper to the top and bottom "shelves." Where you start/finish the contact paper will depend on how your original piece is designed. This one was pretty easy, it had a very simple top that had defined edges, same with the bottom shelf where the shoes are sitting. I just left the upright sides original.
Peel the contact paper backing off as you go, making sure there are no bubbles. I wrapped the edges around the underside about an inch to secure it so it wouldn't peel up.

Pretty sexy! Now to get rid of those terrible black plastic wheels and replace them with chic tapered legs.
First, screw in the plates that you'll screw the legs into. This was super easy with a power drill, but you could manhandle it manually if you don't have a power drill (pro tip: buy your damn self a power drill. If you like doing projects around the house, even if you're renting, having one of these, even a cheap little one, is so helpful!).


You can paint/stain your legs to match your bench before or after you screw them in. I decided to do it after I screwed them in, while the whole thing was still upside down because then they were held in place upright and it made it easier for me to stain them. But you can do it before too, whatever you'd like.
Screw those bad boys in, flip her over, and you're done!


Maternity Style | Week 22 + 23

If you ever need to feel bad ass, put on some dark lipstick, black clothes, and a spiky necklace. Works wonders. I promise. I actually am craving some new dark lipshades, and Bite Beauty was suggested to me by some folks as an awesome natural beauty product company. Their darker shades are definitely calling my name right now. Maybe it's the change of the season too. Dark lipstick always feels right when the temperature drops. I accidentally left my darkest lipshade with a model on one of my photo shoots, so I've been custom making my own dark lip color by mixing black lipstick with one of my more scarlet reds, which works alright.
I've never been super into makeup, but I often find myself wanting more colors and shades than my current limited palate. I have a ton of crazy lip colors from Lime Crime, but my eyeshadows are sorely lacking. I have an excess of neutral colors, and just a few "out there" shades that I've bought for various burlesque looks (a super saturated green for my emerald city act, a bright blue and a silver for my snow princess act, and a vibrant red for my poppy act). Other than that, I don't have much. Makeup is always the last thing on my list of things I need, so it always gets bumped. It's not a necessity, so I rarely ever splurge on new makeup, but someday I'll flesh out my eyeshadow collection!
Top : Hoof and the Horn | Shades + Necklace : c/o Moorea Seal
Dress : Cariloha | Boots : c/o Seychelles
Photos by Dan


Top : hand-me-down | Skirt : c/o Modcloth | Shoes : c/o Minnetonka


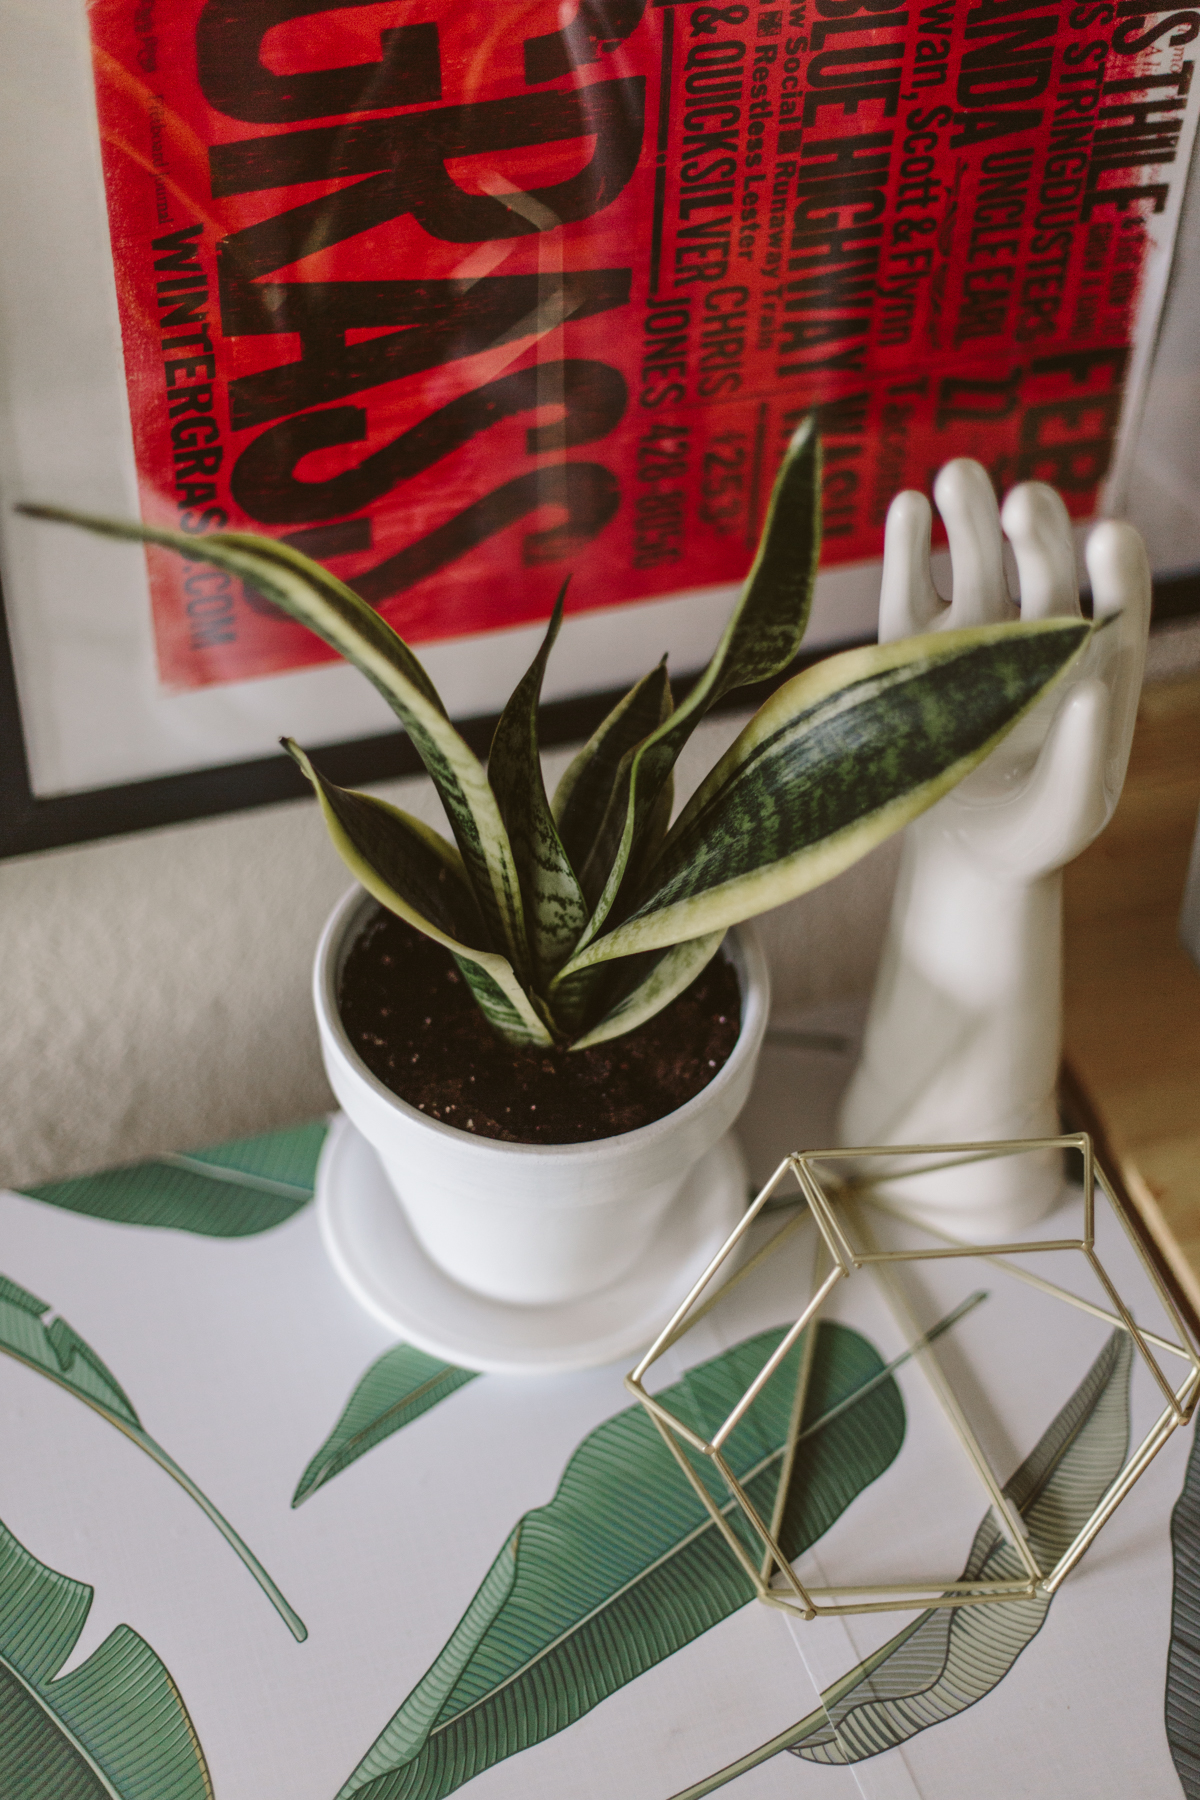
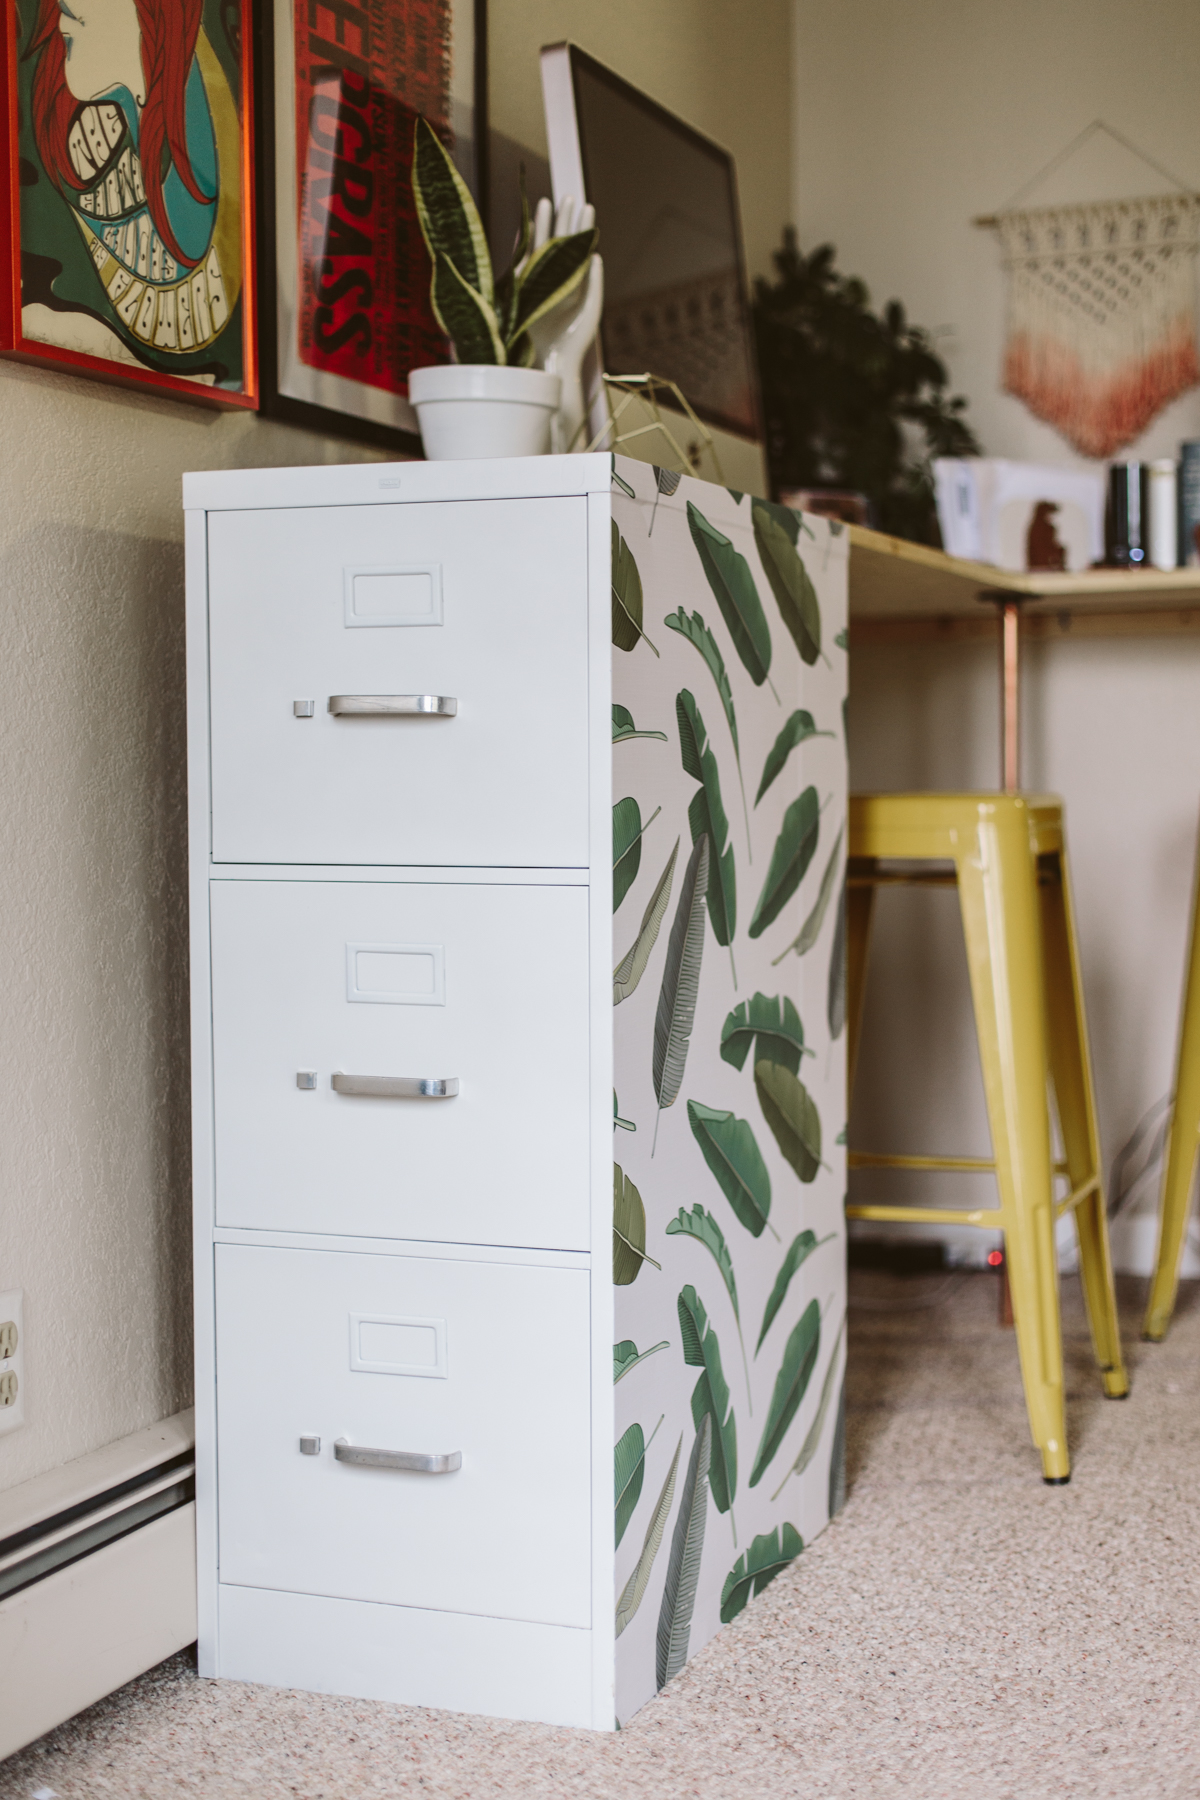
Chic File Cabinet DIY Restyle

I was bummed to get rid of our cute yellow file cabinet when we moved, but I knew that trying to fit a big ol' file cabinet in our tiny Uhaul was just going to take up space we needed for more important stuff. I figured it'd be easy to find another cheap second-hand file cabinet when we got to Anchorage and that spending 20 bucks on a file cabinet was worth not trying to shove it in a Uhaul trailer that was already going to be packed to the gills.
I'm actually glad we ended up getting a new file cabinet because we needed a 3-drawer one anyway, as our 2-drawer one was getting a little too full. I found the cabinet below at Value Village for only 12 bucks and knew it'd be a great candidate for a makeover.
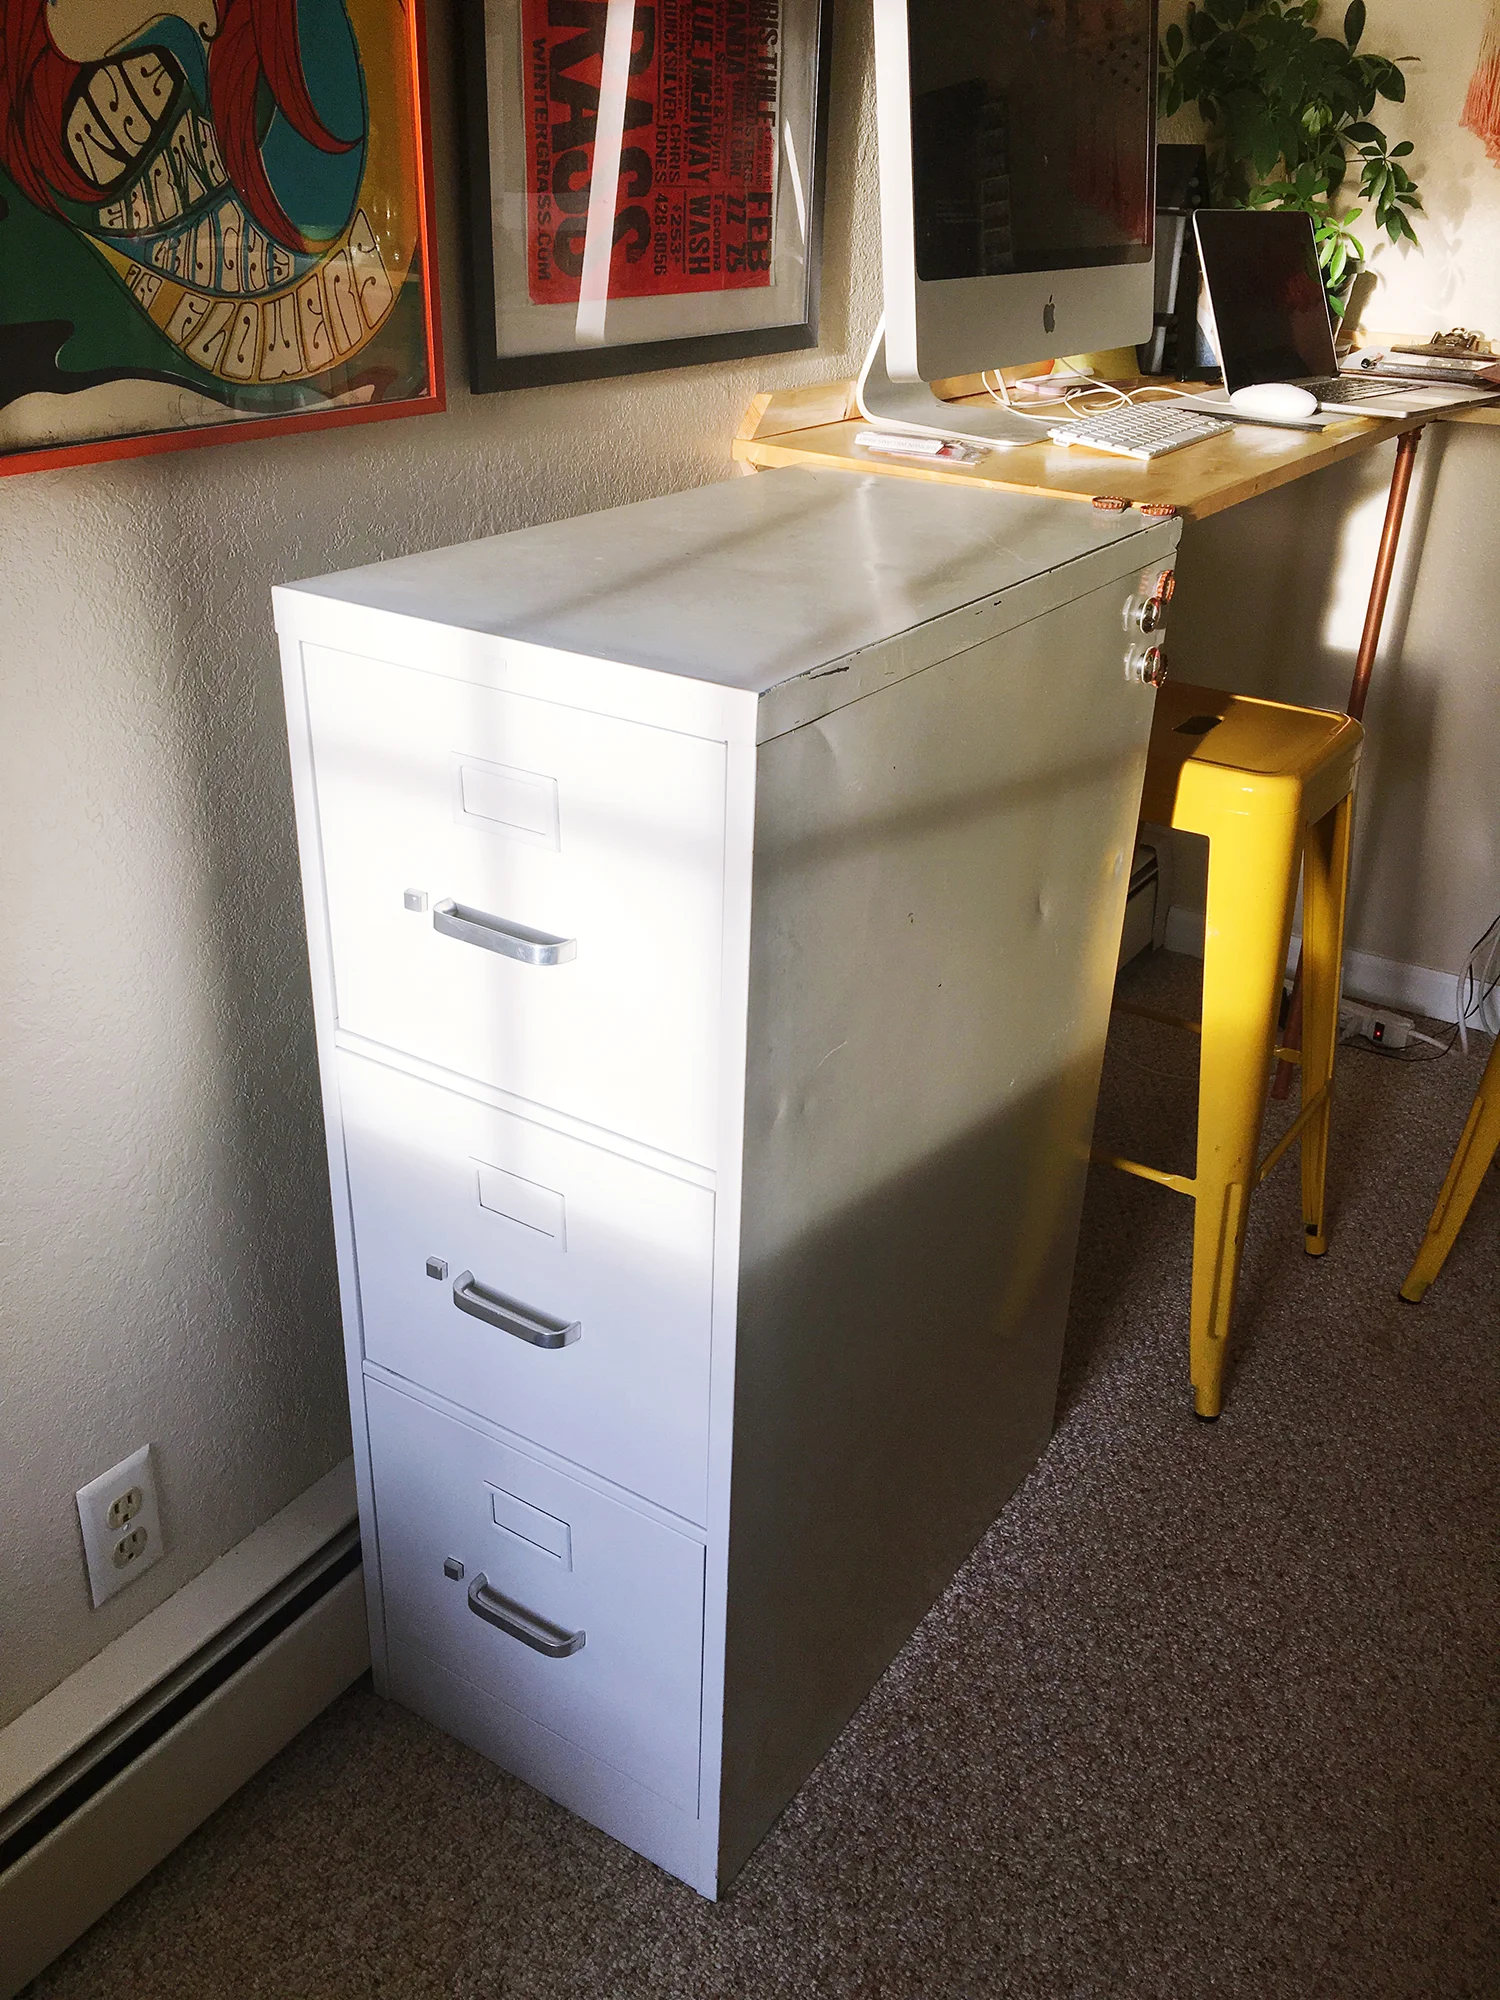
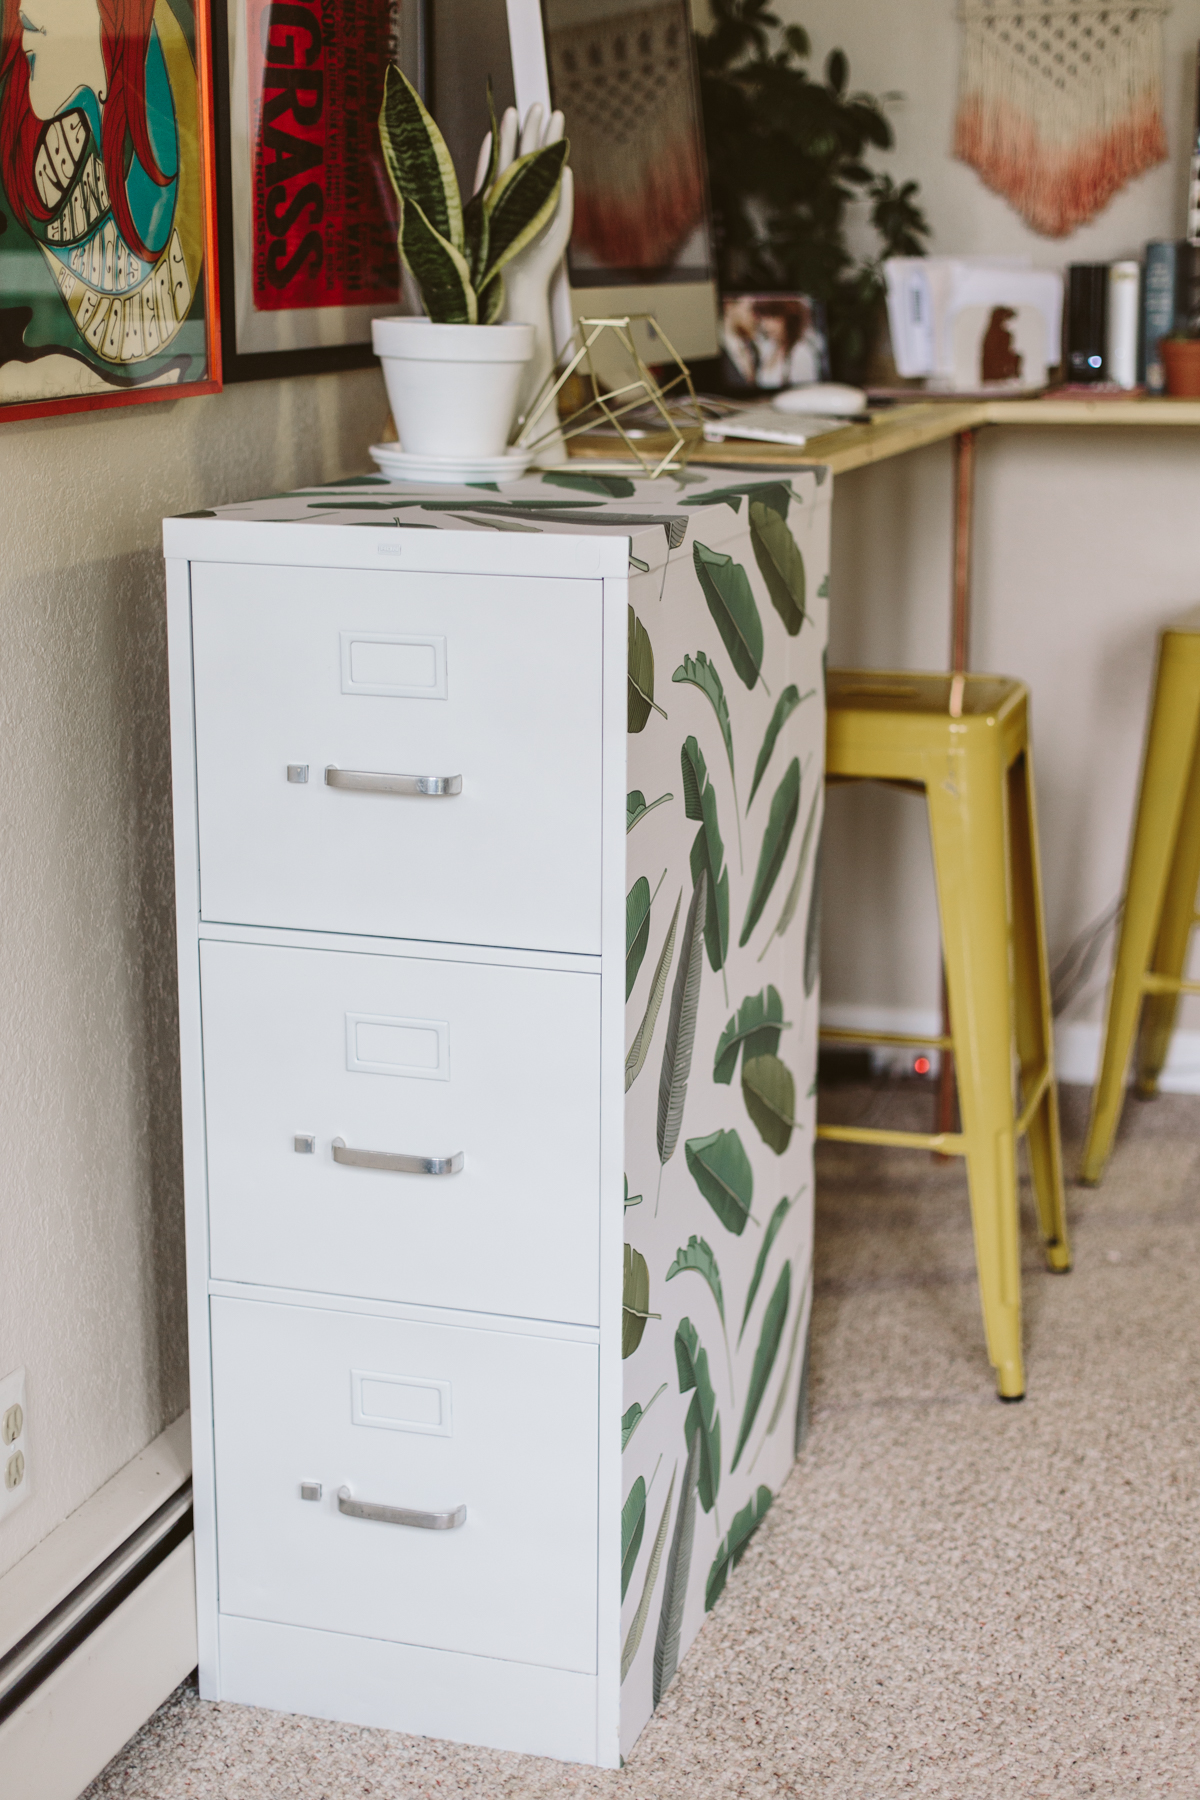
It was a little dented, a *meh* shade of beige, slightly scuffed, and had some stickers stuck to the top. Originally I had planned on painting it for the makeover, but I realized I had some leftover removable wallpaper from Wallsneedlove that I never got around to using for my Winnie, and it ended up being the perfect amount of wallpaper necessary for the project!
What you'll need:
Spray paint/primer
Masking tape
Removable Wallpaper or Contact Paper
If you need to change the color of the front, which is the only part of the cabinet that shows after you cover the sides, you'll need to paint it. I used Valspar Project Perfect paint + primer in white to freshen up the front of the cabinet so it would match the wallpaper better. The photo above isn't a true "before" pic because I already sprayed the front, so it looks much cleaner and nicer than it did when I bought it. You'll want to either remove the hardware (pull handles and such) or mask them off. I am too impatient during DIY projects, so I just masked them off.
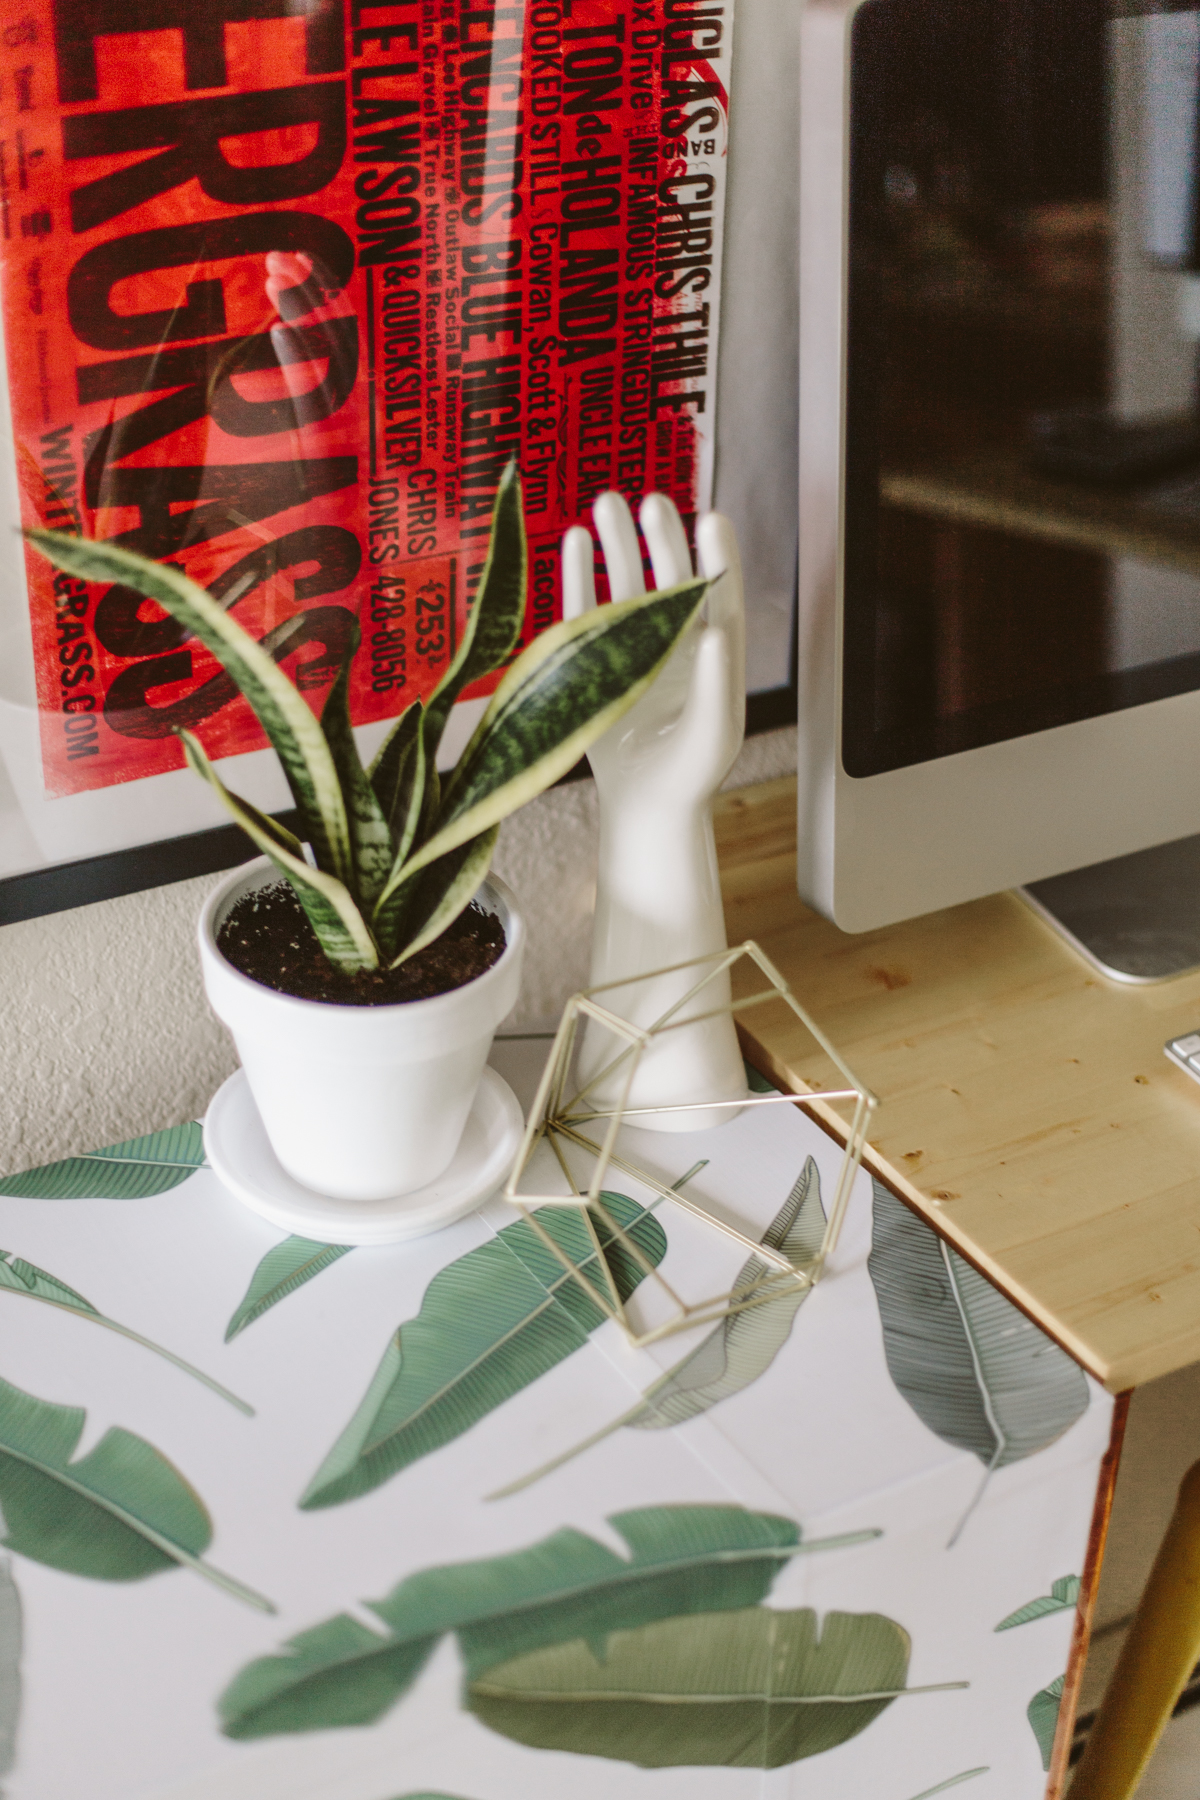
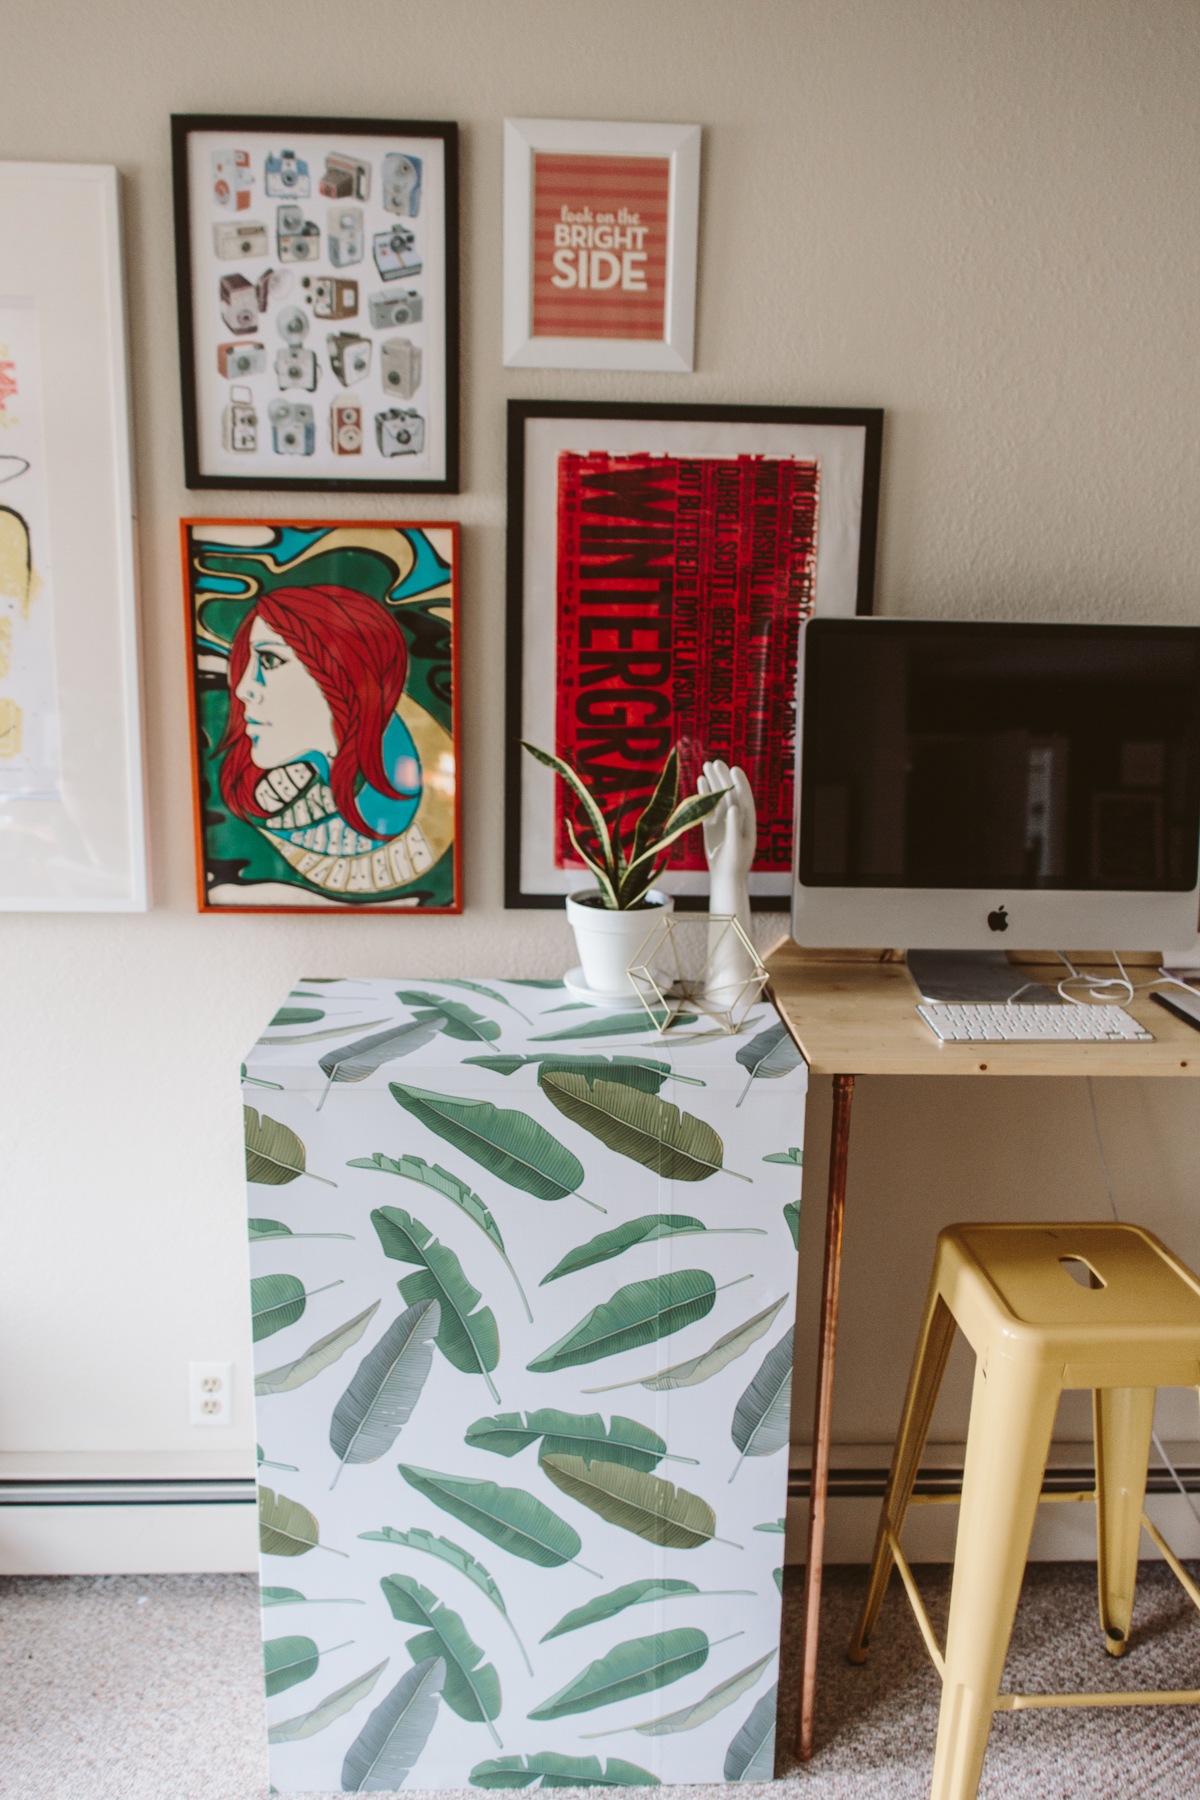
Once your front is the color you'd like, you can apply the wallpaper or contact paper. I used the Banana Leaf wallpaper from Wallsneed love (and they have hundreds of other designs that would look amazing for this project!), but you could also use contact paper! I've covered fridges before with chalkboard wallpaper and faux wood wallpaper, and I think marble contact paper would look super amazing on this DIY!
The file cabinet will be too deep for just one width of wallpaper/contact paper. I ended up needing about 7 more inches to finish the back, so make sure you calculate how much you'll need to cover the area you want to cover. I actually didn't cover the side against the wall or the back because a) you don't see them and b) I didn't have any more wallpaper.
I think this is one of my favorite DIY makeovers ever! Covering ugly things with cute wallpaper is my favorite. It's so easy and has a HUGE impact. My next thing to cover is our fridge because it is a super ugly old ivory color (BORING). I haven't lived anywhere in the past 5 years without covering my fridge in contact paper, actually! Haha! Seriously, If your fridge is boring, just go out and get yourself some contact paper and wham-bam-thank-you-ma'am fix that 'ish. I did a DIY tutorial many years ago for this DIY and it's super easy. Go do it and thank me later.
Maternity Style // Week 19 + 21

I won't lie, I'm getting to the point where I miss my old clothes and having a waist and dressing the way I'm used to dressing. At 19/21 weeks, when I shot these outfits, I could still pull off a pretty non-maternity look, but at 28 weeks now I'm approaching the "large and in charge" phase of pregnancy. Luckily I've acquired some stretchy, but cute, things that have been really nice for getting dressed without feeling like a total scrub (although there are definitely days I spend the whole day in sweats or leggings.
Dressing for pregnancy is definitely a challenge, especially because your body looks so different than you're used to it looking. I need to go thrifting again because last time I scored big time on some really cute (non-maternity) things that work perfectly for a growing bump and those items really helped me be able to get dressed and still feel like I look nice. Having 3 or 4 more pieces in my closet that fit that bill will be nice, especially for remixing. I'm really not into buying maternity-specific clothes, except pants, which are the best. Having clothes that work for a bump but will transition easily into being regular non-pregnant clothes is my goal when shopping. I don't want to end up with a bunch of stuff that doesn't work once the bump is gone.
Dress : Forever 21 (similar) | Cardigan : c/o Modcloth (similar)| Necklace : c/o Tribe Jewelry
Shoes : c/o Seychelles (similar) | Belt : Souvenir Shop in Calico, CA
photos by Dan


Dress : c/o Modcloth (similar) | Shoes + Necklace + Shades : c/o Moorea Seal


So it begins.

Well folks, it's begun. I've made my first purchases of baby things, namely: some tiny onesies and a crib. We finally got the room cleared out that will be the nursery (a word I kind of hate? So I've been calling it our bebe den). Now that it's a blank slate, I can finally start making it into the baby's room.
Some days I still look in the mirror and think this is all some crazy dream and I'll wake up back in Tacoma in our little house, sans bump, shake my head and be like, "whoa, that was some crazy shit," and go about my day. It's still bizarre to me that we are here in Anchorage, I'm in my 3rd trimester with a child that will come out and be all mine to take care of in 12 weeks. In a way, I'm glad that it shook everything up. I know I was getting restless in Tacoma and was Jonesin' for something new. We had planned on moving into the Brave and living a mobile life, but honestly, it was really difficult to move out of our house and without the push of needing to move to Anchorage, I'm not sure it ever would've actually happened. It was just such a cozy house, we were so comfortable. Even though I wanted something new, something different, change, I'm not sure it could've actually happened without something pushing us to make the move the way this pregnancy did.
I don't feel married to Anchorage the way that I thought maybe I would be, moving back to my hometown. I have a lot of cognitive dissonance about Anchorage. Growing up here it was the best place ever and I loved it. I loved coming back for visits over the years I've lived in Washington. But now living here its sort of pulled back the veil and I'm not quite as in love with it as I was. It's like how you idealize an ex, then you date someone that matches you way better, and then you meet that old ex again and realize how they really aren't as great as your idealized memories. I don't know if we'll end up staying here. Part of me feels like maybe not, maybe this is just an intermediary place. But I don't know where we'll end up. I like Alaska, I like the Northwest. I want to be near family. Sitka has been in the back of my mind as a potential home. I like the idea of my kids growing up in a town like that.
But of course, all that is speculation right now and I really don't care to think about it all that much until next year, after the baby comes and we are ready to even begin thinking about what's next for us.

Hi, I’m Liz
I'm an artist, writer, designer, DIY renovator, and … well basically I like to do all the things. If it’s creative I’m probably doing it. I’ve spent over 30 years voraciously pursuing a life steeped in creativity and I wholeheartedly believe creativity and joy are inextricably linked.
Read more…






Explore The Archive
- October 2026
- May 2026
- January 2026
- July 2025
- May 2025
- January 2025
- December 2024
- August 2024
- July 2024
- May 2024
- April 2024
- January 2024
- December 2023
- October 2023
- September 2023
- July 2023
- June 2023
- May 2023
- April 2023
- March 2023
- February 2023
- January 2023
- December 2022
- November 2022
- October 2022
- August 2022
- June 2022
- May 2022
- April 2022
- March 2022
- November 2021
- October 2021
- August 2021
- July 2021
- May 2021
- January 2021
- November 2020
- October 2020
- September 2020
- August 2020
- July 2020
- June 2020
- May 2020
- April 2020
- February 2020
- January 2020
- November 2019
- October 2019
- August 2019
- July 2019
- June 2019
- May 2019
- April 2019
- February 2019
- January 2019
- December 2018
- November 2018
- October 2018
- September 2018
- August 2018
- July 2018
- June 2018
- May 2018
- April 2018
- February 2018
- January 2018
- November 2017
- September 2017
- August 2017
- July 2017
- June 2017
- May 2017
- April 2017
- March 2017
- February 2017
- January 2017
- December 2016
- November 2016
- October 2016
- September 2016
- August 2016
- June 2016
- May 2016
- April 2016
- March 2016
- February 2016
- January 2016
- December 2015
- November 2015
- October 2015
- September 2015
- August 2015
- July 2015
- June 2015
- May 2015
- April 2015
- March 2015
- February 2015
- January 2015
- December 2014
- November 2014
- October 2014
- September 2014
- August 2014
- July 2014
- June 2014
- May 2014
- April 2014
- March 2014
- February 2014
- January 2014
- December 2013
- November 2013
- October 2013
- September 2013
- August 2013
- July 2013
- June 2013
- May 2013
- April 2013
- March 2013
- February 2013
- January 2013
- December 2012
- November 2012
- October 2012
- September 2012
- August 2012
- July 2012
- June 2012
- May 2012
- April 2012
- March 2012
- February 2012
- January 2012
- December 2011
- November 2011
- October 2011
- September 2011
- August 2011
- July 2011
- June 2011
- May 2011
- April 2011
- March 2011
- February 2011
- January 2011
- December 2010
- November 2010
- October 2010
- September 2010
- August 2010
- July 2010
- June 2010
- May 2010
- April 2010
- March 2010
- February 2010
- January 2010
- December 2009
- November 2009
- October 2009
- September 2009
- August 2009
- July 2009
- June 2009
- May 2009
- April 2009
- March 2009
- February 2009
- January 2009
- December 2008
- November 2008
- October 2008
- September 2008
- August 2008
- July 2008

VISIT THE SHOP




PRIVACY POLICY & DISCLOSURE
We are a participant in the Amazon Services LLC Associates Program, an affiliate advertising program designed to provide a means for us to earn fees by linking to Amazon.com and affiliated sites.
Lino relief print created during the 2026 Wayzgoose Steamroller Print event in Tacoma. Each print was pressed using a 1.5 ton steamroller. See the entire process here!
The Wayzgoose theme this year was Tacoma Works, a celebration of the labor history of Tacoma, labor solidarity, Tacoma industry, and what work in Tacoma looks like.
As I thought about the theme, I realized I wanted to highlight the unpaid labor that women do, all the work that doesn't get acknowledged as “real work" and goes uncompensated but quietly forms the backbone of society. Care work, cooking and cleaning, household management, pregnancy and child rearing, carrying the emotional and mental load, etc.
I wanted to use the imagery of a quilt because this devaluing of "women's work" has extended into the art world by deeming mediums historically associated with women as merely "craft" - lots of fiber art, quilting, embroidery: highly skilled and artistically incredible work that wasn't considered "fine art."
Women's work is the thread that stitches everything together. It's the thread that goes unnoticed and under appreciated, but without it, everything would fall apart.
When I say “women’s work” I don’t mean that only women engage in these types of work, but historically these types of unpaid labor have fallen vastly upon women. I also don’t mean that women don’t or haven’t engaged in paid labor and industry throughout Tacoma’s history, they obviously have. To me, “women’s work” is the phrase that embodies how we devalue certain types of labor typically associated with women, and can extend into forms of paid labor— why is it that teachers are so underpaid in our society? Could it have anything to do with teaching having been a workforce of primarily women historically?
So when we talk about women’s work we’re talking about things like care work, elder care, feeding a family, procuring groceries, household management, keeping a home clean and stocked, rearing children, pregnancy, birthing and breastfeeding, emotional labor, mental load, community building and organizing. Without these forms of “women’s work” our society would unravel.
Women's work is work. The labor and industry history in Tacoma could not have happened without the women in the background supporting it all with the work they did that wasn't considered real work.
Tacoma Works because Women Work.
—
Due to the nature of printing outdoors, on the ground, with a steam roller, there are variations and slight imperfections from print to print.
Prints ship rolled in a cardboard tube.
Local pickup is in Central Tacoma.
Paper size: 30.5 x 44 in
Print size: 24 x 36 in